

This embroidered constellation pillow adds quiet celestial detail without looking childish. Cool Blue velvet, silver lines, and tiny white stars make the finished cover feel polished and personal.
Embroidered Constellation Pillow at a Glance
- Transfer: 20 minutes
- Stitch: About 2 hours
- Mark removal and dry: 30 minutes
- Total: About 2 hours 50 minutes
- Finished size: 18 × 18 inches
- Skill level: Confident beginner
The airy design uses one connected star group plus separate accents, so small variations still look intentional. A premade zip cover keeps the project focused on embroidery. If you prefer to build the cover too, start with this no-sew pillow cover guide.
Cool Blue keeps the metallic thread soft and modern, while camel, cream, or pale-oak surroundings add warmth. Cotton velvet is easier to control than stretchy knit because it holds the transferred marks and supports tiny stitches. Choose a cover with a stable woven backing and avoid deeply crushed pile, which can hide fine silver lines.
Materials and Tools
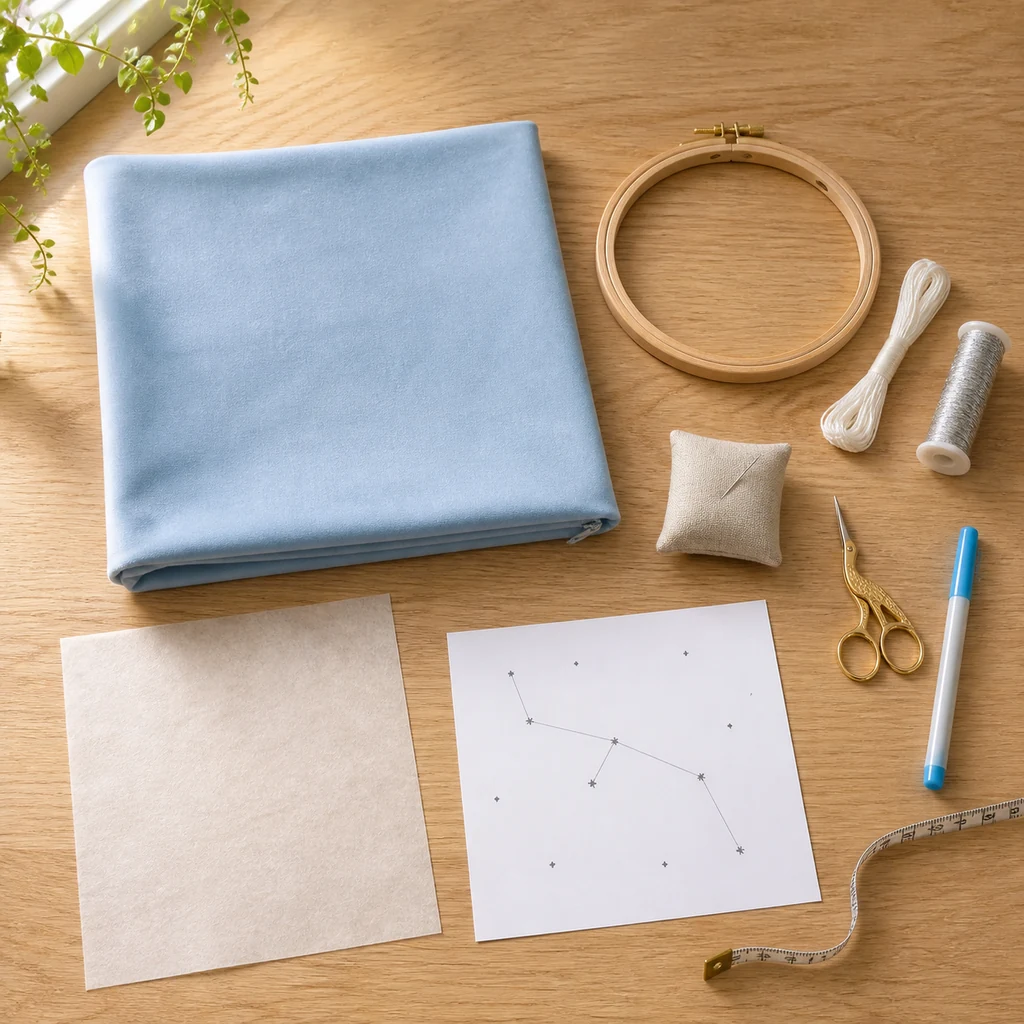
- 18 × 18-inch Cool Blue cotton-velvet zipper cover and matching insert
- 12-inch wood embroidery hoop
- White six-strand cotton floss and fine silver metallic thread
- Embroidery needle and small sharp scissors
- Water-soluble fabric marker, ruler, paper, and white transfer paper
Keep needles and scissors away from children and pets. Test the marker, transfer paper, and damp-cleaning method inside the zipper seam before touching the front.
Prepare the Empty Pillow Cover
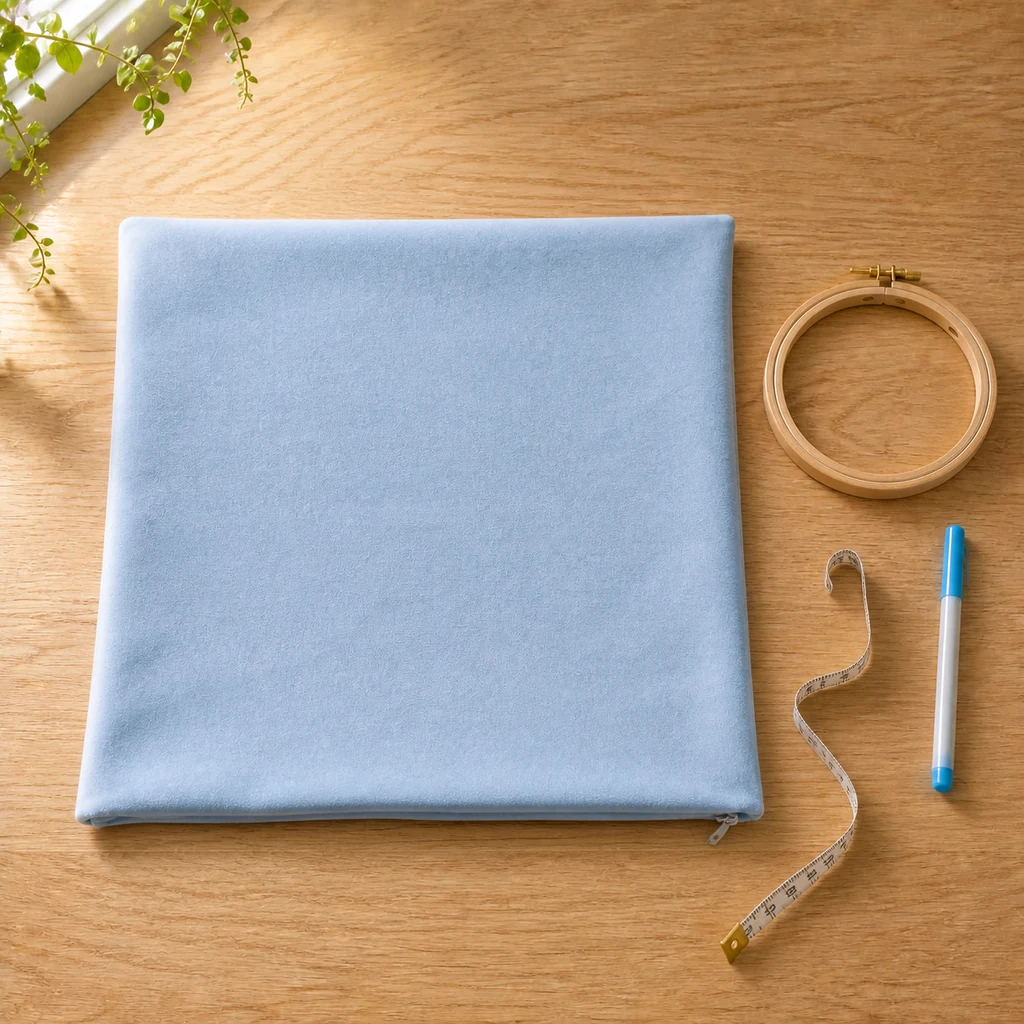
- Remove the insert, close the zipper, and smooth the empty cover front-side up. Measure to find the center.
- On 10-inch-square paper, draw nine irregularly spaced dots for one main constellation. Connect them with angular lines, then add four unconnected accent dots.
Transfer One Airy Star Map
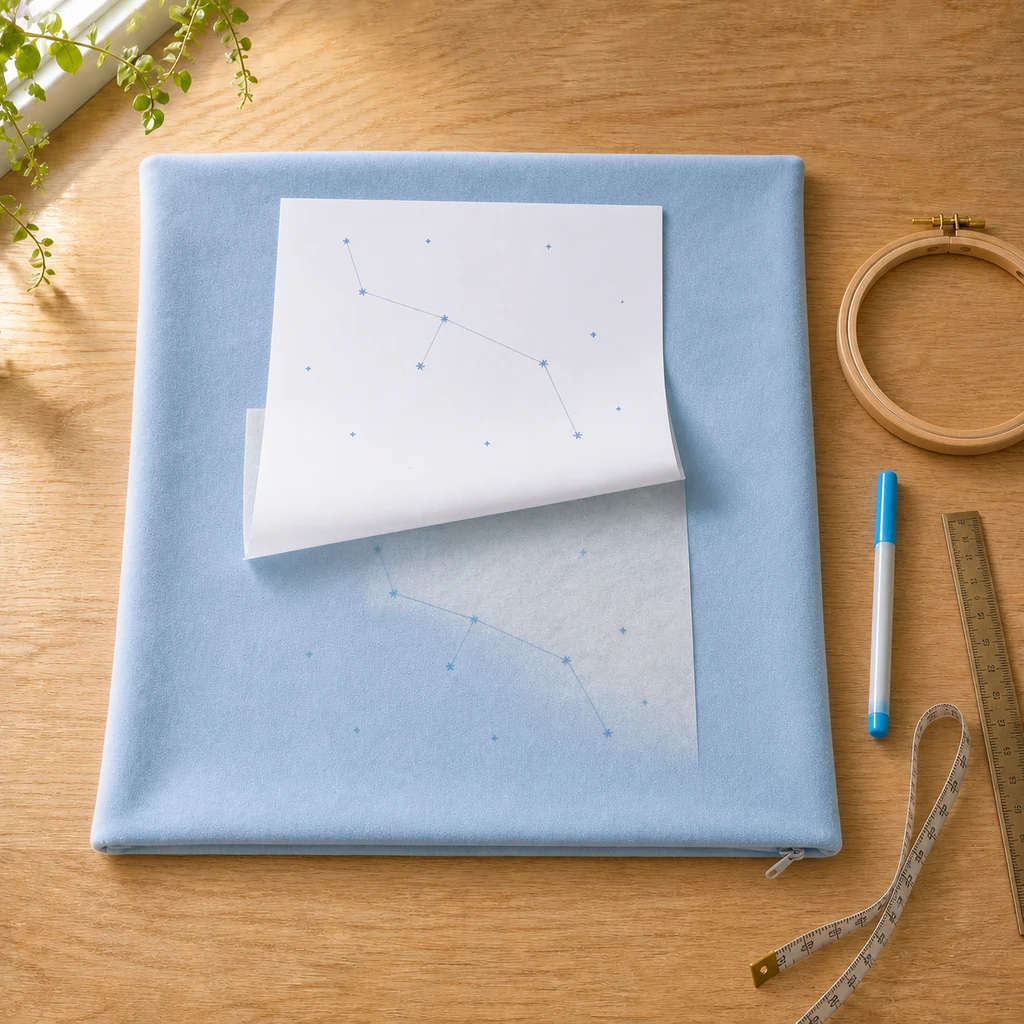
- Center the drawing on the cover with white transfer paper underneath. Trace lightly, lift one corner to check the marks, then remove both sheets. Reinforce only faint areas with the water-soluble marker.
- Separate the cover layers. Hoop the front layer only, keeping the zipper and back safely outside. Tighten until smooth, not stretched.
Stitch the Silver Connections
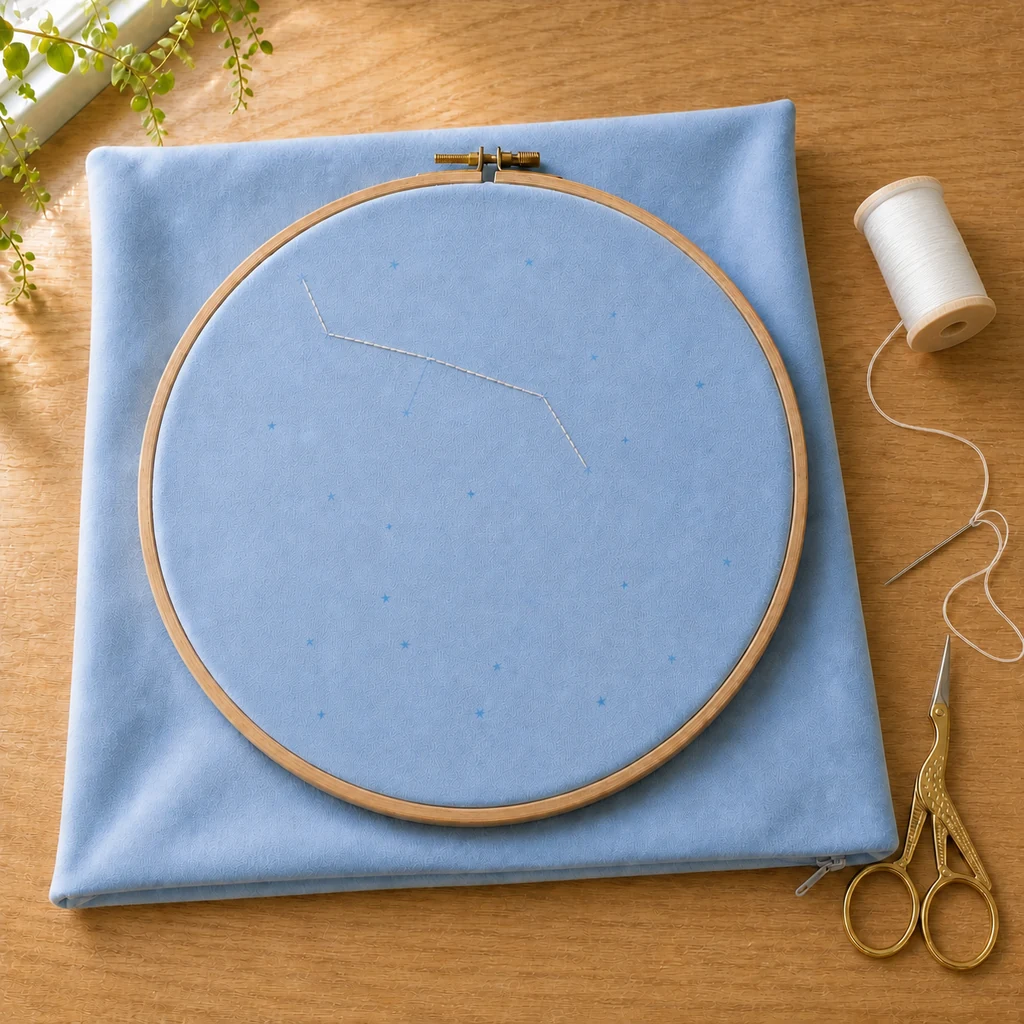
- Thread an 18-inch length of silver thread. Follow each connecting line with short backstitches, keeping them relaxed so the velvet does not pucker. Secure ends on the wrong side by weaving under nearby stitches.
Add White Embroidered Stars
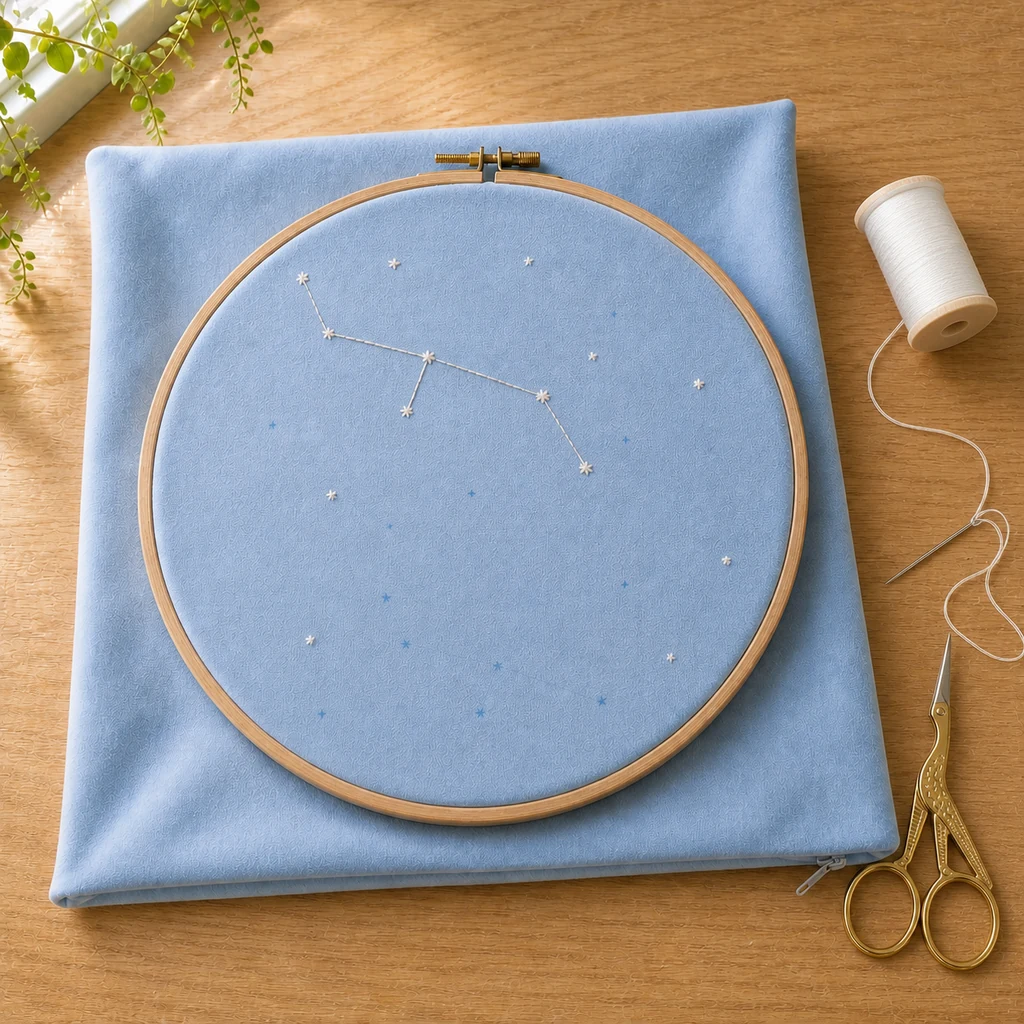
- Use white floss for small French knots at minor points. Make brighter stars with three short straight stitches crossing at the center.
- Move the hoop when needed instead of pulling the fabric sideways. Check the reverse often so no loose loops or knots catch the back layer.
Remove Marks and Style
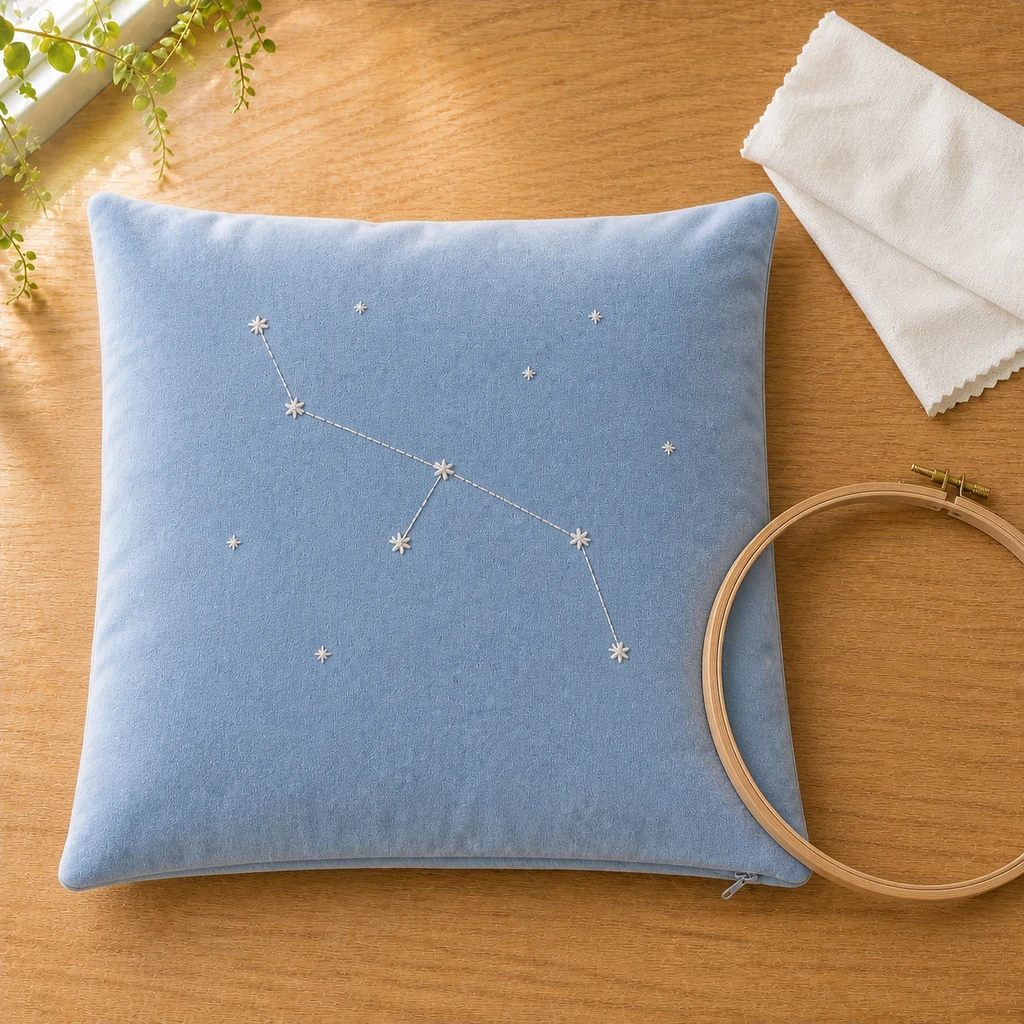
- Remove the hoop. Following the marker directions, dab away blue marks with a barely damp white cloth. Lay flat for 30 minutes, or until completely dry, then add the 18-inch insert and close the zipper.
The finished surface should lie smooth, with a soft silver glint rather than tight, raised cords. Pair it with this opalescent moon phase wall hanging or an opalescent orb lamp for a restrained celestial corner.
Spot-clean first and follow both the cover and thread care labels. Remove the insert before approved washing, avoid wringing metallic stitches, and dry the cover flat. Trim a fuzzy thread only if it is loose—never pull it.