
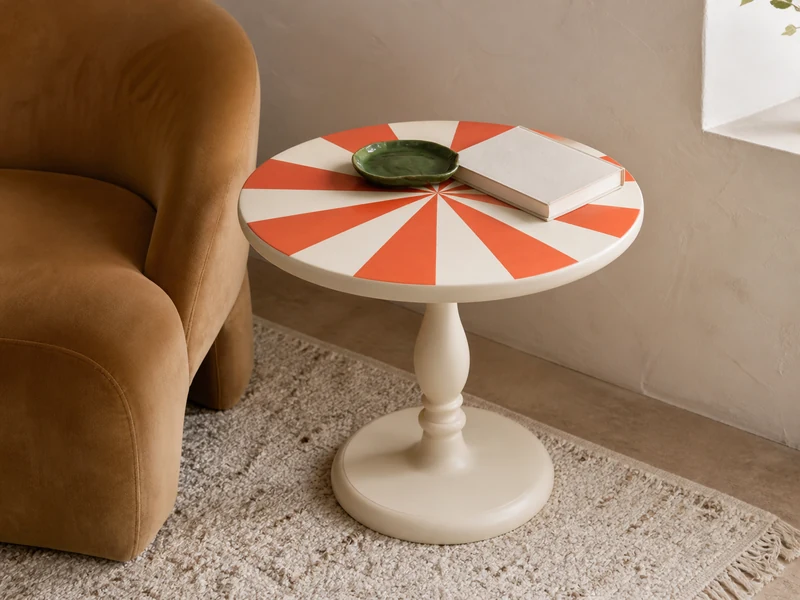
This circus stripe side table turns a plain pedestal piece into joyful, polished decor. Precise wedges and Persimmon paint create the statement; careful prep keeps it durable.
Circus Stripe Side Table at a Glance
- Hands-on time: 2 hours
- Dry and cure: Follow each product label; allow at least 48 hours before styling
- Difficulty: Confident beginner
- Table shown: 18-inch top, 22 inches high
- Pattern: 16 equal wedges—8 Persimmon, 8 cream
The high-contrast sunburst reads clearly in a Pinterest feed, while the limited palette still feels livable. A turned table with a plain circular top works best because the center is easy to locate and the pattern remains uninterrupted. Avoid peeling veneer, deep water damage, or wobbly joints that need structural repair. Persimmon brings energetic color without the sugary look of primary red, and the cream base keeps the finished piece warm rather than stark.
Materials and Paint Safety
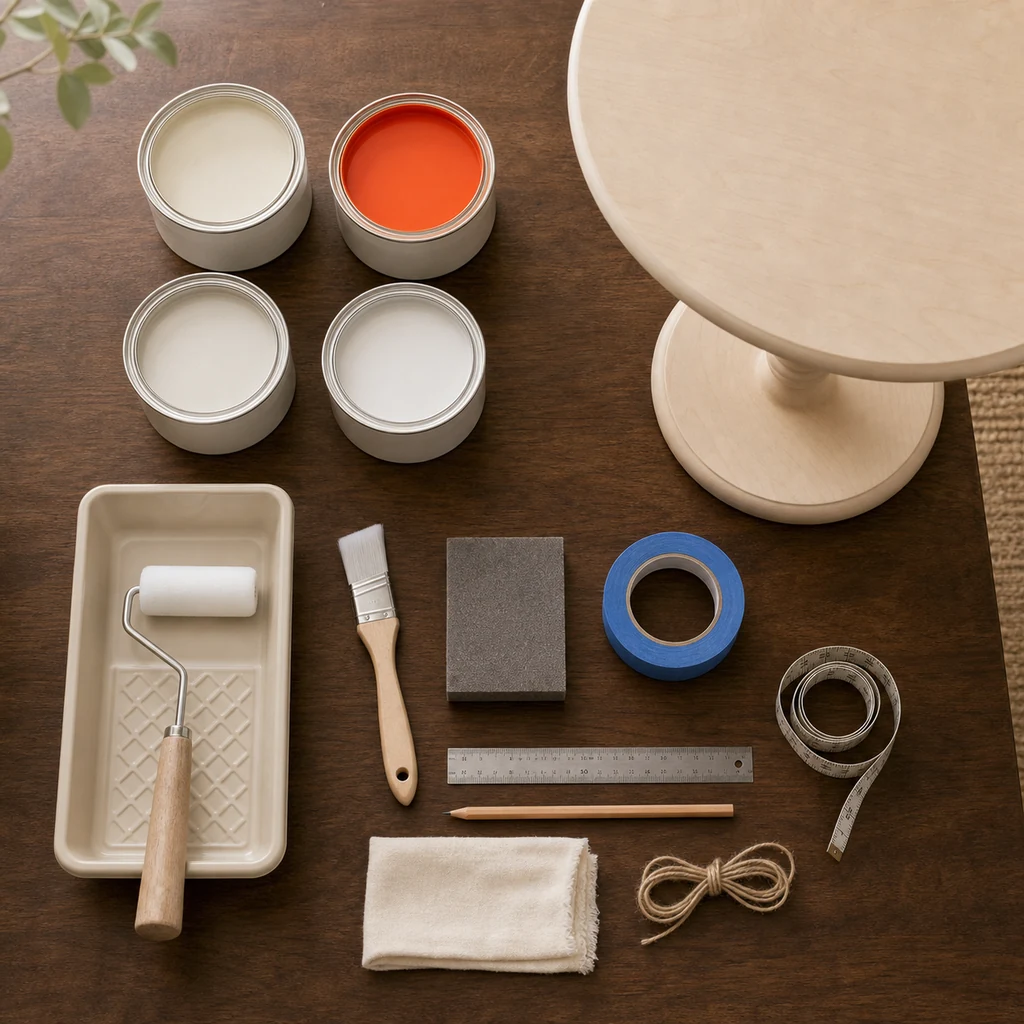
- Small round wood pedestal table
- 220-grit sanding sponge and lint-free cloth
- Water-based bonding primer
- Warm-cream and Persimmon (#FF5C35) furniture paint
- Low-tack painter’s tape, pencil, ruler, string, and flexible tape
- Mini foam roller, angled brush, and water-based matte topcoat
Work in a ventilated room, protect the floor, and use products approved for your table’s surface. Wear the protection listed on each label. Test adhesion underneath first, especially on laminate or glossy factory finishes.
Prep and Paint the Cream Base
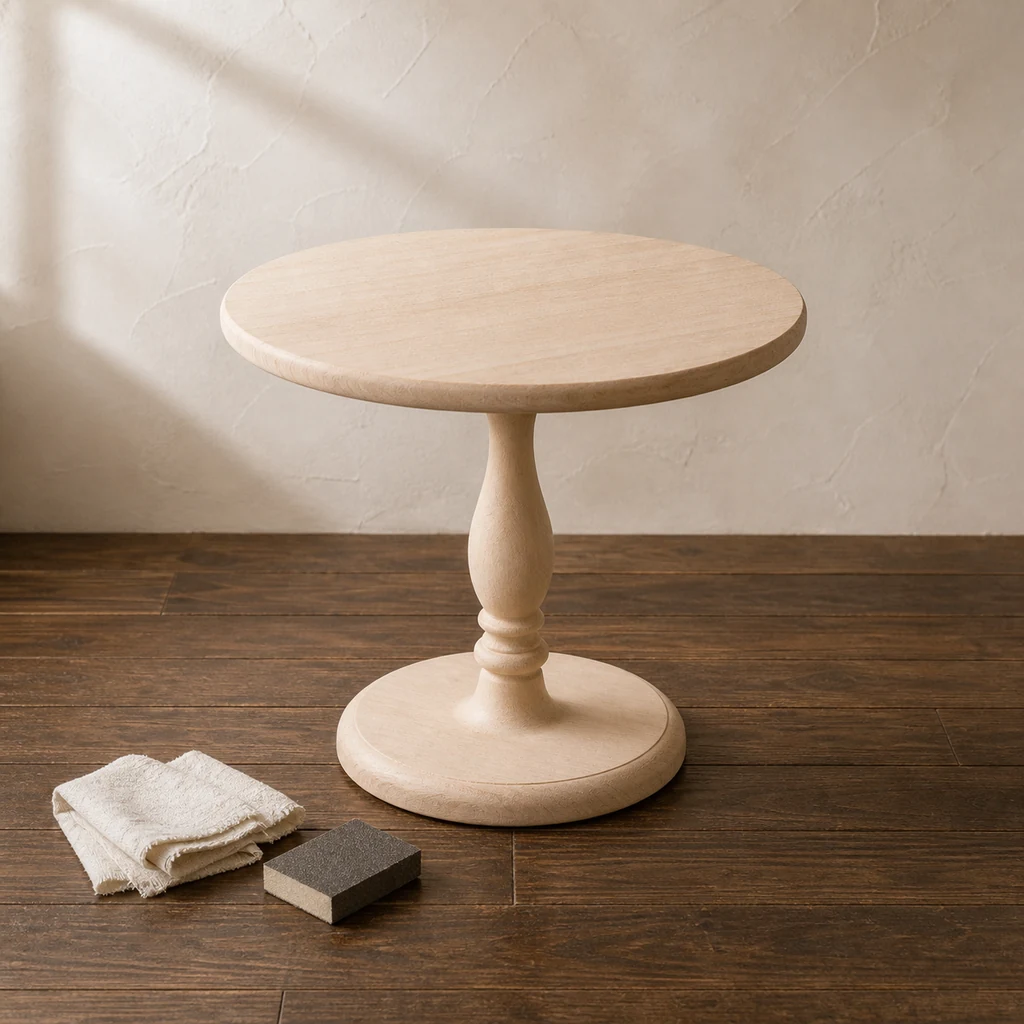
- Tighten loose hardware. Clean away wax and grease, lightly sand with the grain, then remove every trace of dust.
- Apply one thin primer coat. When fully dry, roll on two light cream coats, brushing turned details. Respect the manufacturer’s recoat time.
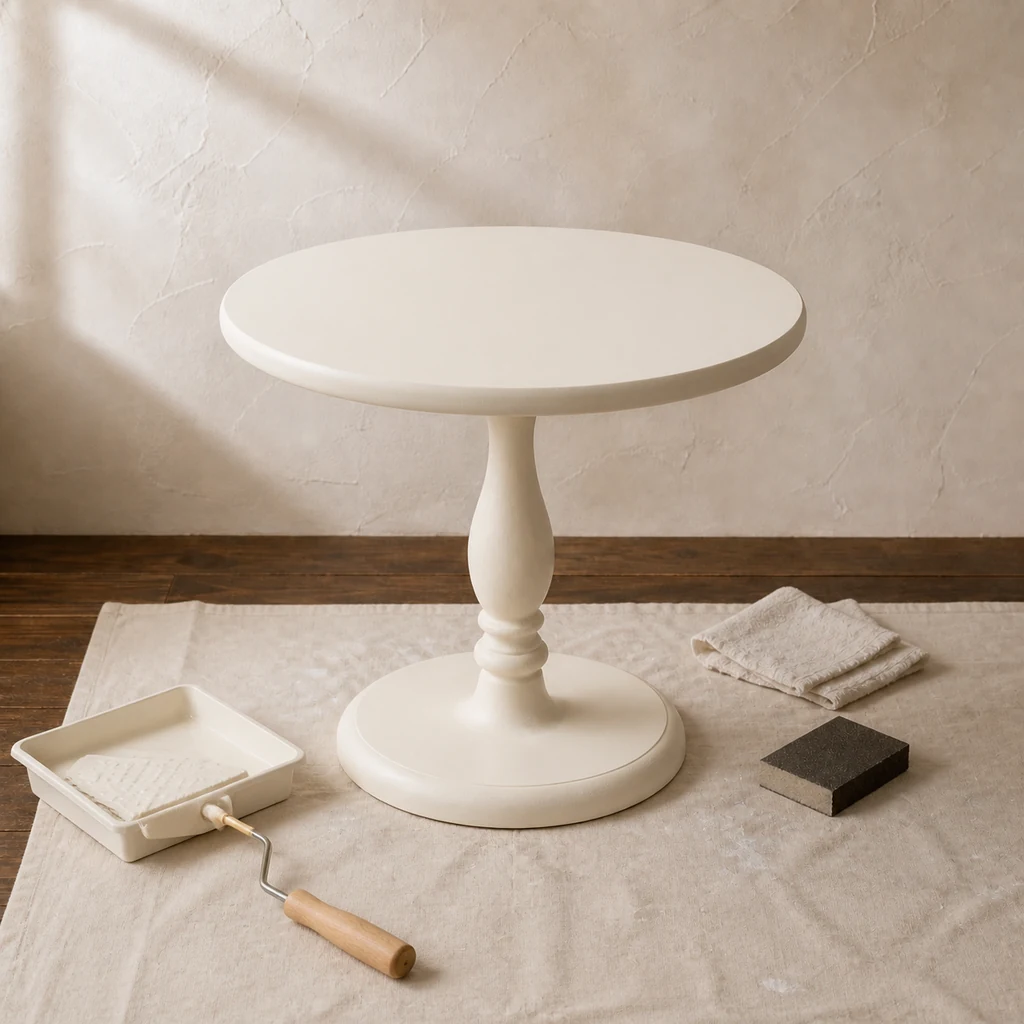
Thin coats level better than one heavy layer. Practice your paint load on a scrap—or try a smaller project such as this hand-painted bow trinket dish first.
Mark 16 Even Circus Wedges
- Find the tabletop center by measuring across it in several directions. Mark the point lightly.
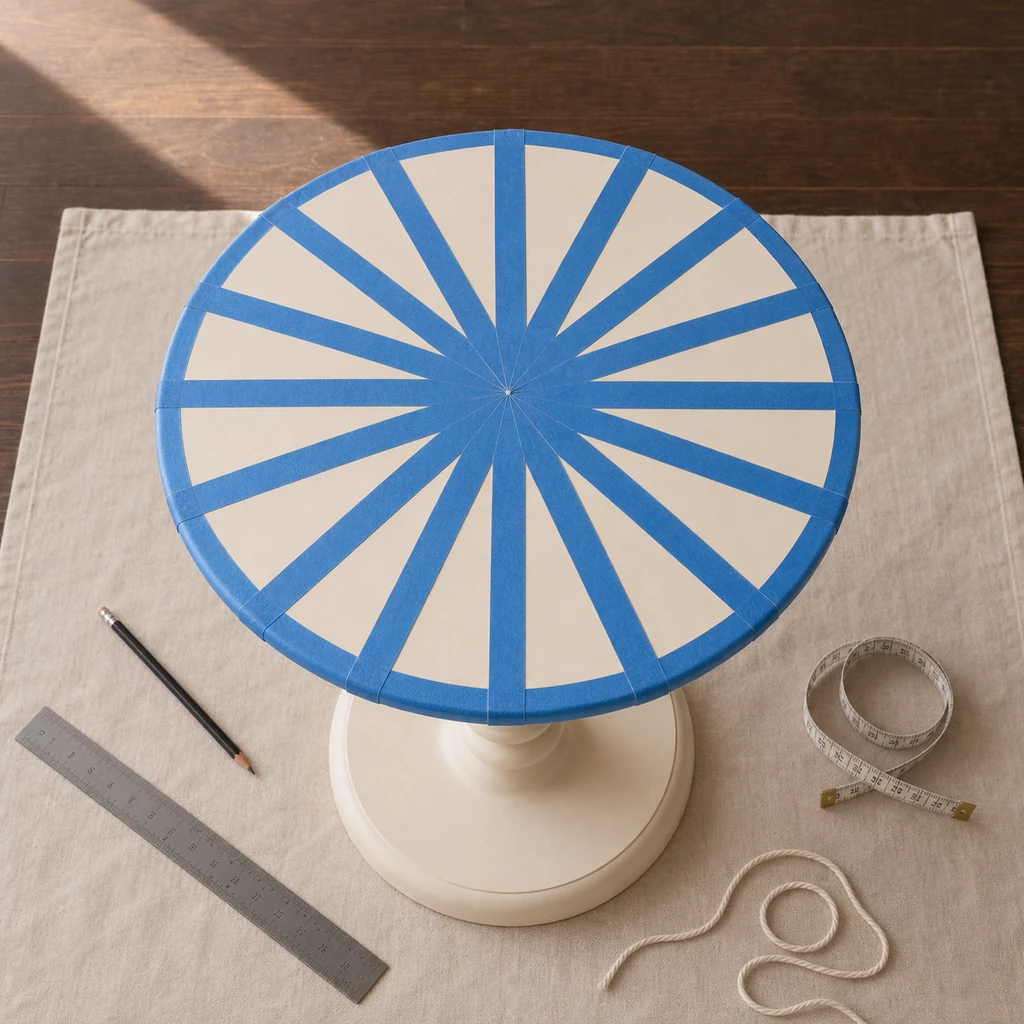
- Measure the circumference and divide it into 16 equal spaces. Mark the rim, then use taut string as a straight guide from each mark to the center.
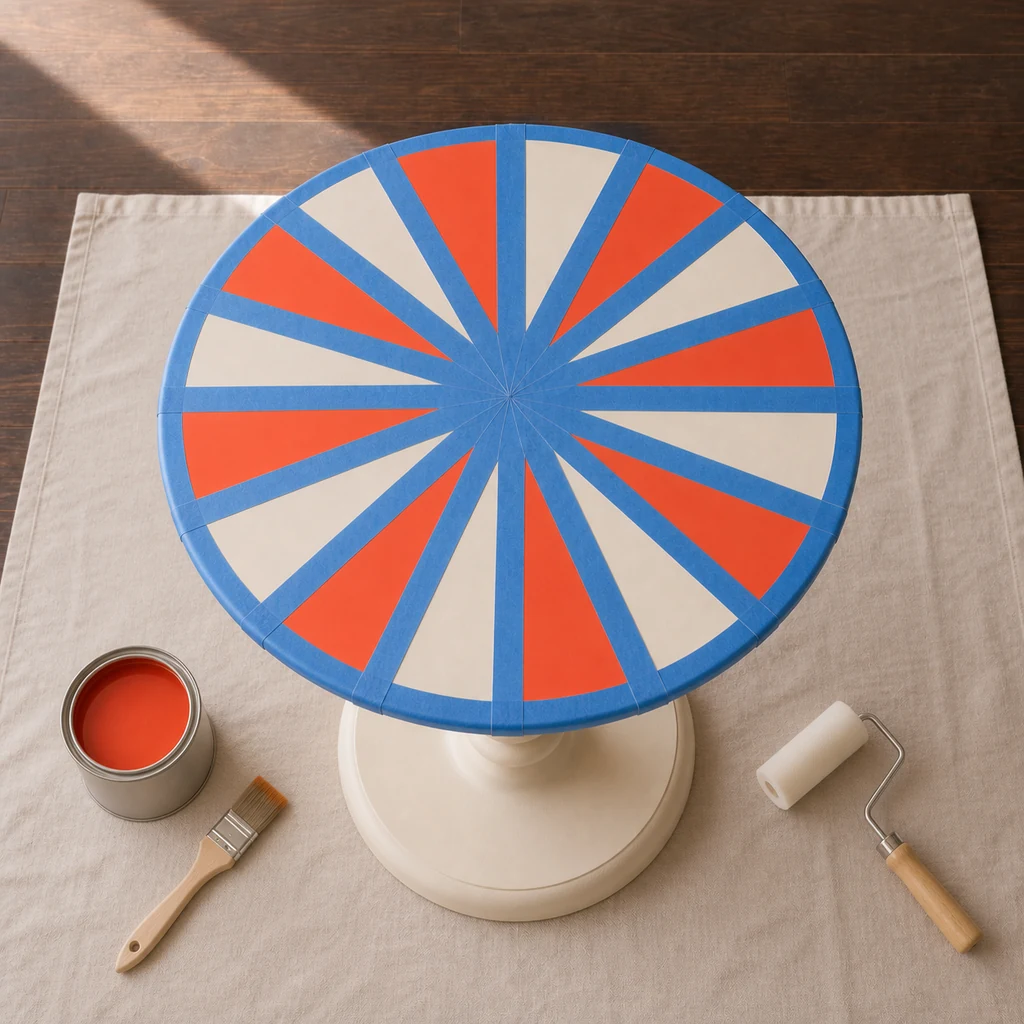
- Tape along every guide, keeping the paint-side tape edges exactly on the pencil lines. Mask the beveled rim and burnish edges with a clean card. Mark every other wedge with a tiny tape tab.
Paint, Reveal, and Protect
- Seal the tape edges with a whisper-thin cream coat. After it dries, paint the eight marked wedges Persimmon using two thin coats.
- Remove tape while the final color coat is slightly tacky, pulling it back over itself. Let the pattern dry completely.
- Apply two thin matte topcoats, following label timings. Allow at least 48 hours before placing decor on top; full cure may take longer.
Style the Finished Table
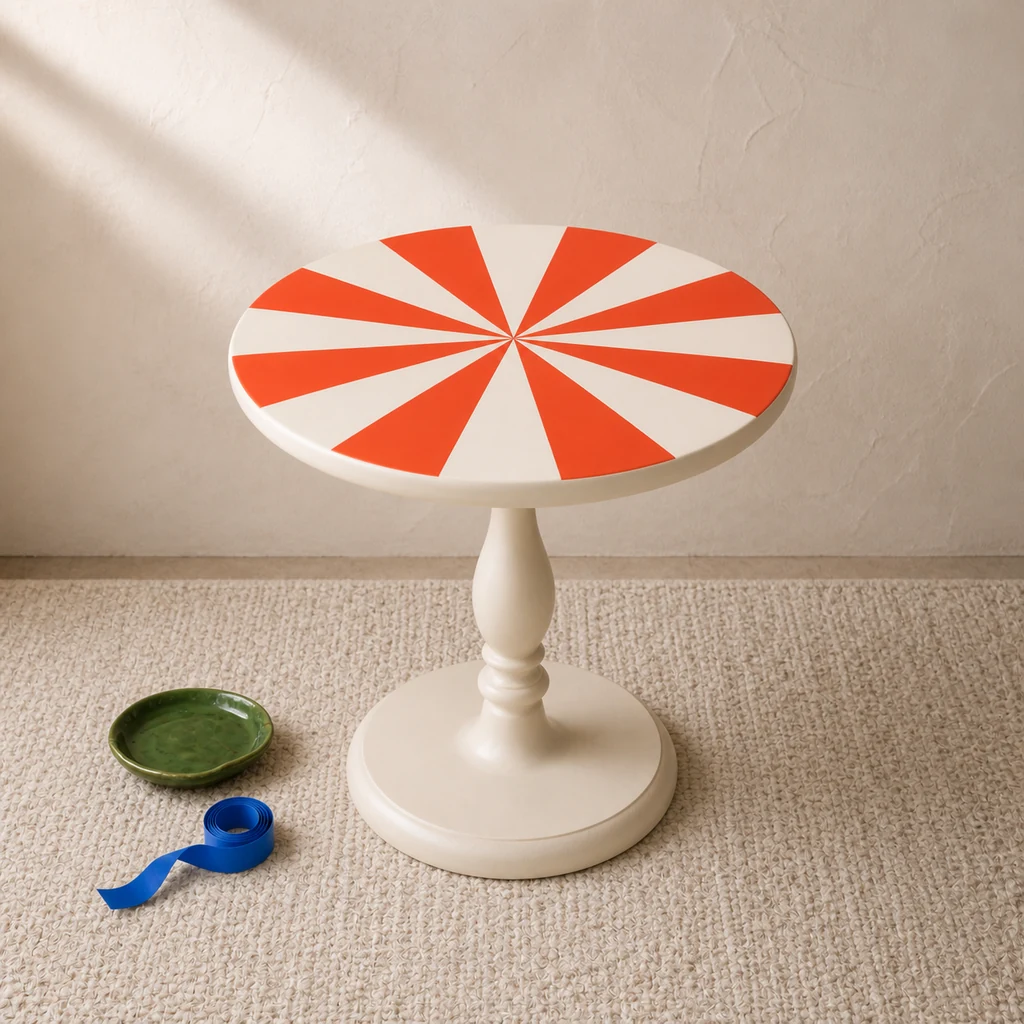
Let the radial top stay visible: one small dish and a book are enough. A solid rug and quiet upholstery balance the movement. For a coordinated corner, pair it with an opalescent orb lamp, not another busy pattern.
Minor bleed can be refined with a tiny cream artist’s brush after drying. For more furniture-saving inspiration, browse these upcycled home decor ideas. Use coasters, avoid harsh cleaners, and lift—never drag—objects until the finish has fully cured.