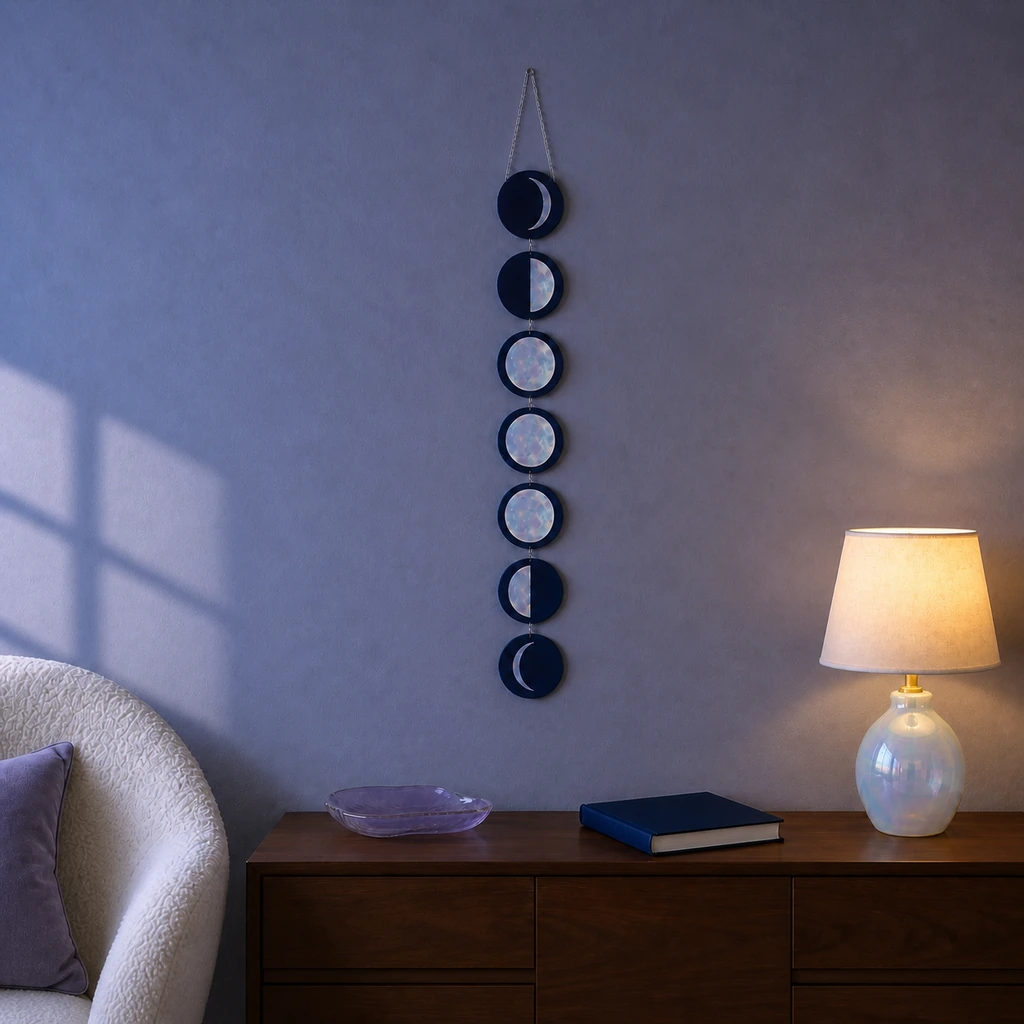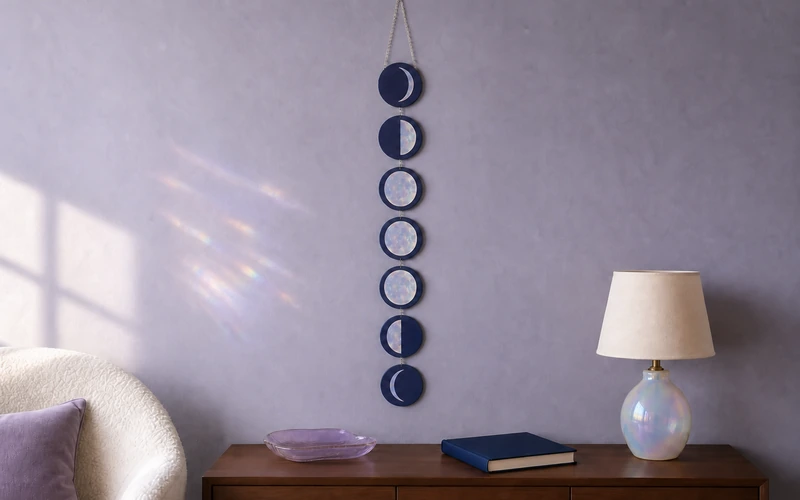
Turn seven lightweight wood circles into shimmering moon phases that shift from pearl to lavender as the light moves. This measured DIY adds celestial drama while keeping the finished piece clean, modern, and easy to hang.
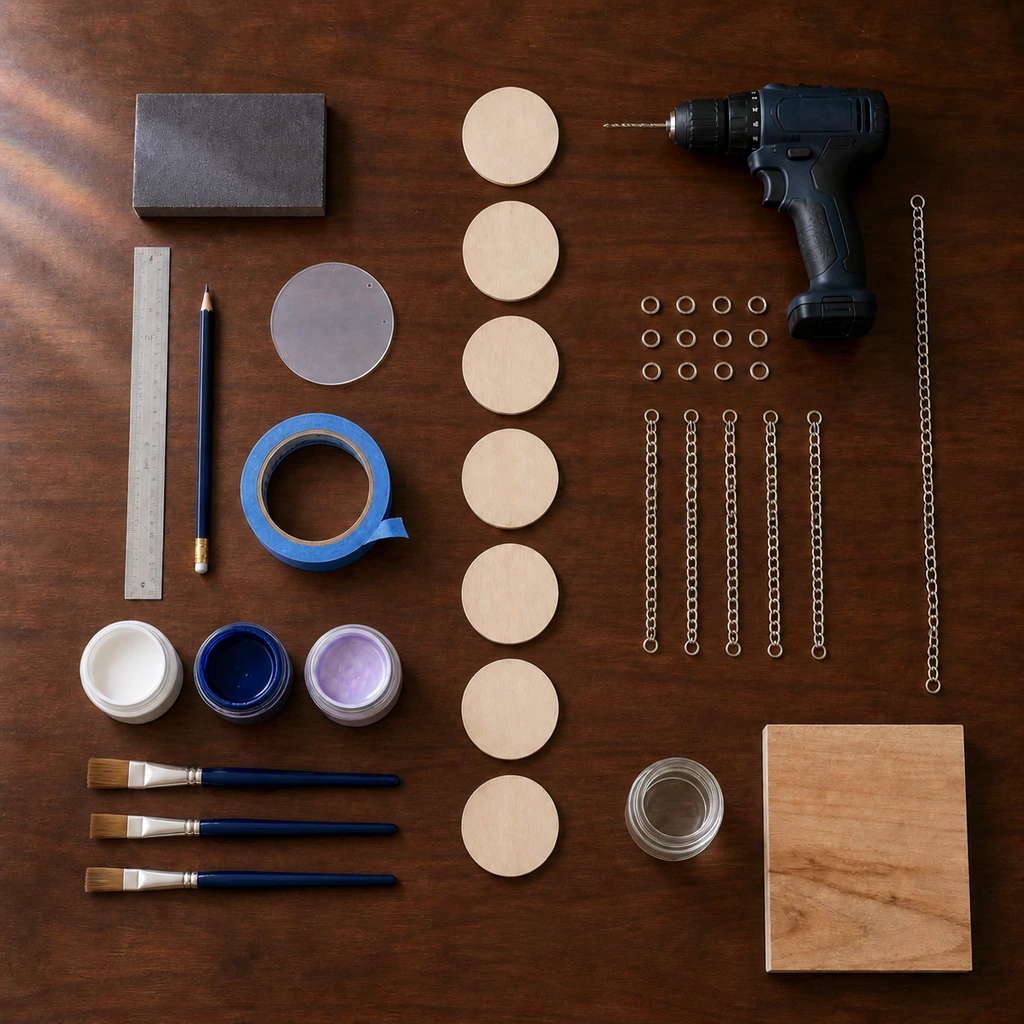
DIY Opalescent Moon Phase Wall Hanging Materials
The finished hanging is approximately 43 inches long, excluding the top chain. Choose flat, warp-free basswood so the phases align neatly.
- Seven basswood circles, 4 inches wide and 1/8 inch thick
- Fine-grit sanding sponge
- Ruler, pencil, and 3 1/2-inch round template
- Low-tack painter’s tape
- White acrylic craft paint
- Midnight-blue acrylic craft paint
- Pearlescent interference paint with lavender highlights
- Three 1/2-inch flat synthetic brushes
- Hand drill with a 1/16-inch bit
- Twelve 10 mm silver jump rings
- Six 2 1/2-inch lengths of lightweight silver chain
- One 8-inch top chain, clear water-based sealer, and scrap wood
For another approachable weekend project, try this easy DIY wall art.
Mark and Drill the Seven Wood Moons
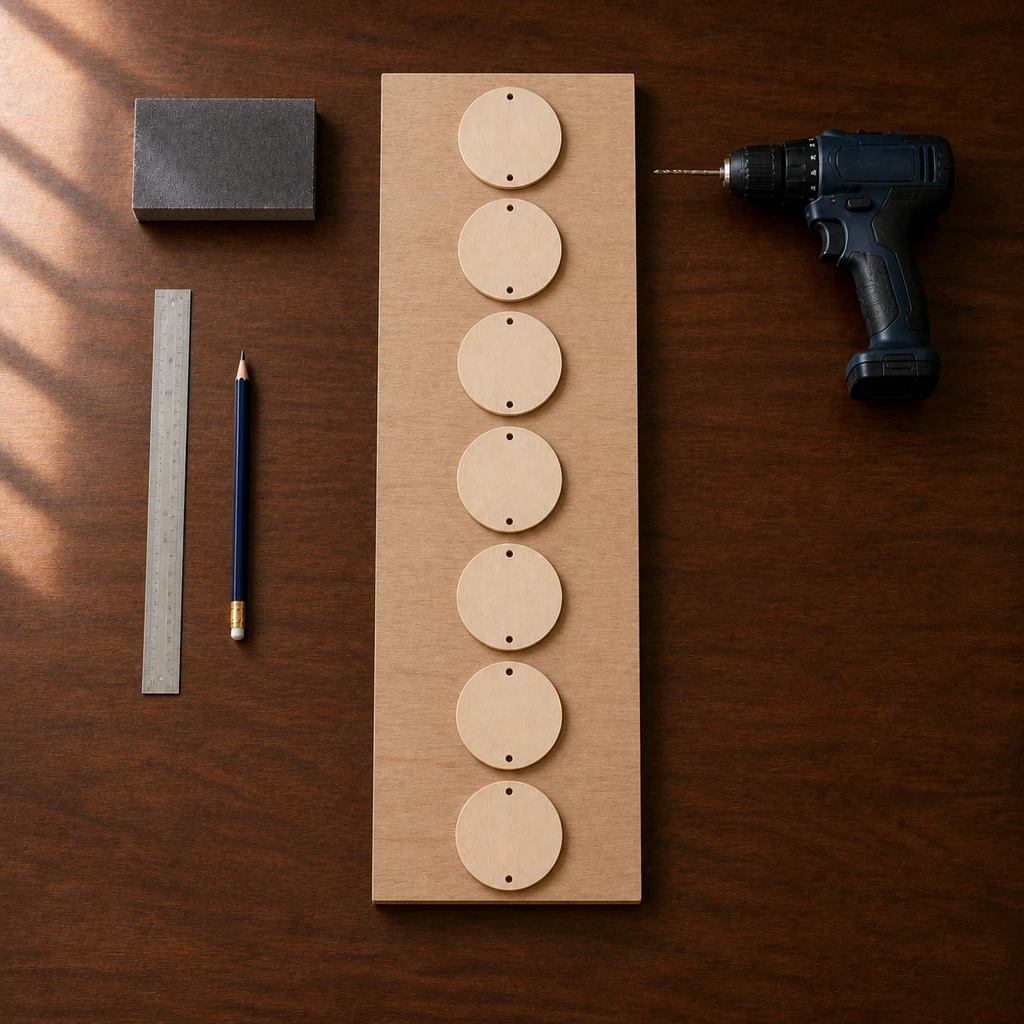
Sand the faces and edges until smooth. Mark the 12 and 6 o’clock positions on every circle, 1/4 inch from the edge. The center full-moon disc needs only the top and bottom holes, just like the other pieces.
Place each circle on scrap wood. Drill straight through every mark with the 1/16-inch bit. Wear eye protection, clamp the scrap securely, and keep hands away from the bit.
Paint a Balanced Moon Phase Sequence
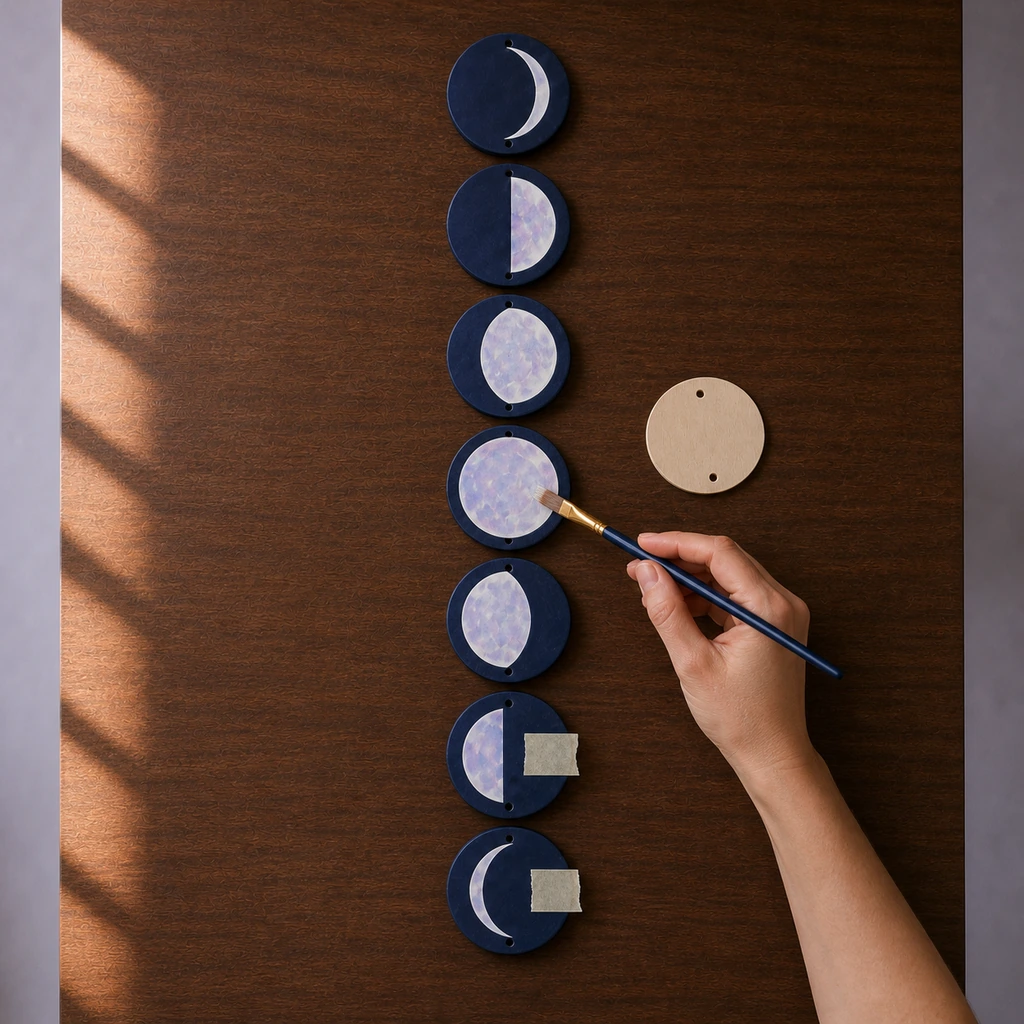
Coat the fronts and edges midnight blue; let them dry. Arrange the discs as waxing crescent, first quarter, waxing gibbous, full moon, waning gibbous, last quarter, and waning crescent.
Paint the full moon white. For quarter moons, mask exactly half of each disc with straight tape and paint the exposed half white.
For crescents and gibbous moons, place the 3 1/2-inch template 1 inch off center. Trace the curved edge lightly. Paint the narrow outside section for each crescent and the larger inside section for each gibbous moon. Mirror the shapes after the full moon.
Apply a second white coat, then brush two thin coats of pearlescent paint over every white phase. Keep strokes in one direction. Remove tape while the final coat is slightly damp, then cure according to the paint label.
If you want to coordinate the surrounding room, these modern wall decor ideas offer simple styling inspiration.
Connect and Hang the Celestial Wall Art
Lay the seven phases faceup in order with 2 1/2 inches between them. Open jump rings sideways with two pairs of pliers, connect each short chain to neighboring holes, and close every ring completely. Attach the 8-inch chain to the top hole.
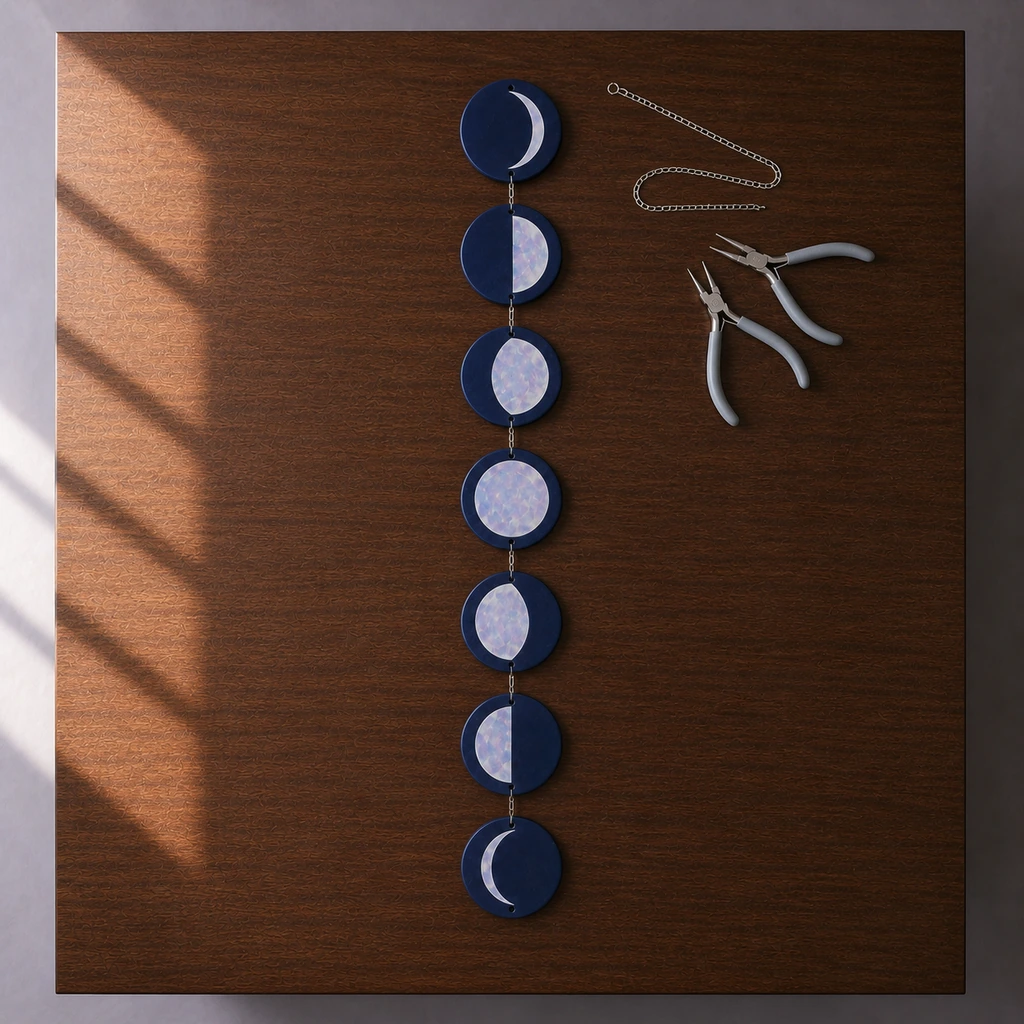
Brush on a thin clear sealer, avoiding pooled finish near the holes. Let the piece cure flat for 24 hours. The completed wall hanging should measure about 43 inches from the top disc to the bottom disc.
Hang it from a wall hook rated for at least 2 pounds. Keep it indoors and away from prolonged moisture or direct heat. Pair the finish with a glass lamp or one silver accessory, then leave the surrounding wall quiet so the opalescent color can catch the light. For budget styling help, see these easy DIY home decor ideas.