
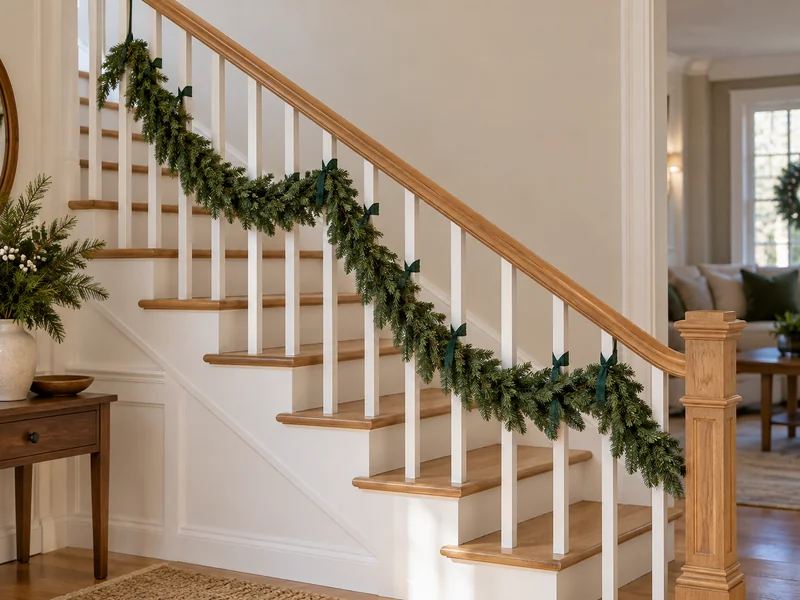
A Christmas garland can make a staircase feel finished, but wrapping greenery around the handrail leaves less room to grip it. This no-nail method uses soft fabric ties on the vertical balusters instead. The garland sits on the room-facing side in shallow swags, while the rail and stair treads stay clear.
The Quick Method
Measure the sloped rail, allow a little extra length for shallow swags, and tie an unlit lightweight faux garland to the room-facing side of the vertical balusters. Use soft cotton ties below the handrail. Finish by gripping the rail and walking the stairs to check that every tread stays clear.
Safety first: Do not cover a required handrail, block stair treads, or use a ladder or chair on the stairs. If your railing has no suitable vertical balusters, choose a different place for the garland rather than improvising an attachment that can slip.
What You Need
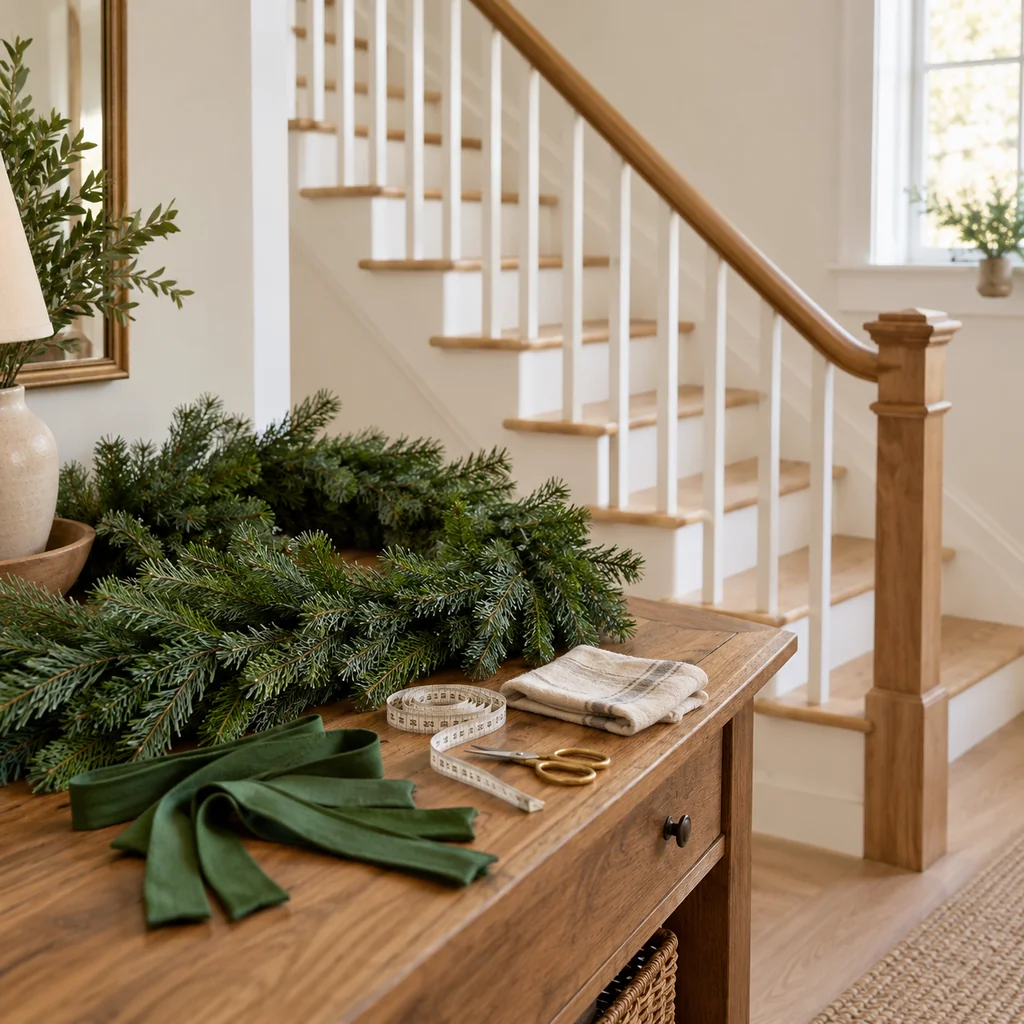
- One lightweight, unlit faux evergreen garland, sized to your measured rail run
- Four to six short strips of soft cotton twill tape or fabric ties for a short staircase, plus extras if needed
- A flexible measuring tape
- A soft cloth and scissors
Choose a flexible garland with a central stem you can tie securely. Skip heavy ornament clusters and dangling pieces on a busy staircase. This tutorial uses no adhesive, nails, wire, or electric lights.
How to Hang Christmas Garland on a Stair Railing
1. Measure the railing and plan the length
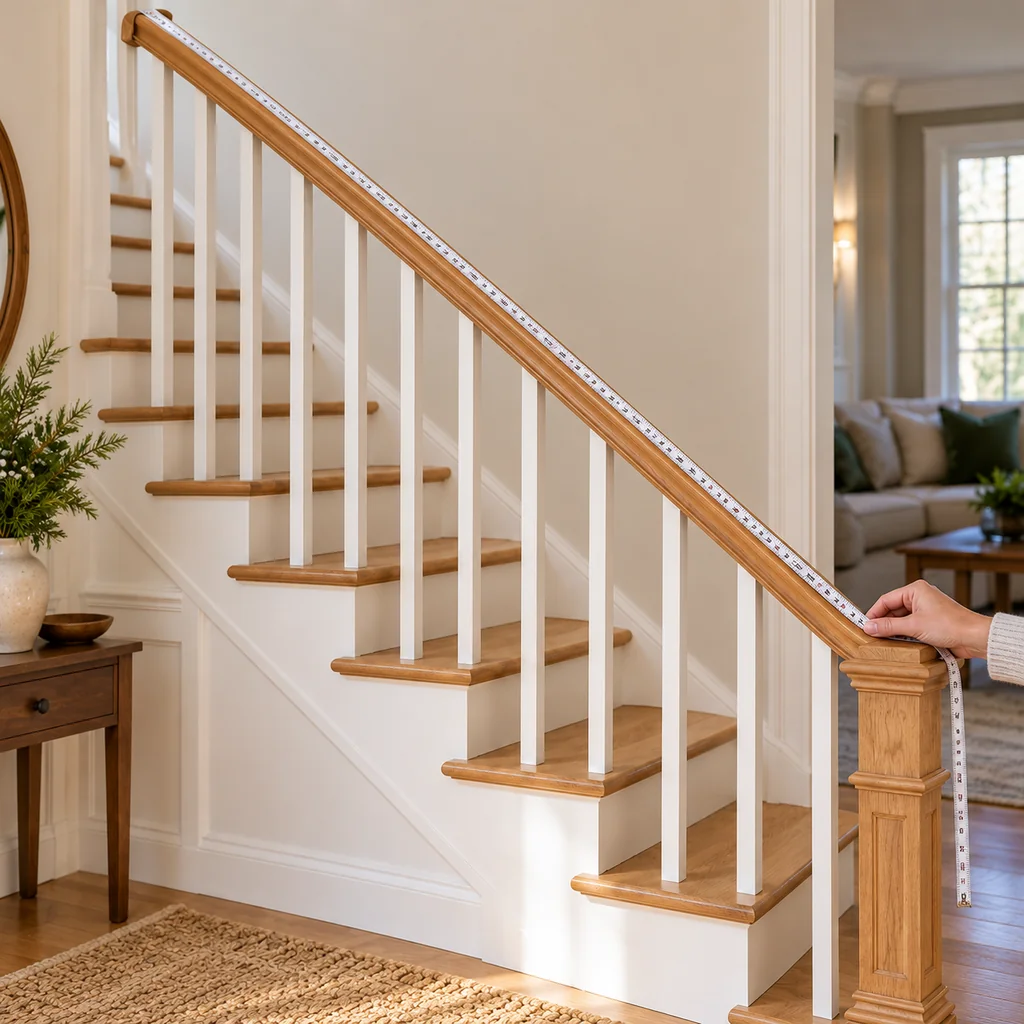
Wipe the balusters with a soft cloth. Measure along the sloped handrail between the first and last balusters you can tie to. For gentle swags, choose a lightweight garland about 10 to 20 percent longer than that run; for an 8-foot run, roughly 9 to 9½ feet is a useful starting point. Check that you can reach each attachment point while standing safely on a stair or landing—never on the rail.
2. Dry-fit shallow swags below the handrail
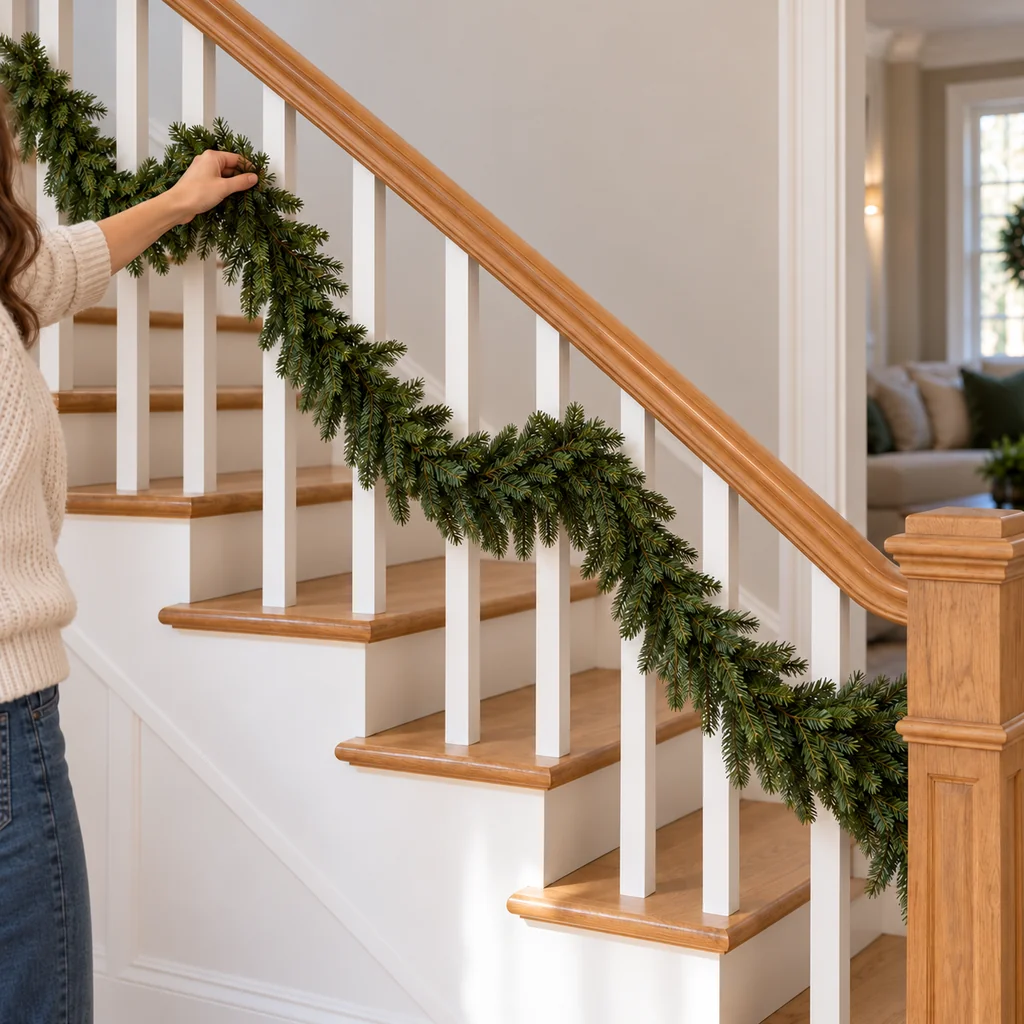
With the garland still untied, hold it against the room-facing side of the vertical balusters, several inches below the rail. Mark out two or three shallow dips rather than one deep loop. Keep the top and inner grip of the rail bare, and make sure no branch can fall onto a tread. If the garland looks too heavy or long for this position, use a lighter or shorter strand.
3. Tie the first end to a vertical baluster
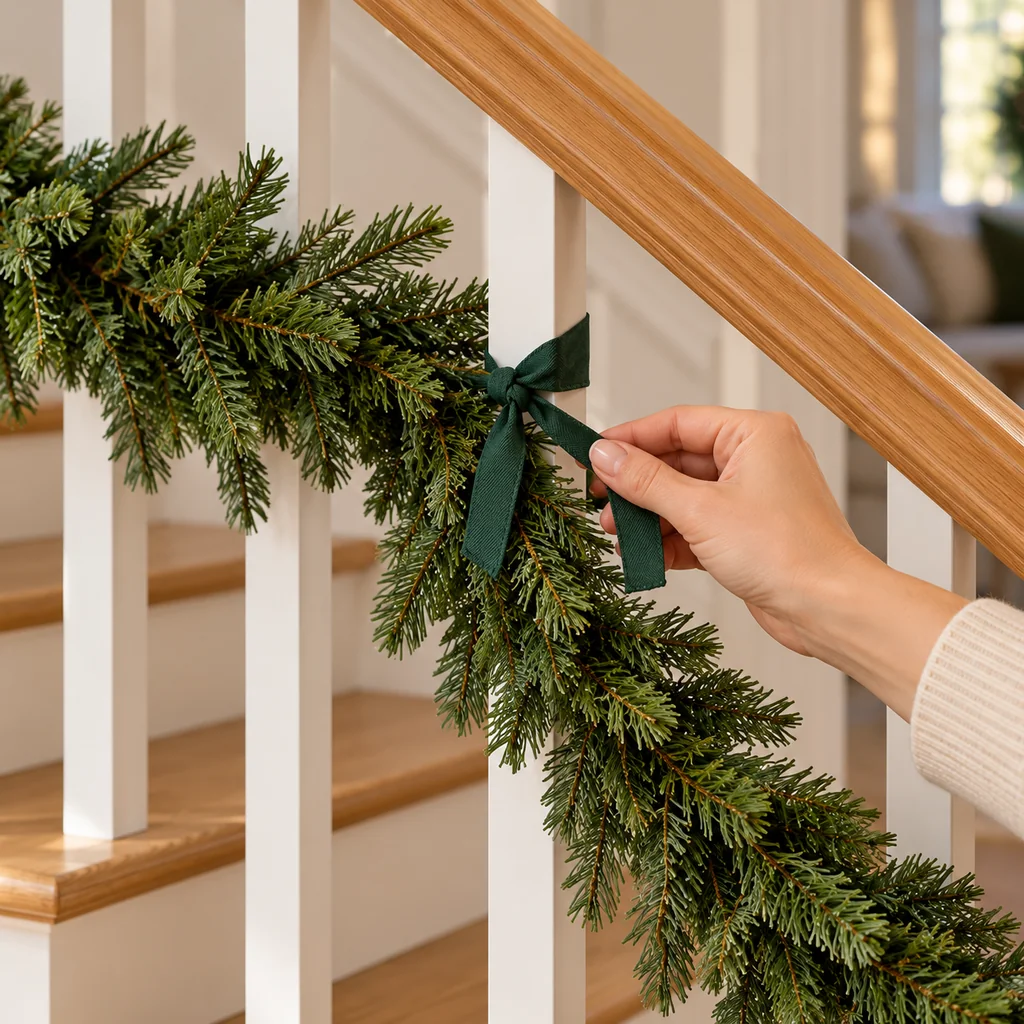
Start at the upper end of the run. Loop a short soft cotton tie around the garland’s central stem and a vertical baluster, then knot it snugly below the handrail. Tie fabric to the baluster only, not across the top of the rail. Leave the next length of garland loose so it can form the first gentle dip.
4. Secure the middle points and even out the swags
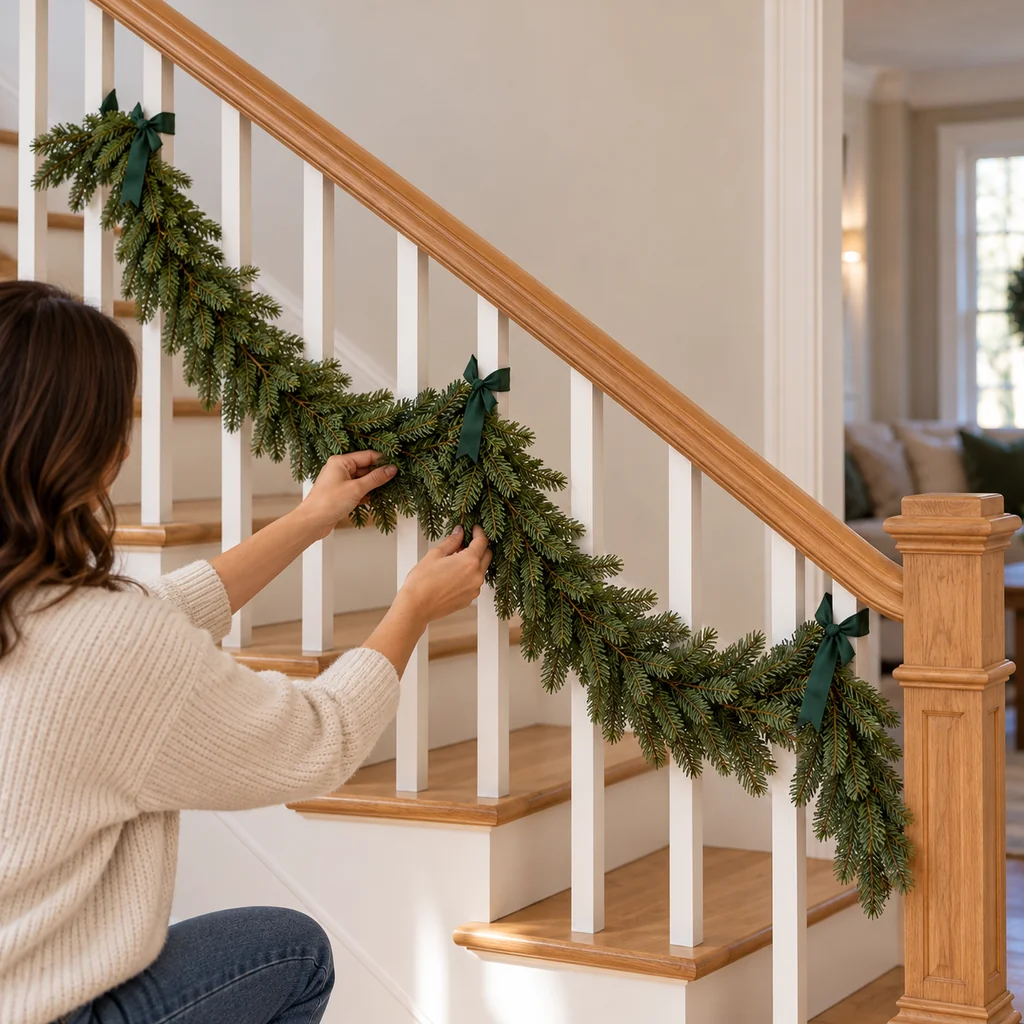
Work down the stairs, tying the garland stem to selected vertical balusters at each high point. A short run often needs four to six support points in total; add one wherever a section slips or sags unevenly. Step back to compare the dips, then adjust the fabric before tightening the knots. Keep each swag shallow and on the outside face of the railing.
5. Fasten the last end and tuck loose tips
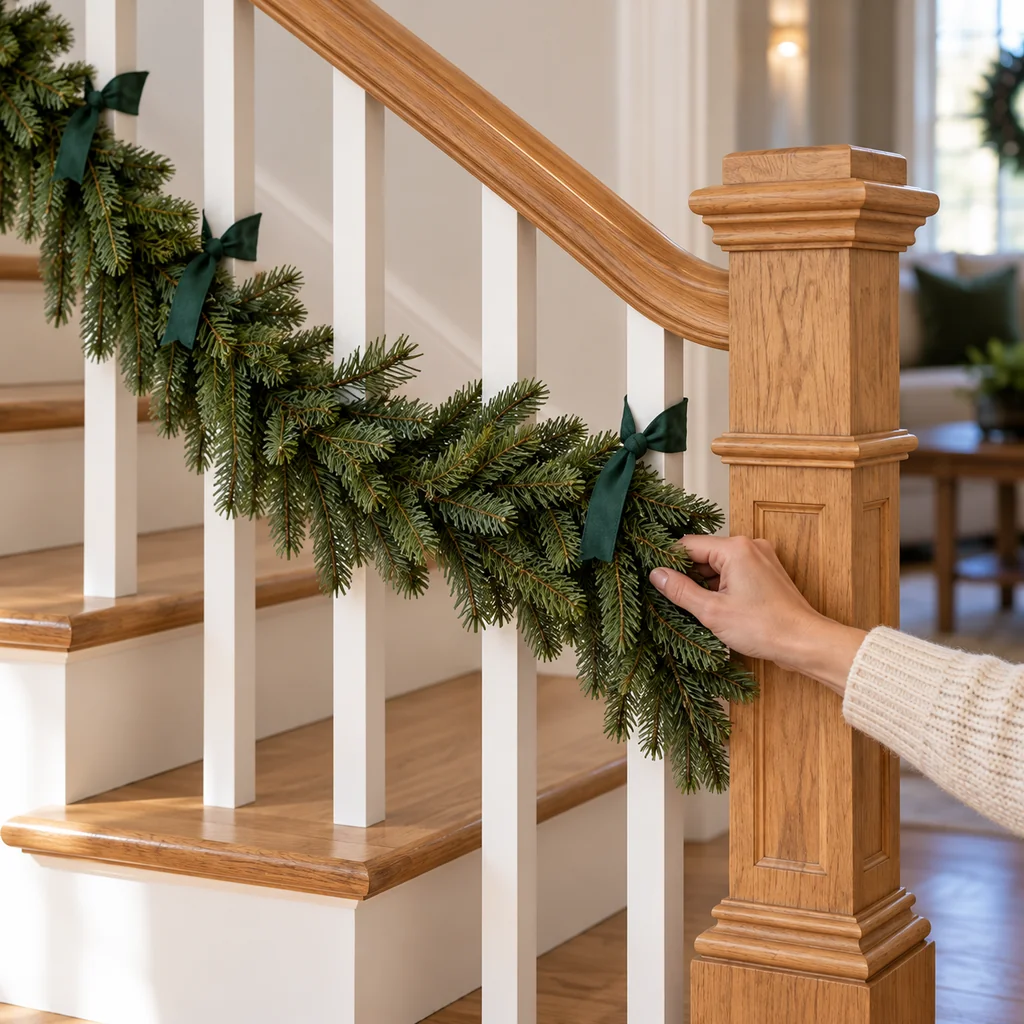
Tie the lower end to the final vertical baluster beside the newel post. Tuck any short greenery tip back into the swag and trim long fabric tie tails with scissors. Nothing should trail across the bottom step or onto the landing. If the last end will not stay in place, add another soft tie instead of wrapping the handrail.
6. Test the handrail and every stair tread
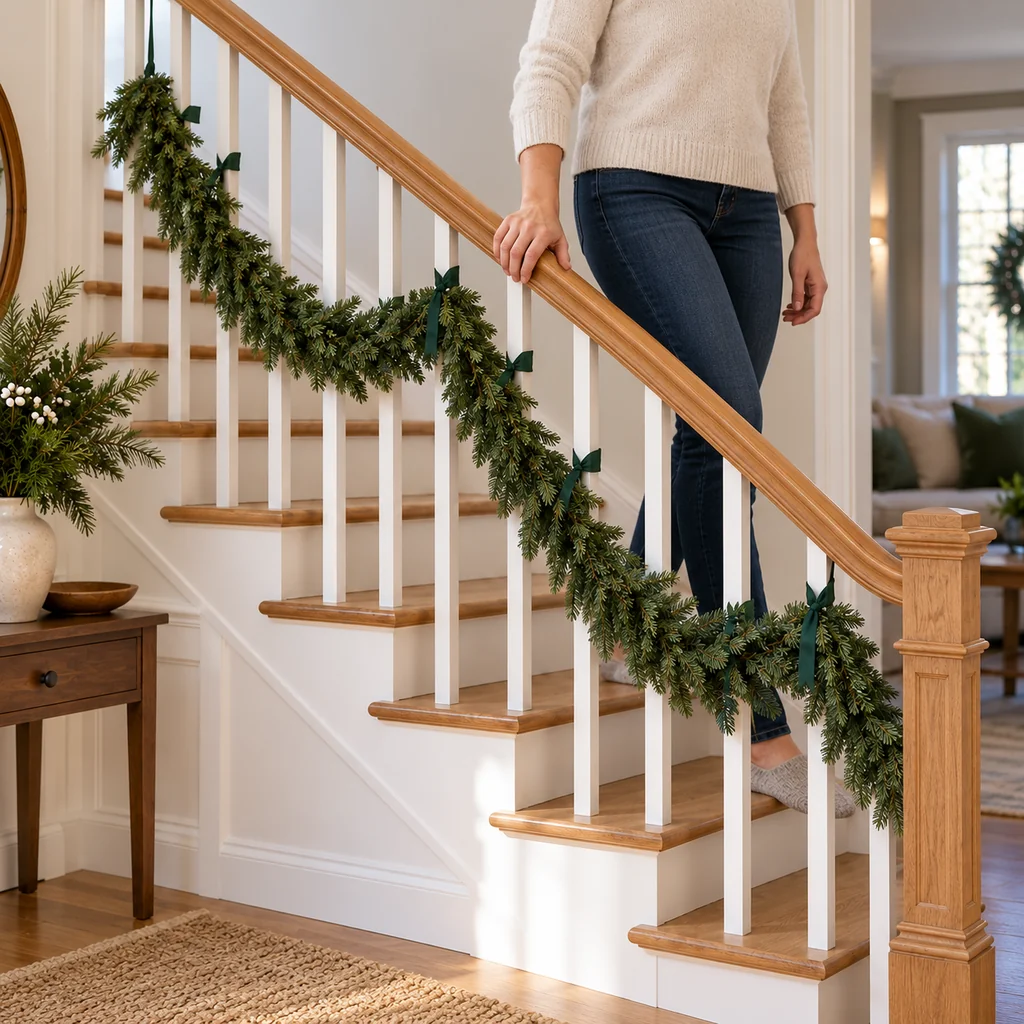
Walk the staircase normally while holding the rail. Your hand should slide along its usable grip without meeting greenery or a tie. Look from both ends to check that branches and tie tails stay out of the walking path. Gently tug each attachment; if one moves, retie it before using the stairs. Repeat this check during the season, especially after children or pets brush past.
How Much Garland Does a Staircase Need?
Measure the section you actually plan to decorate, from the first to the last usable baluster. A nearly straight line needs about the same length as the run; shallow swags need a little more. Start with about 10 to 20 percent extra and dry-fit before tying anything. A thick or heavy garland will hang lower than a light one, so judge the clearance on your own stairs rather than relying only on a formula.
Common Problems
The garland keeps sliding
Move the tie onto the garland’s central stem, use a textured cotton strip, and add another attachment point on a nearby baluster. A loose decorative bow alone is not a secure fastening.
One swag hangs much lower than the others
Untie the nearest high point and feed a little garland length into the shorter dip. Then step back and compare the curves before retying. If greenery approaches a tread, shorten that dip.
The greenery brushes your hand on the rail
Move the attachment lower on the room-facing side of the balusters. If the rail still cannot be used comfortably, take the garland down and decorate a shelf or peg rail instead.
After the Holidays
Untie the fabric strips instead of pulling the garland through the balusters. Check for any finish marks, dust the railing, and coil the garland loosely so the stems do not kink. For another compact holiday display, see our stockings on a peg rail project. Our small entryway Christmas decor guide helps keep nearby walkways usable too.
Frequently Asked Questions
Can I attach garland directly to the handrail?
For a staircase people use, keep the handrail’s gripping surface clear. Attach a light strand to suitable vertical balusters below it instead.
Will soft fabric ties protect a painted or wood railing?
They avoid holes and hard wire against the finish, but no material guarantees zero marks on every surface. Test a hidden spot, use clean soft fabric, and do not cinch it so tightly that it rubs or crushes the finish.
What if my staircase has glass panels or no balusters?
This tie-to-baluster method is not suitable for that railing. Do not assume a glass panel, adhesive hook, or handrail can support the same arrangement; choose a separate display area or follow the railing maker’s guidance.
Can I add string lights?
Keep this particular setup unlit. If you want lights elsewhere, use products according to their instructions and keep cords away from stairs and walking paths.