
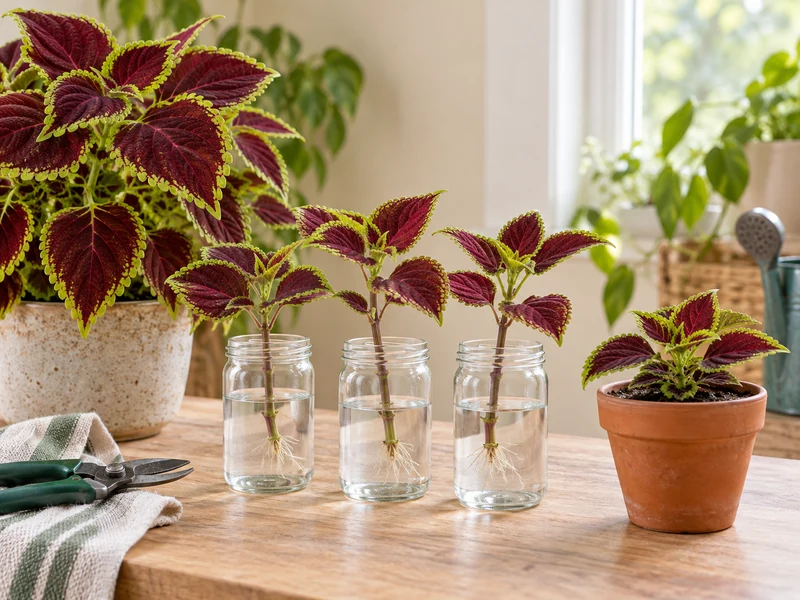
To propagate coleus cuttings in water, take a healthy 3–5-inch stem cutting just below a leaf node, remove the lower leaves, and keep one or two bare nodes in clean water. Give the cutting bright indirect light, refresh the water at least twice a week, and move it to potting mix when it has a small network of roots about 1/2–1 inch long.
This method makes root development easy to see, but timing matters. Leaves left underwater can decay, cloudy water can encourage stem rot, and a long tangled water-root system is harder to settle into soil. The goal is a compact, healthy root start—not the biggest root ball possible.
Why Coleus Is Easy to Root in Water
Coleus stems form roots from their nodes, the slightly raised joints where leaves and side shoots grow. A clean cutting exposes one or two of those nodes to water while the remaining leaves continue to support the stem. Warm room conditions and bright, indirect light help the cutting stay active without the stress of intense sun.
Water propagation is especially useful when you want to preserve a favorite coleus before cold weather. It also turns pruning material into new plants. Results vary by plant health, temperature, light, and cultivar, so treat any calendar as a guide rather than a guarantee.
What You Need
- A healthy, actively growing coleus plant with no visible pests or disease
- Clean bypass snips or sharp scissors
- A small, clean glass or narrow-neck jar for each cutting
- Room-temperature tap water
- A 3-inch pot with a drainage hole and saucer
- Fresh, loose indoor potting mix
- Optional: a clear loose cover for short-term humidity support after potting
Wash your hands and clean the cutting blades before and after use. Confirm the plant’s identity, and keep cut stems and rooting water out of reach of children and pets. If any part is ingested, contact the appropriate medical or veterinary professional rather than relying on a common name alone.
How to Propagate Coleus Cuttings in Water
Step 1 — Inspect the Parent Plant
Look under leaves and along the stems for aphids, whiteflies, webbing, scale-like bumps, sticky residue, or distorted growth. Do not propagate from an unhealthy or badly infested plant; cuttings can carry the problem indoors and spread it to the rest of your collection.
Choose an upright, non-flowering shoot with firm growth. If a flower spike has already started, select another stem when possible so the cutting can direct energy toward roots and new foliage.
Step 2 — Cut Below a Node
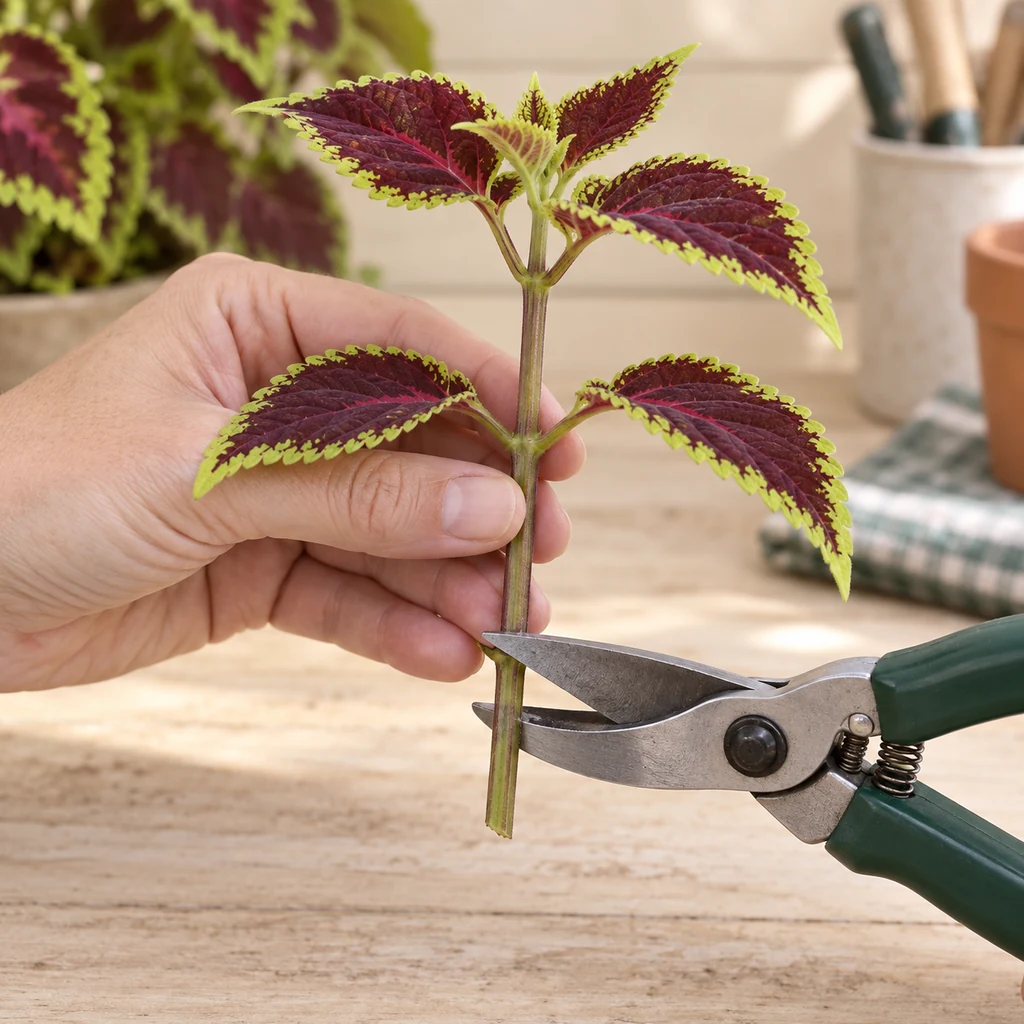
Use clean snips to remove a 3–5-inch tip cutting just below a lower leaf node. The finished cutting should have at least one node that can sit below water and a healthy leafy tip above it. Avoid crushing the soft stem.
If the shoot is longer than needed, trim it to size with a fresh cut below the lowest node you plan to root. Make each cutting with its own clean, firm base; ragged tissue is more likely to deteriorate.
Step 3 — Remove the Lower Leaves
Pinch or snip off leaves from the bottom one or two nodes. Leave two or three sets of healthy leaves near the top, depending on their size. No leaf blade or petiole should sit underwater because submerged foliage breaks down quickly.
If the top is very large and wilts easily, remove one lower leaf pair rather than cutting every leaf in half. The cutting needs enough foliage to remain active without losing water faster than the new stem can replace it.
Step 4 — Set Bare Nodes in Clean Water
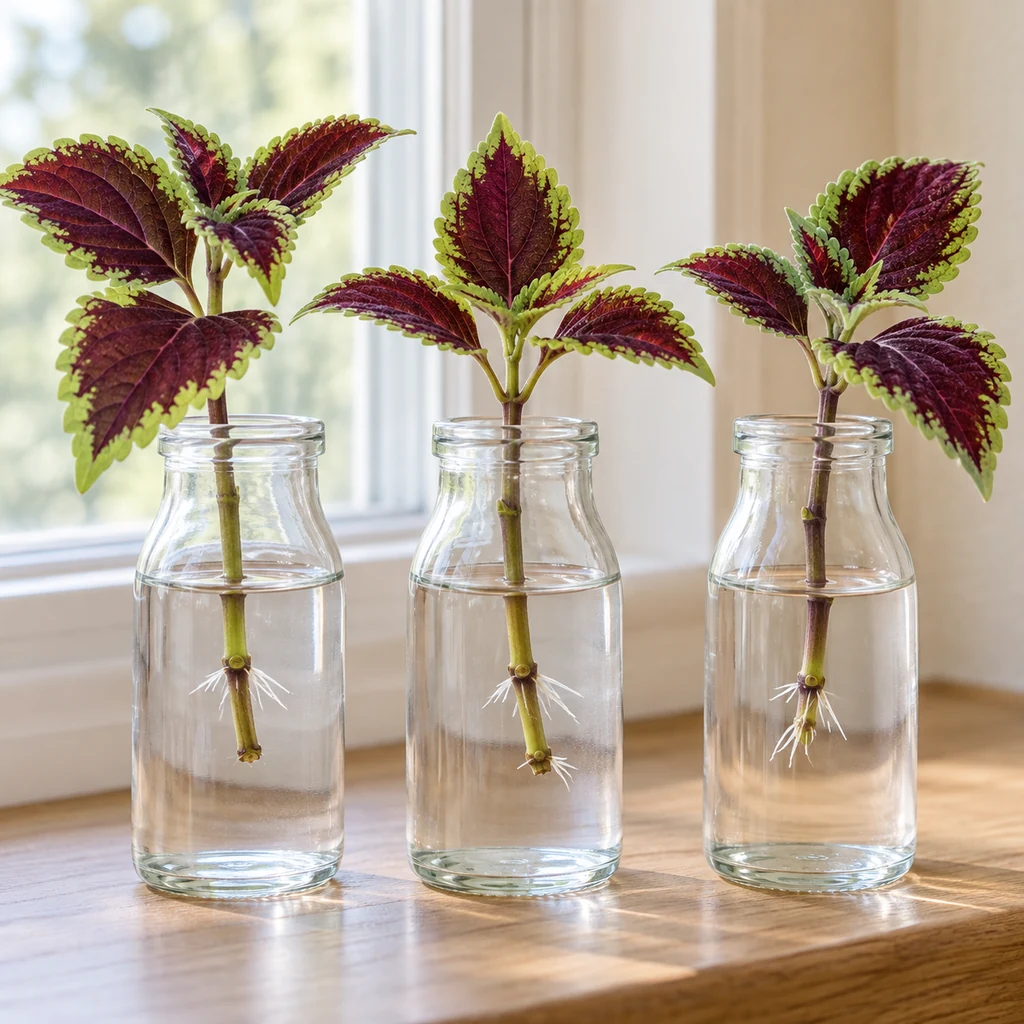
Place one cutting in each clean jar so at least one bare node is submerged and all foliage remains dry. A narrow neck helps hold the stem upright, but the base should not be jammed against the glass.
Set the jar in bright indirect light in a comfortably warm room, away from a hot window, cold draft, heater, or air-conditioner vent. Direct midday sun can heat the small volume of water and stress an unrooted cutting.
Step 5 — Refresh the Water
Replace the water at least twice a week and any time it looks cloudy. Rinse the jar if a film develops, then refill it with room-temperature water and return the stem to the same depth. Top-ups alone do not remove decaying residue.
Small white root points may appear in roughly 10 days, but some cuttings need several weeks. A firm stem and healthy top are reasons to wait. A dark, translucent, or mushy base is not.
Step 6 — Pot When Roots Are 1/2–1 Inch Long
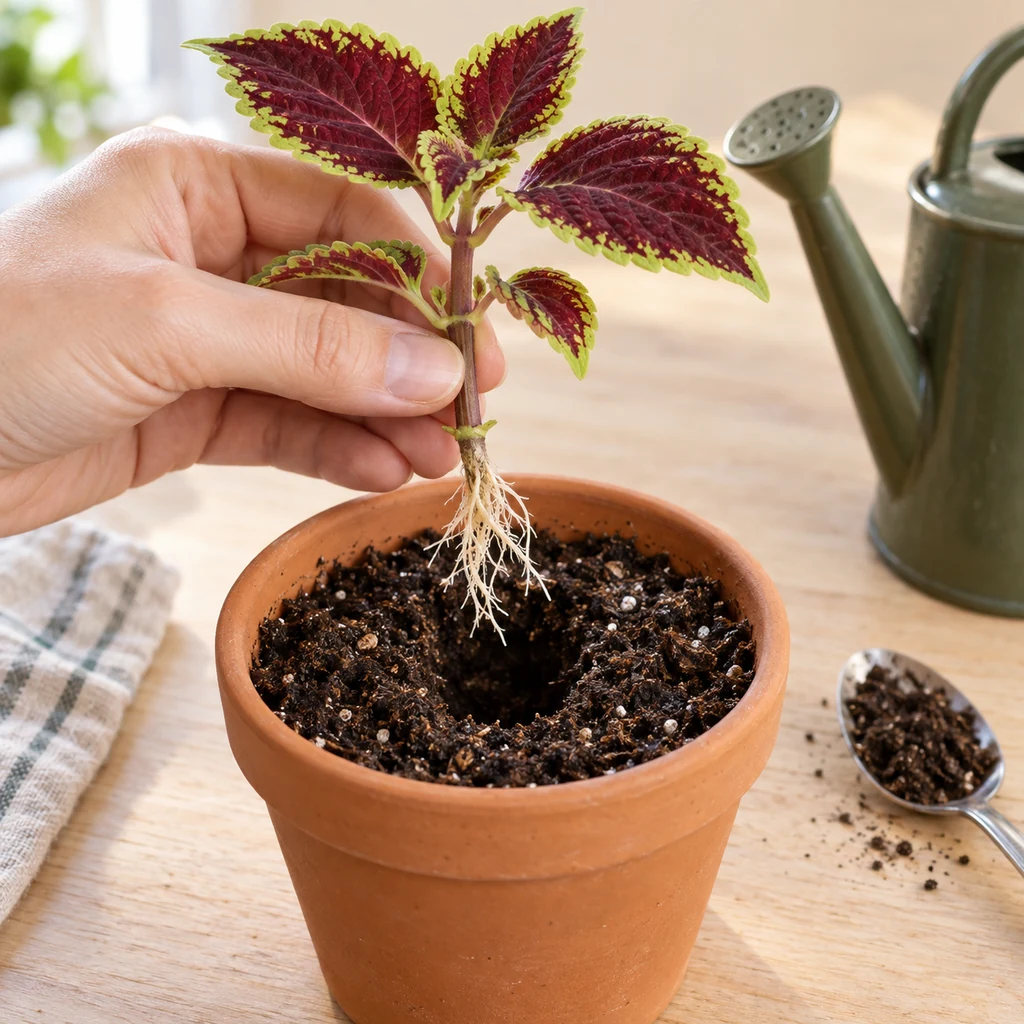
Prepare a 3-inch pot with a drainage hole and lightly pre-moisten the potting mix. Make a hole deep and wide enough for the roots to hang naturally. Lower the cutting into place without folding the roots upward, then draw the mix around them and firm it only enough to hold the stem upright.
Water thoroughly and let excess drain. Do not leave the pot standing in a full saucer. A small root network adapts more readily than long, brittle water roots, so transplant before the roots wrap around one another.
Step 7 — Help the Cutting Adjust to Soil
Return the pot to bright indirect light and keep the mix evenly moist—but not saturated—during the first week. The cutting may soften briefly while its roots adjust. If your room is very dry, place a loose clear cover over the pot without touching the leaves, vent it daily, and keep it out of direct sun. Remove it gradually as the cutting stays upright.
Wait for clear new growth before feeding. Then use fertilizer only according to the product label. Pinch the tip after the plant is established if you want a bushier shape.
Coleus Rooting Timeline and Readiness Signs
| Stage | What you may see | What to do |
|---|---|---|
| Day 0 | Firm stem, fresh cut, no roots | Submerge bare nodes and keep every leaf above water. |
| Days 3–7 | Cutting stays upright; tiny pale bumps may form | Refresh water at least twice weekly and check the stem base. |
| About day 10 to several weeks | White roots extend from a node | Wait for a small network about 1/2–1 inch long, not a tangled mass. |
| First week after potting | Temporary softness followed by steadier leaves | Keep mix evenly moist, provide indirect light, and avoid fertilizer. |
| After new growth begins | Fresh leaves or a lengthening tip | Ease into the plant’s normal watering routine and pinch for branching if desired. |
Troubleshooting Coleus Cuttings
The Stem Is Turning Brown or Mushy
Remove the cutting immediately. With clean snips, cut back to firm healthy tissue above the damaged section, wash the jar, remove any foliage that would be submerged, and restart in fresh water. If rot has reached every node, discard the cutting.
The Water Keeps Turning Cloudy
Cloudiness usually points to decaying plant material or a dirty container. Replace the water rather than topping it up, scrub the jar, and confirm that only bare stem and nodes are underwater. One cutting per small jar also makes problems easier to isolate.
The Cutting Wilts Before It Roots
Move it away from direct sun and drafts. Make sure the cut end is submerged and the jar has not run dry. If the cutting carries many large leaves, remove one lower pair to reduce demand. Do not solve wilting by submerging foliage.
No Roots Appear, but the Stem Is Firm
Give it more time and check the temperature and light. A cool windowsill can slow rooting, while harsh sun can overheat the jar. If the stem remains firm and the leaves are reasonably healthy, patience is safer than repeatedly recutting it.
The Cutting Wilts After Potting
Check moisture with a fingertip. Dry mix needs a thorough watering; saturated mix needs drainage and air, not more water. Brief humidity support can help, but a sealed cover in sunlight can overheat the plant. New growth is a better success signal than one soft afternoon.
Using Cuttings to Overwinter Coleus
Take cuttings while the outdoor parent plant is still actively growing, before cold damage. Inspect them carefully and keep new arrivals separate from established houseplants while you watch for pests. Once rooted and potted, give them the brightest indirect light available and avoid cold glass or drafts.
Indoor winter growth may be slower or leggier than summer growth. Pinching an established tip can encourage branching, but light—not constant feeding—is usually the limiting factor. For a broader indoor routine, see these beginner plant care tips. If you will be away, plan water needs with the houseplant vacation-watering guide instead of leaving a fresh cutting in standing water.
Frequently Asked Questions
How long do coleus cuttings take to root in water?
Some show small roots in about 10 days, while others take several weeks. Plant health, warmth, light, and cultivar all affect the pace. Pot based on root development, not a fixed date.
Can I put several coleus cuttings in one jar?
You can, but separate jars reduce crowding and make it easier to remove one cutting if its water clouds or its stem begins to rot. If you group them, keep every leaf above the waterline and do not pack stems tightly.
Should I add fertilizer or rooting hormone to the water?
Plain clean water is enough for this method. Avoid adding fertilizer before roots and new growth develop. Rooting hormone is generally used for cuttings placed in a rooting medium and is not necessary for a basic coleus water cutting.
Can coleus live in water permanently?
A cutting can remain alive in water for a while, but this guide is designed to produce a soil-grown plant. Pot it while the roots are still short and manageable rather than waiting for a large, tangled water-root system.
How often should I water the potted cutting?
Keep the mix evenly moist during the first week, then water according to the pot, light, temperature, and plant growth rather than a rigid schedule. Let excess drain each time. The same principle—checking conditions instead of following the calendar—also applies to indoor succulent care, although succulents need a much drier routine.