
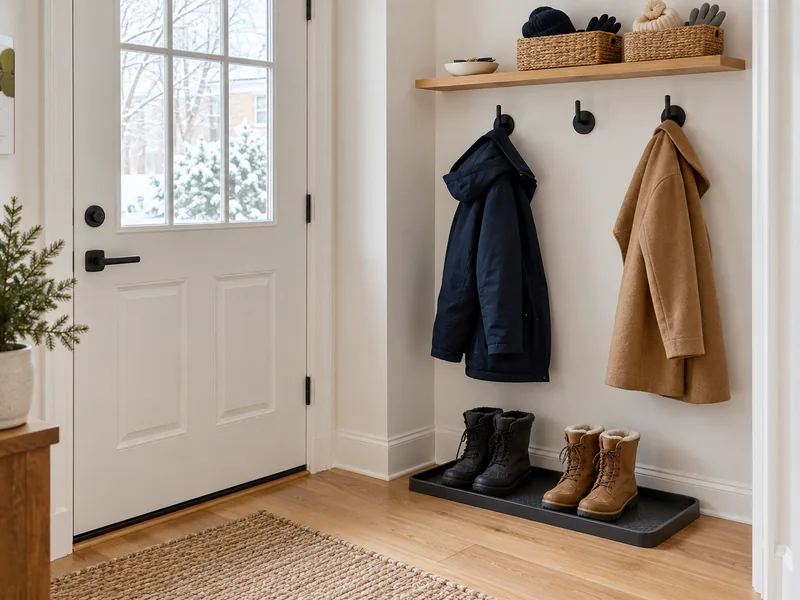
A small entryway can look tidy in the morning and turn into a pile of wet boots, coats, hats, and missing gloves by evening. The fix is a simple route for winter gear: wet things land where they can drain or air out, while dry things have an easy place to go.
This small winter entryway organization plan works with a narrow wall and a modest patch of floor. It does not depend on a built-in mudroom, a row of new cabinets, or one exact room size. Measure your own space first, then make the zones fit your doorway.
The Quick Setup
- Floor: a washable, lipped tray or mat for wet boots, positioned outside the door swing.
- Wall: spaced hooks or a sturdy rack for damp coats to hang openly until dry.
- Dry storage: a small, reachable bin for each person’s clean, dry hat and gloves.
- Exit point: one shallow dish or shelf for keys and other things that leave with you.
The important distinction is wet versus dry. Stuffing damp mittens into a closed basket may hide clutter for a few hours, but it does not help them dry. The U.S. Environmental Protection Agency recommends addressing moisture promptly and increasing air movement when practical. Use that principle here: let damp gear air out before it goes into enclosed storage.
What You Need
- A tape measure and painter’s tape for testing the layout.
- One boot tray or washable waterproof mat sized for your available floor space.
- Existing wall hooks, a securely installed hook rail, or a stable freestanding rack with enough room between coats.
- One or more small, open bins for accessories after they are dry.
- Optional: a shallow shelf or dish for keys and a removable towel for the heaviest snow days.
Buy only after measuring the clear floor and wall space. The example photographs show one compact arrangement; they are a layout reference, not a promise that the same tray or rail will fit every doorway.
Build the Winter Gear Route in Six Steps
Step 1 — Mark the Clear Path Before Adding Storage
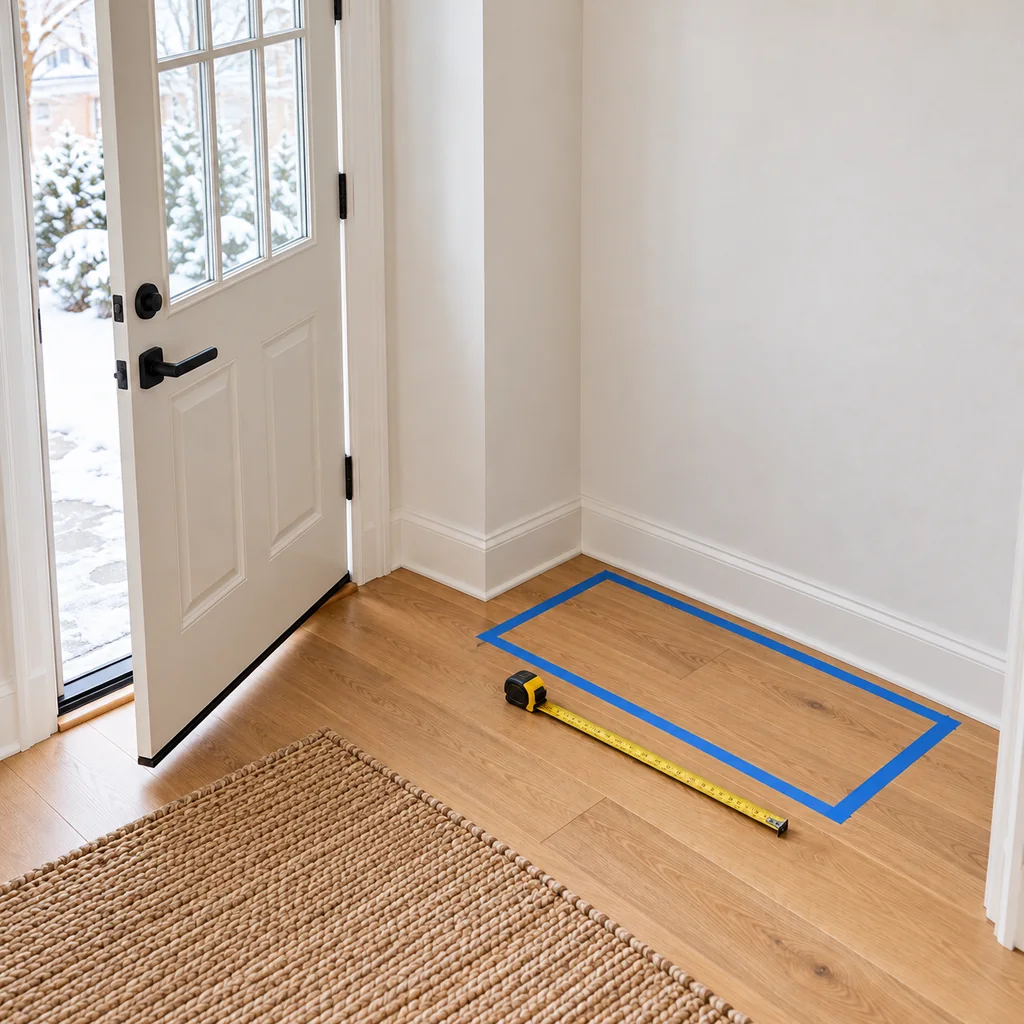
Open the front door all the way and note its swing. Measure the floor space left beside the walking path and the wall width that remains usable when the door, closet, and nearby drawers are open. Mark the proposed tray footprint with painter’s tape. Step through the doorway carrying a bag to see whether the path still feels comfortable.
Keep the floor zone small enough that nobody has to step over it. If your entry is too tight for a tray beside the door, use an adjacent wall or nearby hallway corner. Do not block an exit, a heat register, or access to a closet.
Step 2 — Put Wet Boots on a Surface You Can Empty
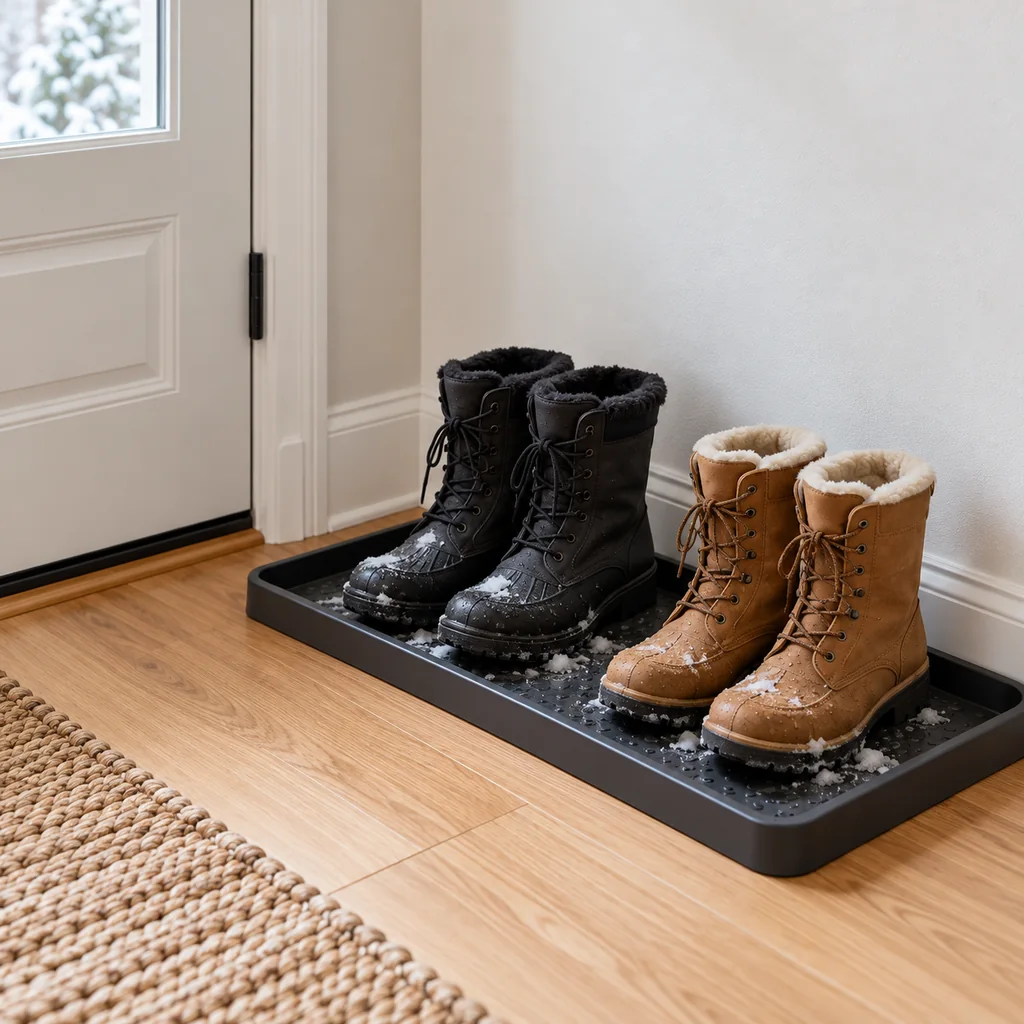
Set a lipped boot tray on the marked floor area and check the door again. Leave enough room between boots for air to move. Knock off loose snow outside when possible, then stand boots upright on the tray rather than piling them sideways. Empty meltwater and wipe the tray as needed; a tray that stays full of water defeats the setup.
If a pair is soaked through, remove insoles if the shoe maker allows it and dry the footwear according to its care instructions. Do not place leather or other heat-sensitive boots against a radiator just to clear the floor faster. Keep a dry spare pair elsewhere if a boot takes longer to dry.
Step 3 — Give Damp Coats Breathing Room
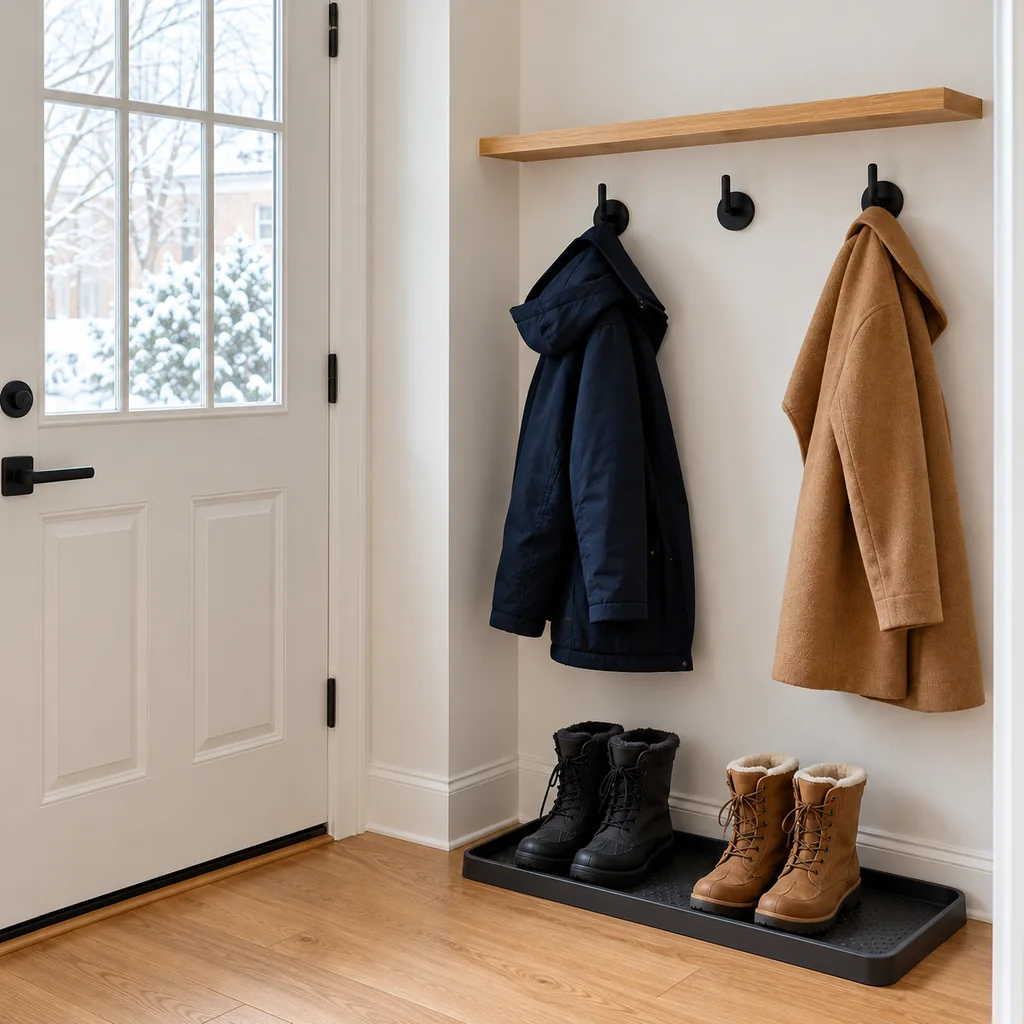
Hang the coats you actually wear this week on hooks or a stable rack. Space them so one wet coat does not press against another. A deep closet can hold off-season coats, but an open hook is usually more useful for a snowy jacket that needs to air out first.
If you install a hook rail, follow the rail’s mounting instructions and the fastener guidance for your wall type and expected load. A crowded hook rail can fail or leave coats dragging on the boot tray. Keep frequently used hooks at a height the intended user can reach safely, without encouraging children to climb furniture.
Step 4 — Dry Gloves and Hats Before Binning Them
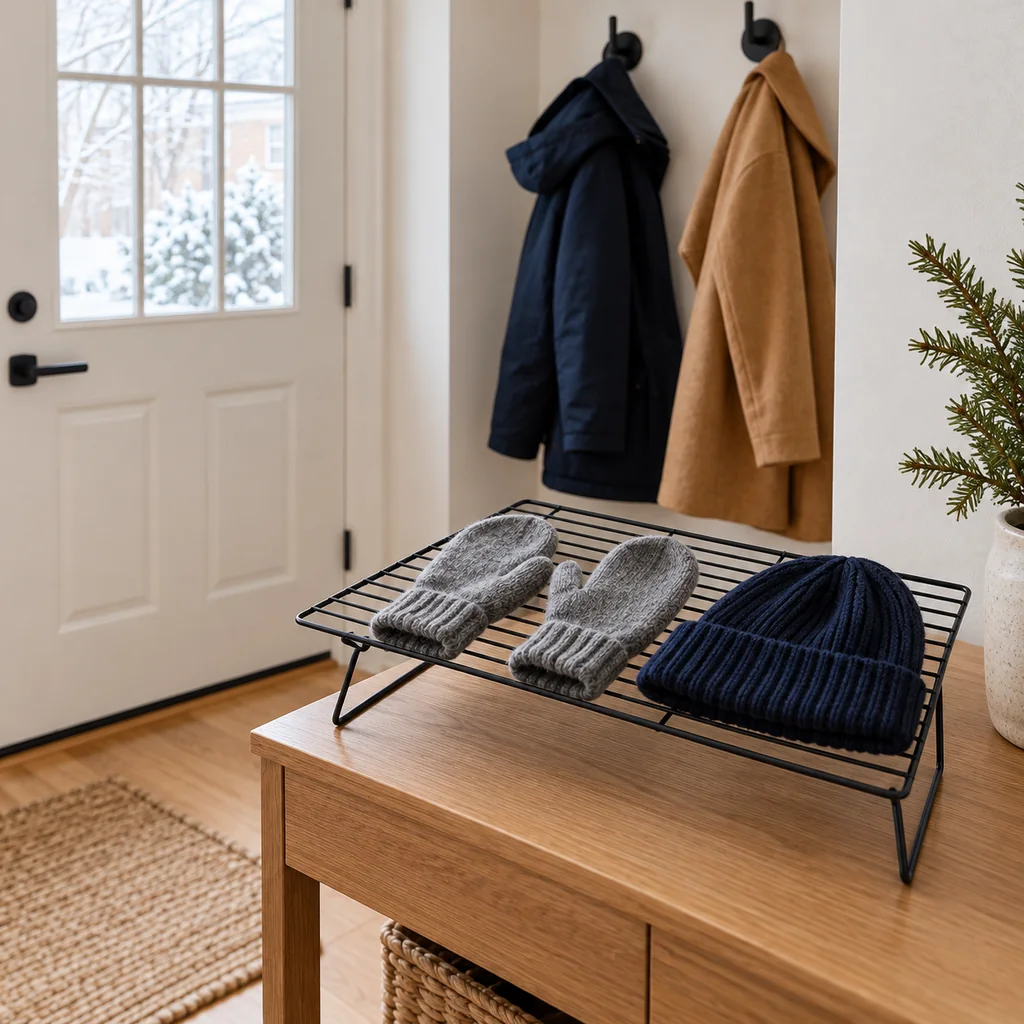
Set wet gloves and hats on an open rack, hooks, or another washable drying spot where air can reach them. Separate pairs rather than stuffing one glove inside the other. Once dry, move them to small bins near the door. A bin per person, or a simple “adults” and “kids” split, prevents a single bottomless basket of mixed accessories.
Choose bins shallow enough that you can see what is inside. If an item still feels damp or smells musty, keep it out of closed storage and follow its care label for cleaning and drying. This setup is for ordinary rain and snow gear; a leak, flooding, or persistent dampness in the room needs its source addressed.
Step 5 — Add One Dry Departure Spot
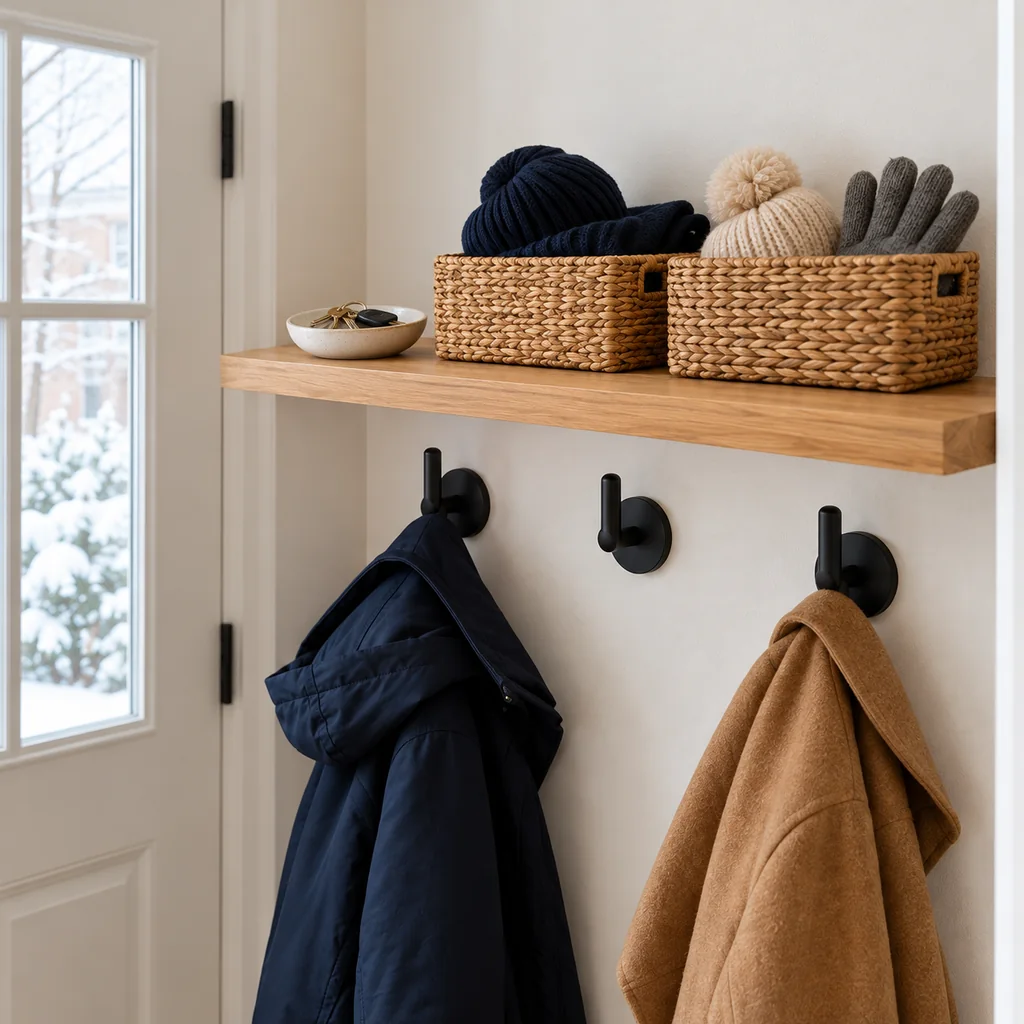
Place a shallow dish or shelf near the door for keys, transit cards, and other small things that leave with you. Keep it above the wet boot area or on a separate surface so a dripping coat cannot soak papers or electronics. Put the dry accessory bins within easy reach but leave the shelf surface mostly clear.
A small landing spot is more useful than a large catchall. If mail, toys, and shopping bags begin to collect there, move them to their actual homes during the daily reset instead of adding another oversized basket.
Step 6 — Test the Route on a Real Winter Day
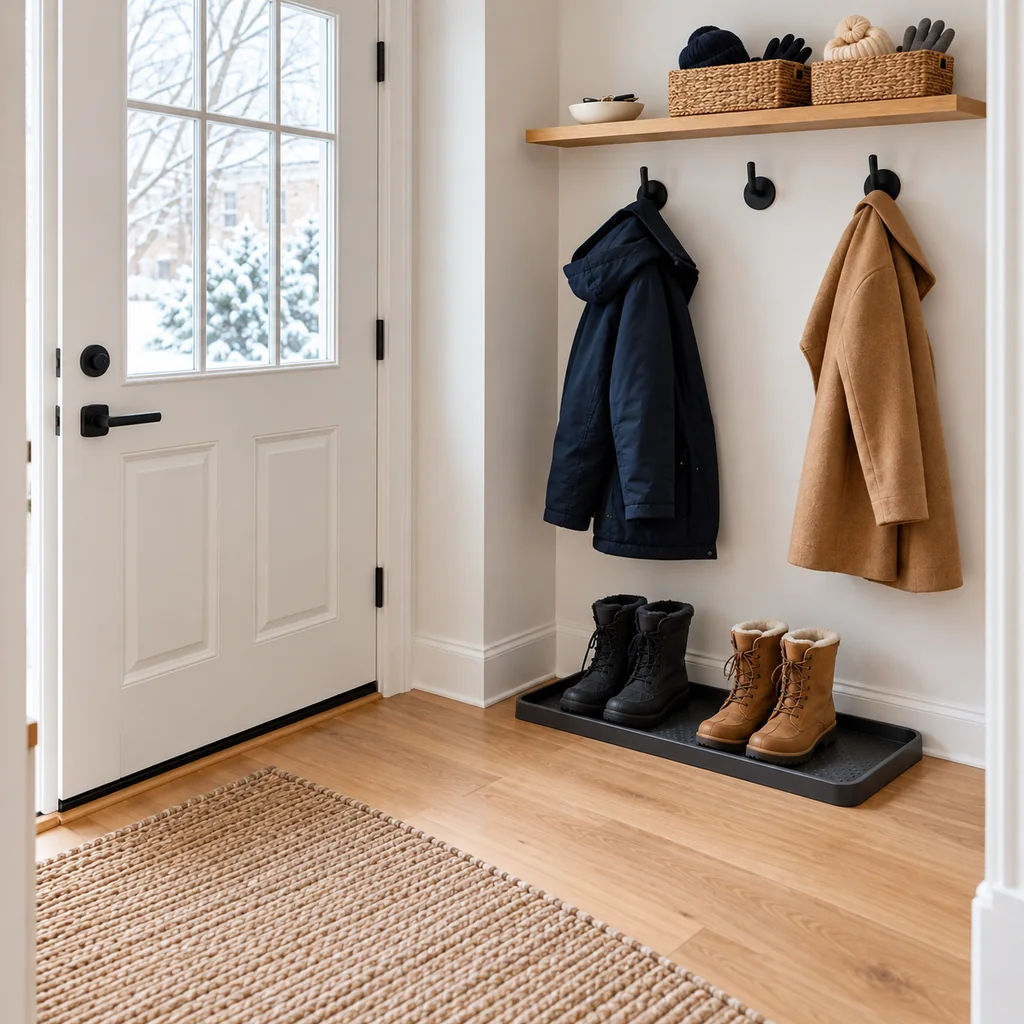
Walk in as you normally would: place boots on the tray, hang the coat, set damp gloves out to dry, and drop keys in the dish. Then walk out again and retrieve what you need. If people have to cross the room to follow the system, move the storage closer to the natural path instead of asking everyone to remember a complicated routine.
At the end of each day, empty the tray if needed, move dry accessories into their bins, and return stray items to other rooms. This quick reset keeps the entry ready for the next wet arrival. If one zone overflows every evening, give it more capacity or reduce the number of items stored there.
Common Small-Entryway Mistakes
- Putting the tray in the door swing: tape its footprint first and test the door fully open.
- Filling a closed basket with wet gloves: dry them in the open, then store them.
- Stacking several coats on one hook: use separate hooks and move rarely worn coats elsewhere.
- Letting the tray become permanent storage: keep only current footwear there and empty collected water.
- Buying a system before measuring: choose the rack, rail, tray, and bins after checking your actual clearances.
If You Have Almost No Wall Space
Use a slim, stable freestanding rack only if it does not narrow the exit path or tip under a loaded coat. Another option is to place the boot tray just beyond the entry in a nearby hall and use existing closet hooks for coats once they are dry. Prioritize a safe path and a place to dry wet items over a perfectly symmetrical photo-ready arrangement.
For a year-round layout that includes mail and bags, see our small entryway drop zone guide. When the holiday season ends, our small-apartment Christmas decoration storage plan can help you clear seasonal boxes out of the same space.
Frequently Asked Questions
Where should wet boots go in a tiny entryway?
Put them upright on a washable, lipped tray outside the door swing. If there is no safe floor space beside the door, use the nearest practical spot that keeps the walkway clear and lets you empty meltwater.
Can I store damp gloves in a basket overnight?
Spread them out to dry first. A basket is useful for dry gloves but can trap moisture around wet ones, especially when pairs are piled together.
How many coats belong on the entryway hooks?
Start with the coats people wear most often that week. Leave enough space for damp fabric to hang without being crushed, and move extras to a closet after they are dry.