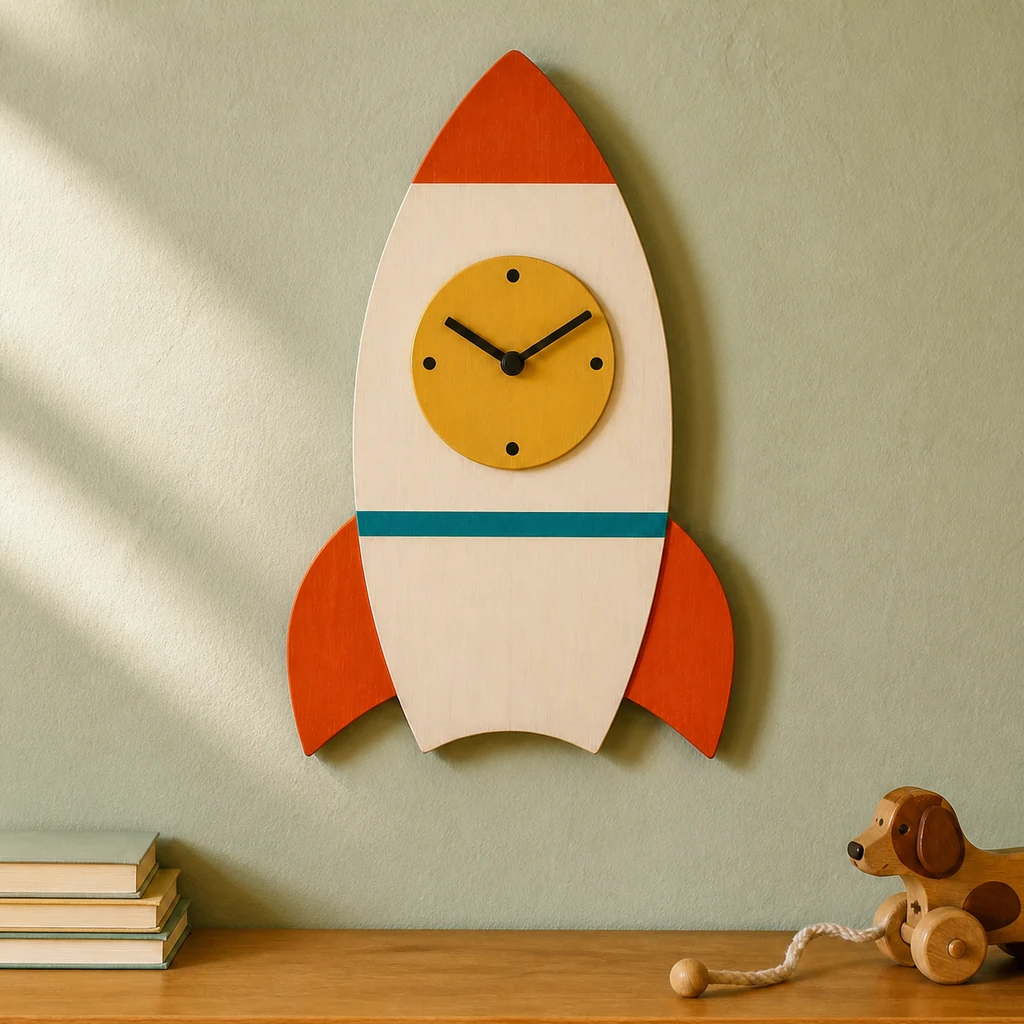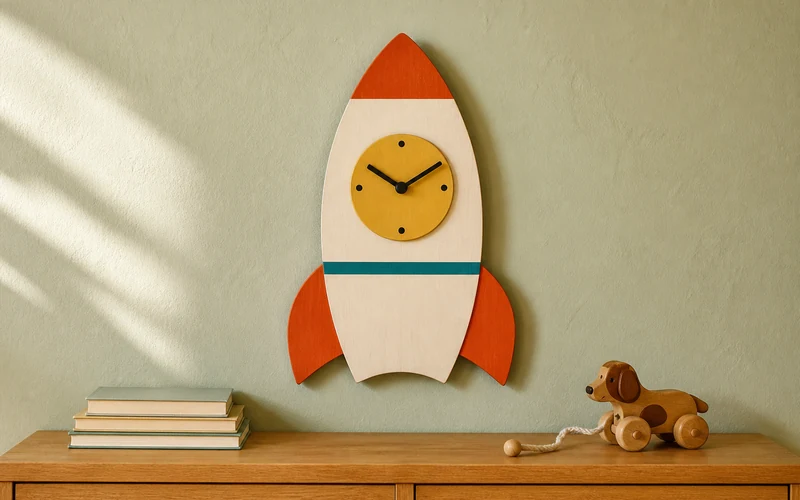
This DIY wooden rocket wall clock turns birch plywood into nostalgic kids room decor. Finished at 16 by 8 inches, its warm 1970s palette creates a playful focal point without overwhelming a small wall.
Materials and Project Plan
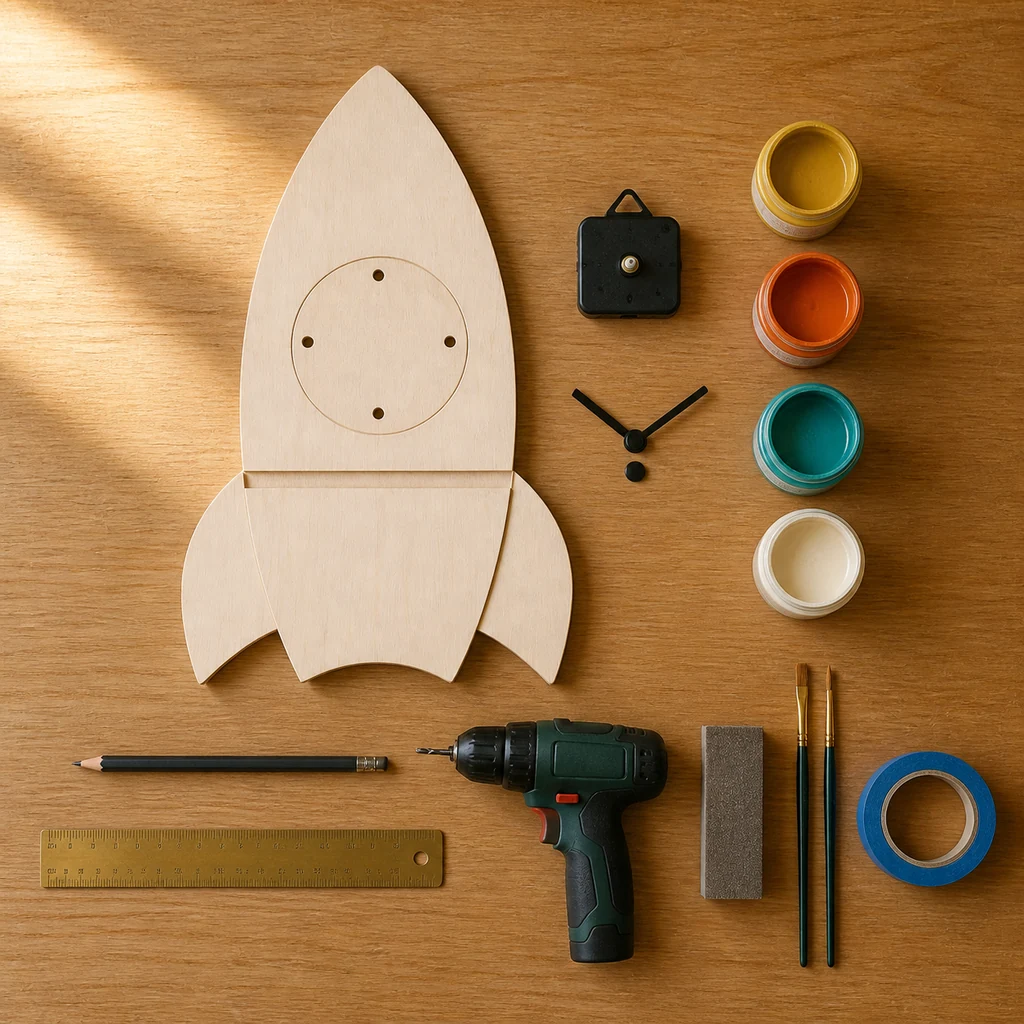
- One 16-by-8-inch piece of 1/4-inch birch plywood
- Paper, pencil, ruler, and compass
- Jigsaw with a fine wood blade
- Two clamps and 180-grit sanding sponge
- Drill and bit specified by your clock movement
- Quartz clock movement with a shaft sized for 1/4-inch wood
- Black hands, washer, nut, and AA battery
- Off-white, burnt-orange, mustard-yellow, teal, and black craft paint
- Brushes, painter’s tape, and water-based clear coat
Allow three hours of hands-on work plus drying time. This is decor, not a toy; keep the battery and hardware away from children. For another personalized accent, try these DIY yarn wrapped letters.
Cut and Smooth the Rocket
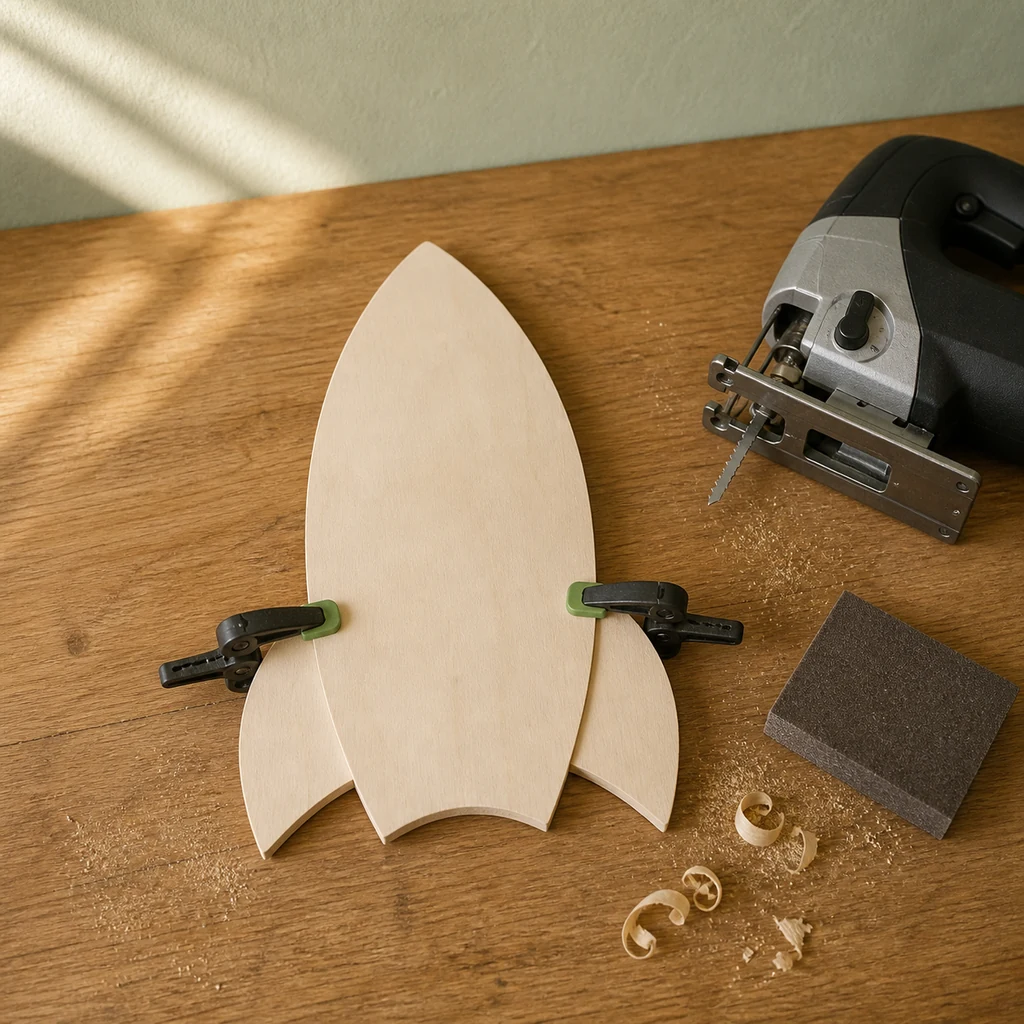
Draw a centerline on the plywood. Mark a 4-inch-wide body, a 3-inch-tall pointed nose, two matching side fins, and a shallow curved notch across the base.
Clamp the plywood to a stable bench, wear eye protection, and cut slowly with the jigsaw. Keep both hands behind the blade path. Sand the front, back, and every edge until splinter-free. If you prefer a no-power-tool project first, explore this collection of easy DIY wall art.
Drill and Paint the Clock Face
Center a 4-inch circle in the upper third of the rocket. Mark its midpoint and drill the hole diameter required by the movement manufacturer; 5/16 inch is common, but hardware varies. Support the back with scrap wood to prevent tear-out.
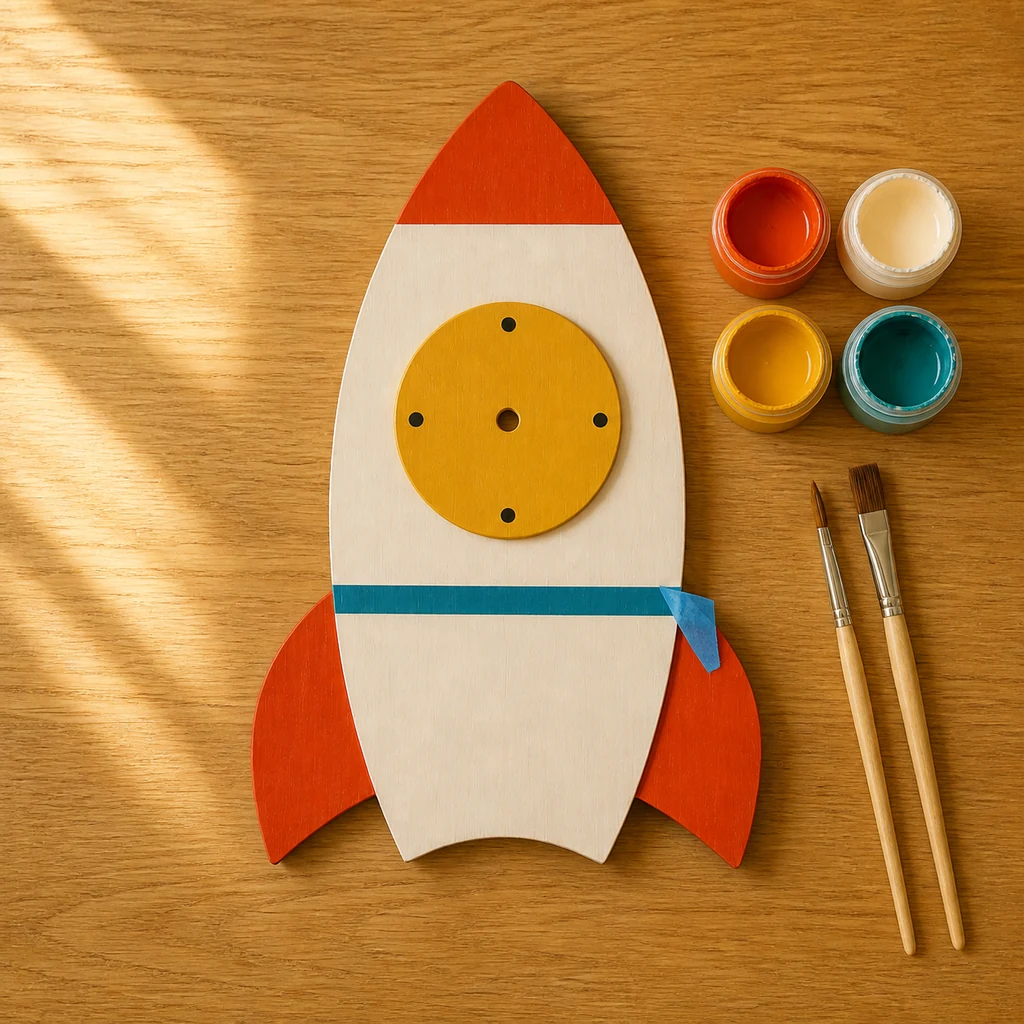
Paint the body off-white, the nose and fins burnt orange, and the circle mustard yellow. Mask a 1/2-inch teal band below the circle. Add four small black dots at 12, 3, 6, and 9. Apply two thin coats, then one child-safe water-based clear coat, letting every layer cure fully.
Install the Quartz Movement
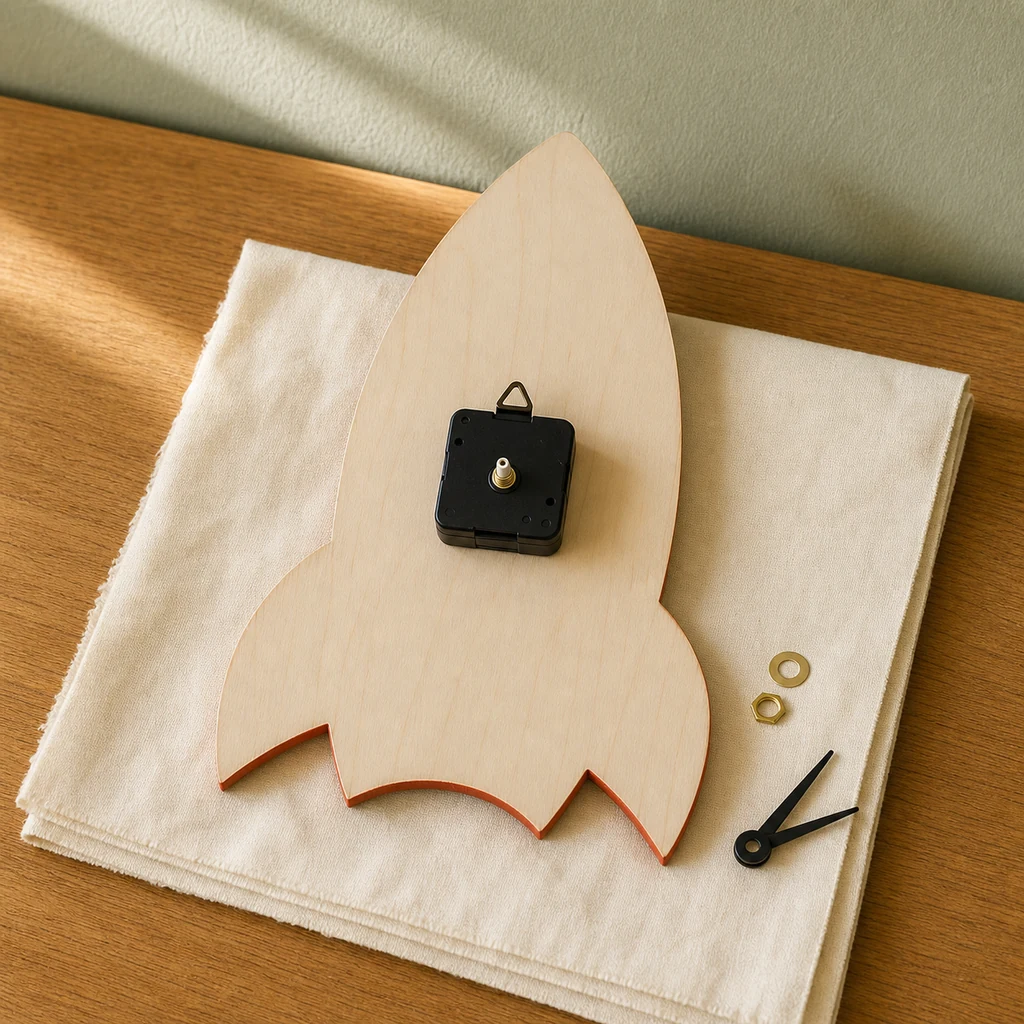
Push the movement shaft through from the back. Add the front washer and nut, then tighten only until snug; overtightening can crack thin plywood. Press on the hour hand, minute hand, and second hand if included. Rotate them through a full cycle to confirm they do not touch. Insert the battery and test the clock flat for one hour.
Hang and Style It Safely
Use the movement’s integrated hanger only if its instructions permit the clock’s weight. Otherwise add a rated sawtooth hanger to the plywood, clear of the mechanism, and fasten into a stud or suitable wall anchor. Hang it beyond a child’s reach and verify it sits flat.
Repeat one rocket color in a book or textile instead of adding more themed objects. For more weekend inspiration, browse these easy DIY home crafts.