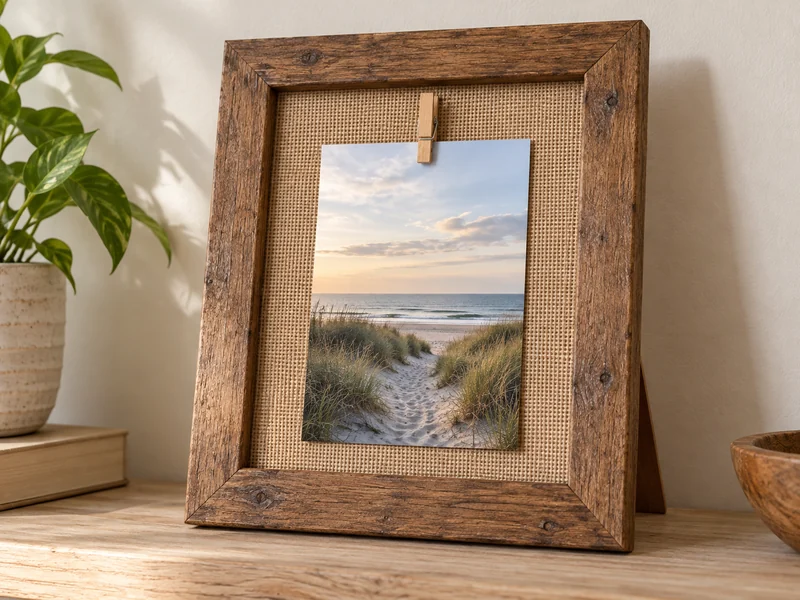
A worn wood frame can become a warmer photo display with one piece of burlap and a tiny clip. This project uses an existing frame, so there are no mitered corners to measure and no saw cuts to make. The important choices are a backing board that still fits after wrapping, neat folds that do not bulge at the corners, and a lightweight copy of your photo.
The example below uses a portrait frame with an 8-by-10-inch opening and a 5-by-7-inch photo. You can scale it to another frame by measuring the removable backing before cutting fabric. Check the dimensions and fasteners on your own frame before you start.
What You Need
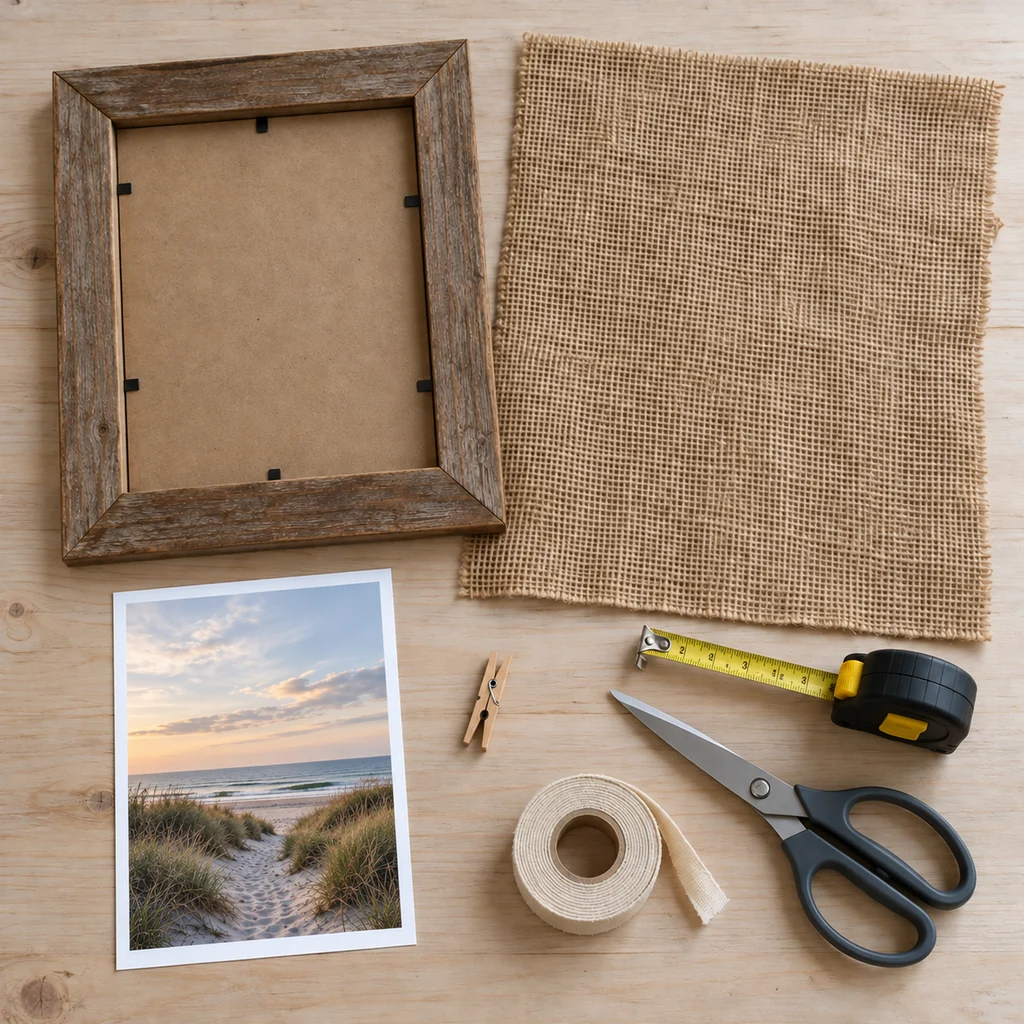
- One sturdy thrifted or reused wood frame with an 8-by-10-inch opening, removable backing and working retaining tabs
- One piece of plain burlap at least 12 by 14 inches, with no loose dye or strong chemical odor
- One small wooden clothespin-style photo clip and fabric-safe craft glue suitable for bonding wood to burlap
- A lightweight 5-by-7-inch copy of the photo you want to display
- Tape measure, fabric scissors, clean cloth, pencil and strong cloth tape for the back of the board
Use a flat tabletop and let any glue cure for the time on its label. Keep small clips and loose staples away from children and pets. Do not use an irreplaceable original print: the clip and open-front display leave the photo exposed to handling and dust.
How to Make a Burlap Photo Display in a Wood Frame
Step 1: Check the Frame, Backing and Photo Size
Set the frame face down on a clean surface. Confirm that the backing is removable, its tabs still turn, and the wood is not splintering or cracked. Measure the backing rather than relying only on the frame’s label. Lay the 5-by-7 copy over the burlap and compare margins: in an 8-by-10 opening, you should have visible fabric around all four sides. The burlap piece needs roughly 2 inches of extra fabric beyond each edge of the backing, so an 8-by-10 board calls for about 12 by 14 inches.
Step 2: Remove the Glass and Backing
Open the frame’s original tabs and lift out the backing. Remove the glass carefully and set it aside for another project; this design is meant to be an open photo display. Wipe dust from the wood and backing, then let them dry. Do not pry out fixed staples with bare fingers. If the frame has a glued-in back or damaged tabs, choose a different frame rather than forcing it apart.
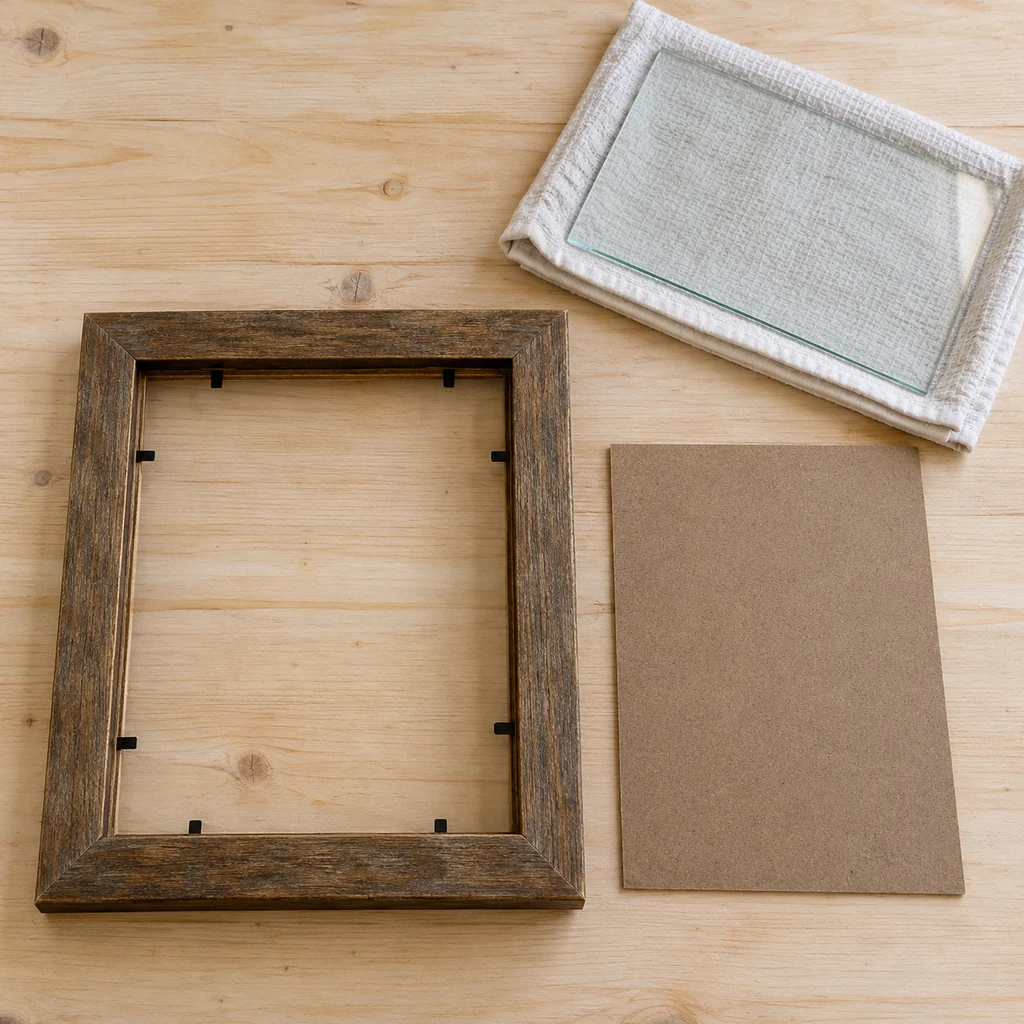
Step 3: Cut the Burlap With a Two-Inch Allowance
Lay the backing board on the burlap and mark a rectangle about 2 inches beyond each side. Cut on the marked line with fabric scissors. Pull only obvious loose threads; do not tug the weave until the edge unravels. Place the cut piece face down, smooth it flat, and center the backing board on it. The extra fabric is for wrapping the board, not for adding thickness inside the visible opening.
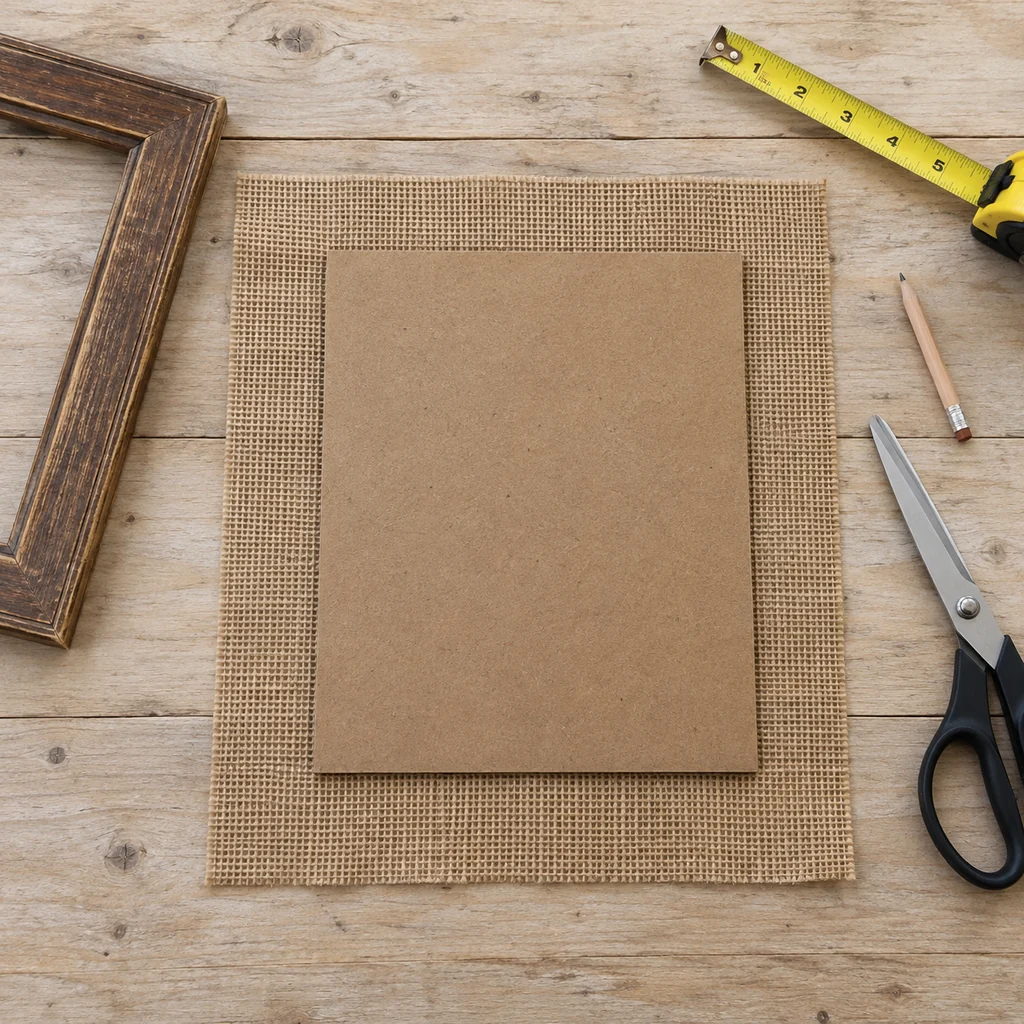
Step 4: Wrap and Secure the Backing
Keeping the burlap centered, fold the long sides over the back of the board first. Tape them flat on the back, then fold the short sides as neatly as a gift wrap. Flatten bulky corner triangles instead of stacking them at the outer edge; the board must still fit its frame. Use strong cloth tape on the back only, away from the part that will show through the opening. Turn the board over and check that the fabric front is taut without distorting the weave.
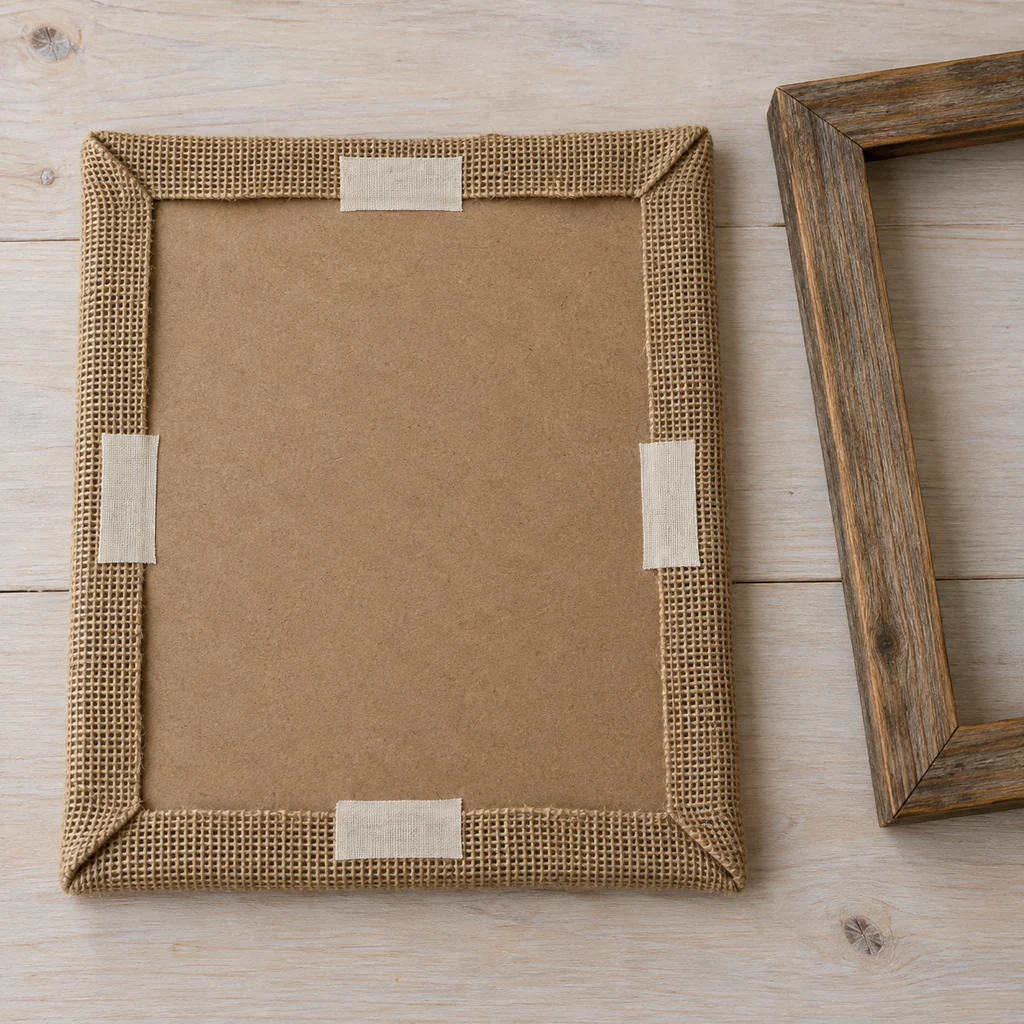
Step 5: Fit the Burlap Board Into the Frame
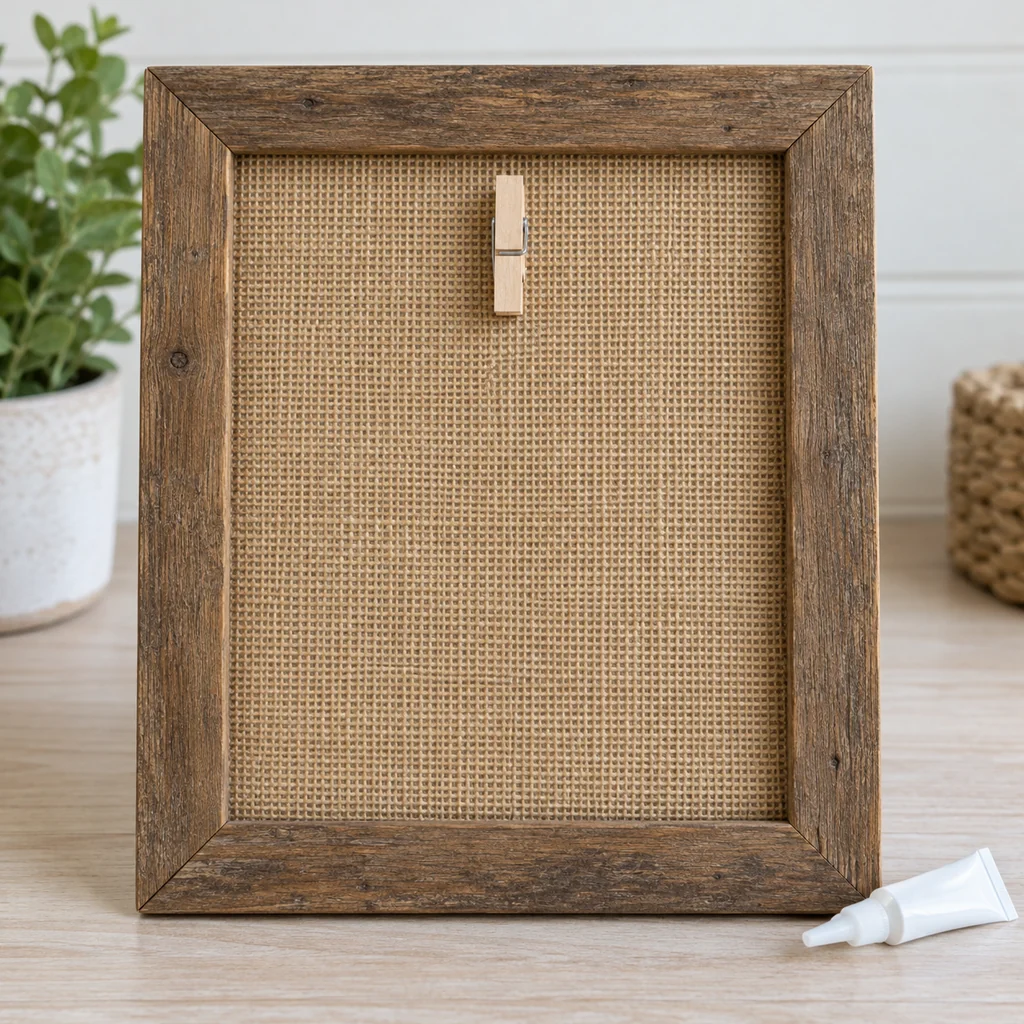
Place the wrapped board into the empty frame with the fabric facing forward. Close the original retaining tabs and turn the frame over. The burlap should look smooth and the wood should sit flush around it. If the tabs cannot close without force, remove the board and reduce excess folded fabric at the corners, or choose thinner burlap. Do not hammer the frame or leave a loose backing that could fall out.
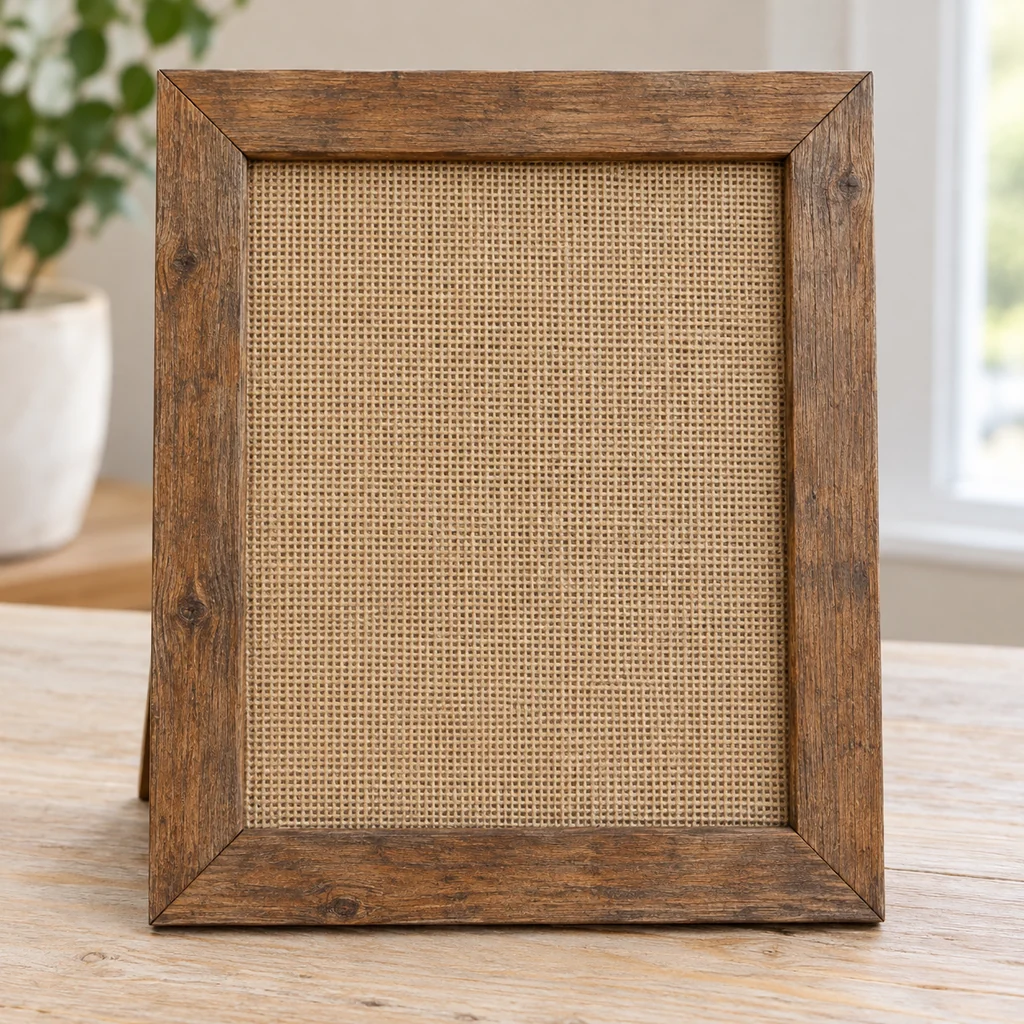
Step 6: Attach One Small Photo Clip
Mark the center of the visible burlap, about an inch below the top inner edge of the frame. Apply a small amount of fabric-safe glue to the flat back of the wooden clip, keeping glue out of its spring and jaws. Press it onto the burlap with the opening facing down, so it can hold the top edge of the photo. Let the glue cure fully according to its label before testing it with a scrap of paper. If the clip lifts, reattach it or use a different adhesive rated for both materials; do not hang the photo from a loose clip.
Step 7: Clip the Photo and Test the Display
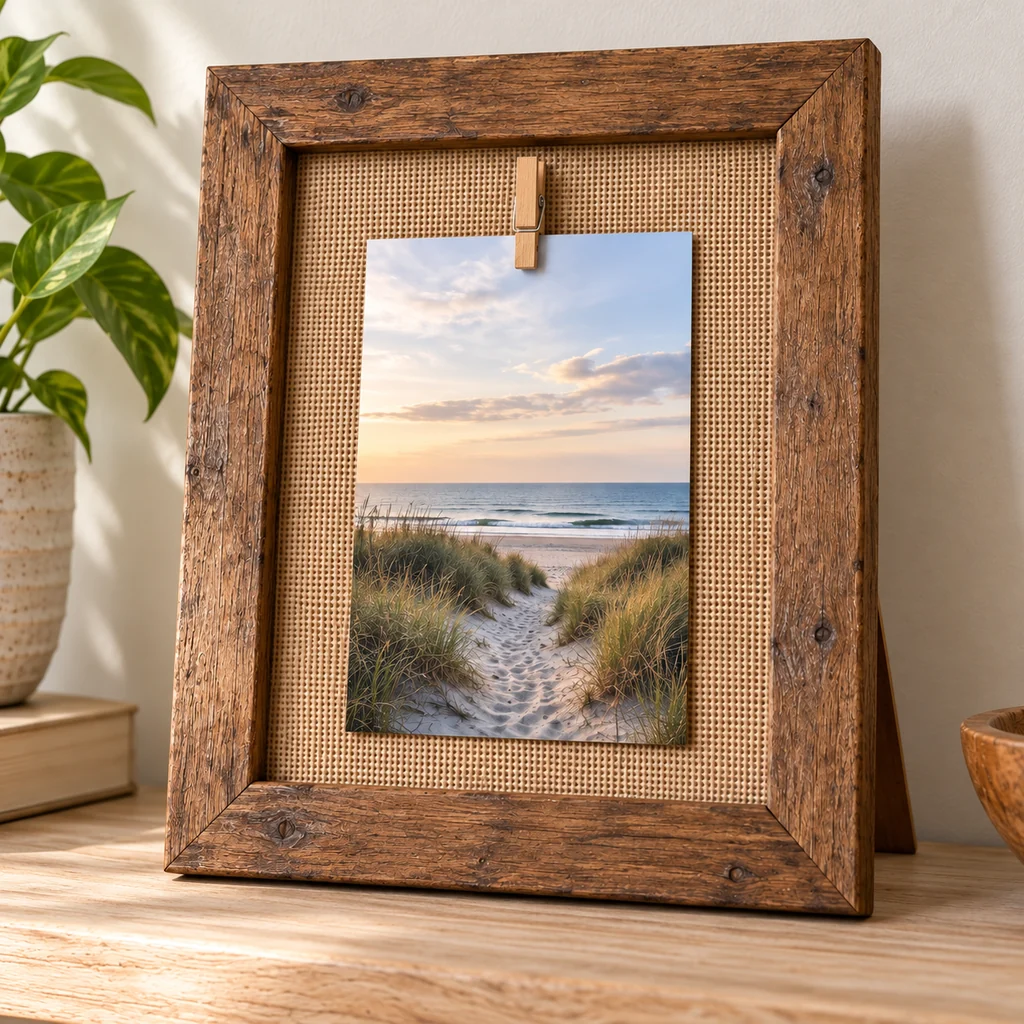
Slip the top edge of the lightweight photo copy into the clip and let it hang naturally against the burlap. Check that the print is centered, the clip does not peel away, and the backing stays locked. Set the frame on a stable shelf with its original easel back, or hang it using sound existing hardware appropriate for your wall. Keep it out of damp rooms and strong direct sun, which can age both fabric and print. To refresh the display later, open the clip and swap the copy without disturbing the fabric backing.
Make the Finish Look Intentional
Natural burlap and weathered wood already have enough texture; a single clip and one photo keep the display readable from across the room. If the frame is unusually deep, you can use a firmer backing board before wrapping. If it is shallow, avoid thick seams or decorative trim beneath the tabs. A second photo copy in a different season is an easy update without remaking the frame.
For ways to arrange more than one finished frame, see our rustic wood frame decor ideas. This how-to focuses on one reusable display that you can finish on a tabletop with no wood cutting.