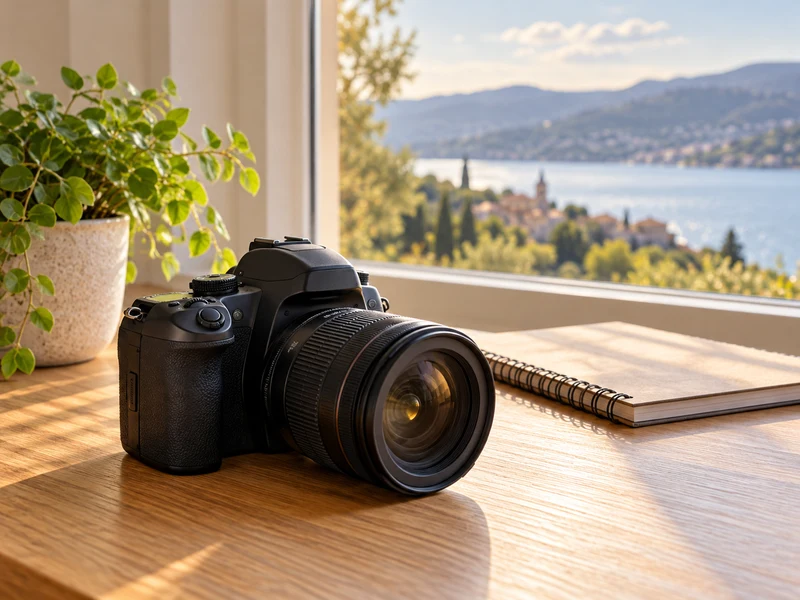
If your DSLR photos look soft, blurry, or too bright, start with four checks: put the focus point on your subject, choose an aperture for the background you want, watch the shutter speed, and inspect the result on playback. You can do this with the lens you already own. The examples below are starting points, because light, lens, subject distance, and camera model all change the result.
What You Need
- A DSLR with a charged battery, memory card, and attached lens
- One still subject, such as a flower or mug, and one moving subject, such as a rolling ball
- A background at least a few feet behind the still subject, if you want to compare background blur
- Your camera manual for the names and locations of its focus, exposure, and playback controls
Work in steady daylight for the first practice round. Turn the camera to aperture-priority mode (often A or Av) to control depth of field, or shutter-priority mode (often S or Tv) when motion matters. Your camera chooses the other exposure setting in either mode; inspect the value it selects before taking the photo.
Four Checks Before You Press the Shutter
Step 1: Place the Focus Point on What Matters
For a still subject, select a single autofocus point if your camera offers it and place it on the detail you want sharp: the flower’s center, a mug’s printed edge, or the nearest eye in a portrait. Half-press the shutter to focus, then take the photo. If the camera chooses the background instead, move the focus point onto the subject and try again. Magnify the saved image in playback; the small screen can make a missed focus look fine.

Step 2: Choose Aperture for the Background
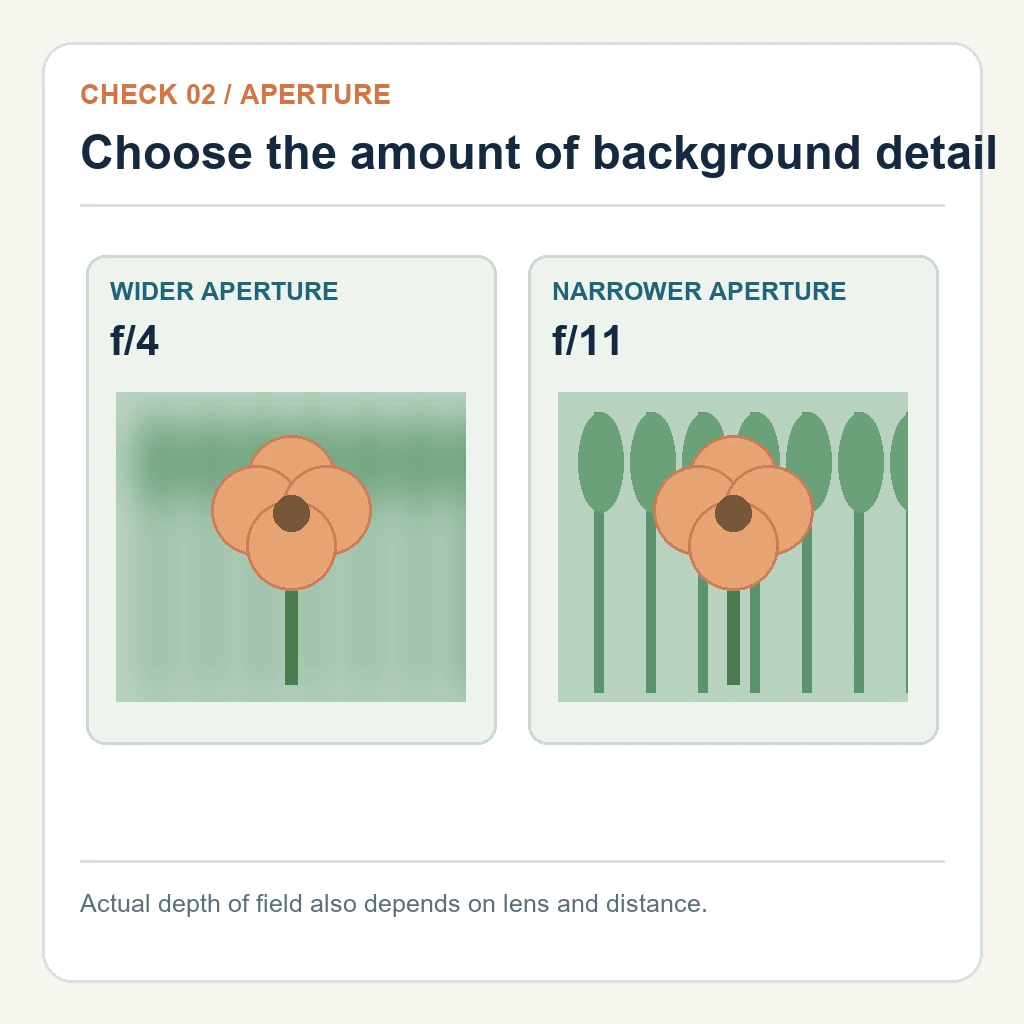
In aperture-priority mode, try the widest aperture your lens allows, then compare it with f/8 or f/11 from the same camera position. A smaller f-number means a wider opening and often a softer background; a larger f-number usually keeps more of the scene acceptably sharp. Background distance and focal length matter too, so do not expect the same blur from every lens. Watch the shutter speed the camera selects as you close the aperture: in dim light it may become too slow for a handheld photo.
Step 3: Check Shutter Speed When Anything Moves
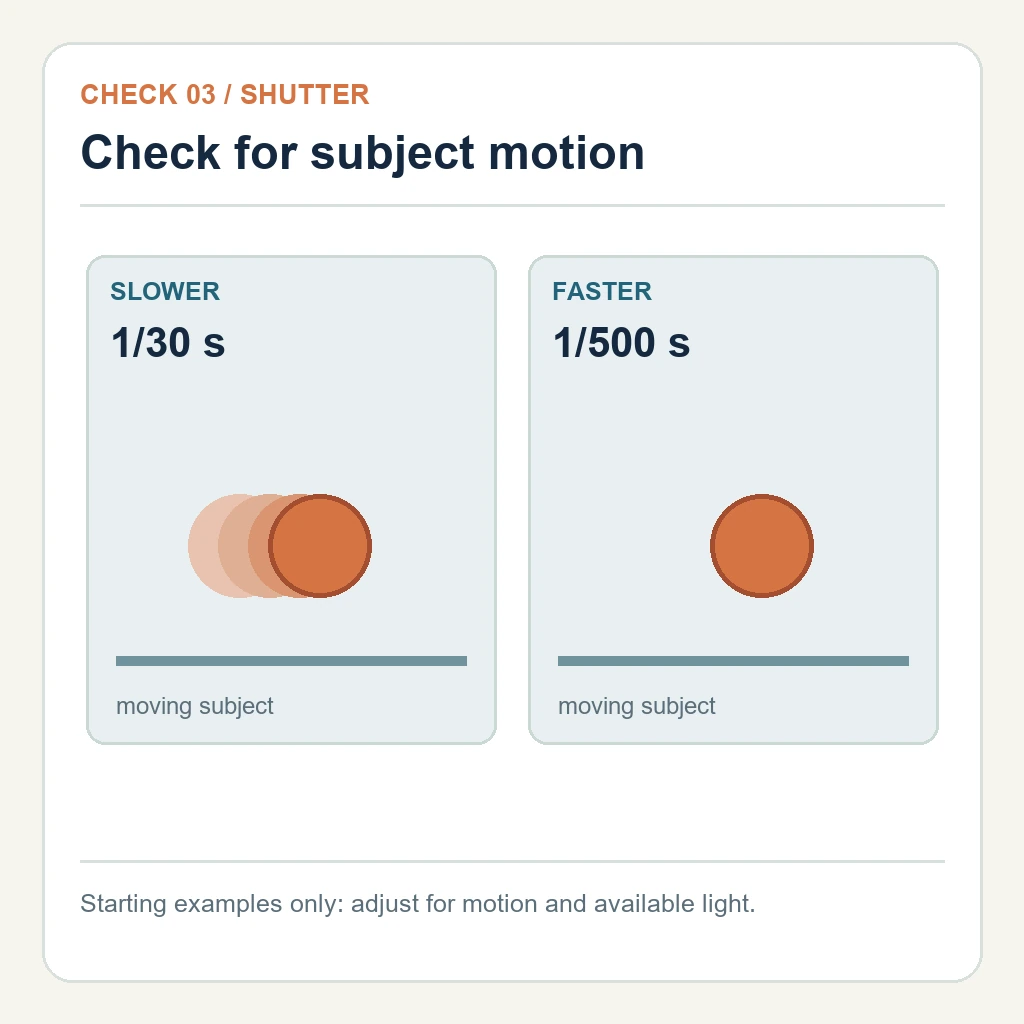
For a moving subject, switch to shutter-priority mode and compare a slower exposure such as 1/30 second with a faster one such as 1/500 second in good light. The slower exposure may record motion as a streak; the faster one may freeze more of it. The speed needed depends on how fast the subject moves, its direction, and your lens. If the frame is still blurred, increase the speed and take another test shot. If the camera cannot expose the faster shot in available light, move into brighter light or raise ISO, accepting that a higher ISO can add visible noise.
Step 4: Review the Photo Before You Leave
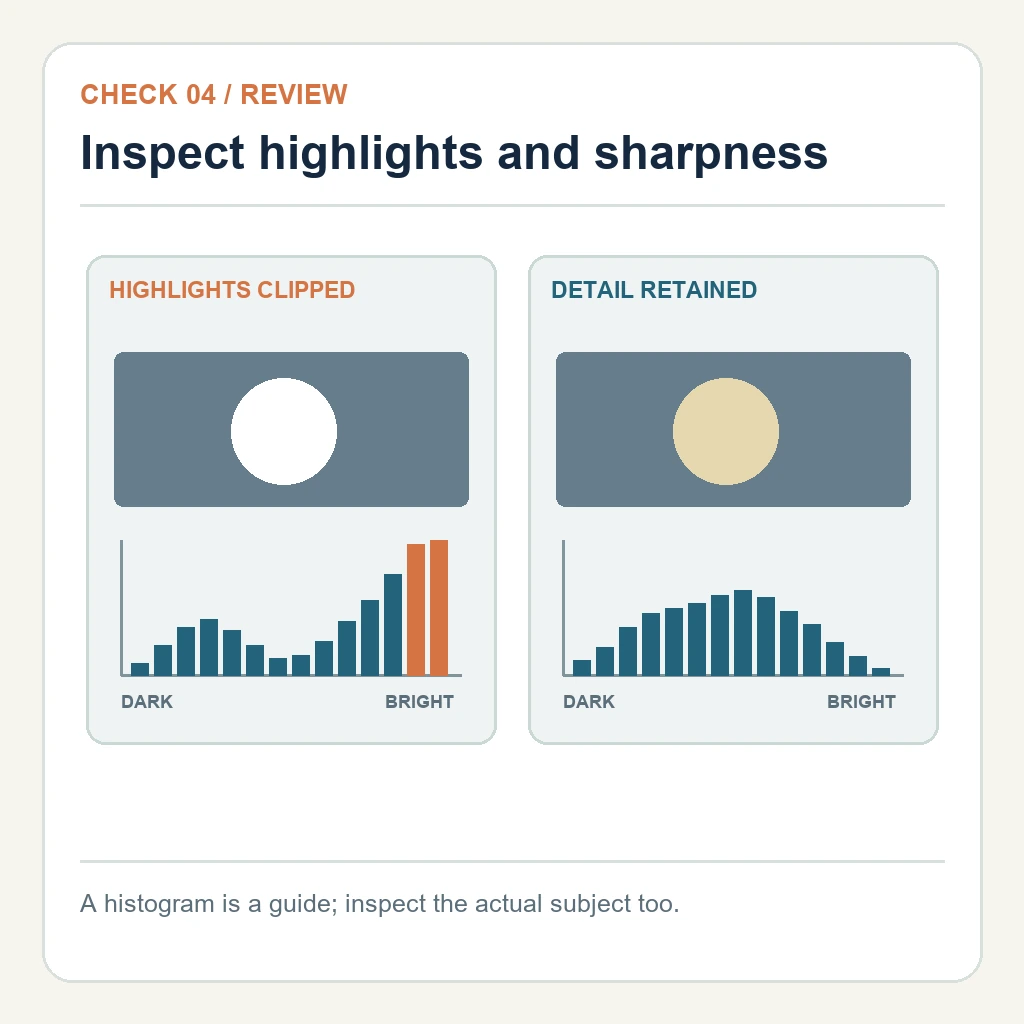
Open the image in playback and zoom in on the intended sharp detail. For a bright scene, also look at the histogram or highlight warning if your model has one. A pileup at the far right can signal lost bright detail, although a naturally white subject can also make a bright histogram. Check the image itself before changing exposure. If important highlights are blown out, try negative exposure compensation and retake the shot. If the photo is dark but the highlights are safe, adjust the opposite way. Check the manual for the exact control sequence on your camera.
A Fast Practice Loop
- Photograph one still subject in daylight with your focus point placed deliberately.
- Take two frames at different apertures without moving the camera or subject; compare the background and selected shutter speeds.
- Photograph one moving subject at two shutter speeds; compare the edges at playback zoom.
- Review focus and important highlights, change one setting, and take a final frame.
Change one variable at a time so you can see what caused the difference. If the picture still looks soft, first decide whether the subject is out of focus, the subject moved, or the camera moved. Each problem calls for a different fix.
Common Beginner Mistakes
- The background is sharp but the subject is not: move the autofocus point onto the intended subject detail and check the next frame at playback zoom.
- Everything looks streaked: check the selected shutter speed and support the camera more steadily; use a faster speed when the subject moves.
- The photo is noisy: lower ISO when more light or a steadier setup lets you keep a usable shutter speed.
- The sky or white object has no detail: check the actual image and highlight warning, then reduce exposure if the detail matters.
Once these checks feel automatic, repeat them in different light. The goal is to diagnose the next photo quickly, not to memorize one setting that supposedly works everywhere.