
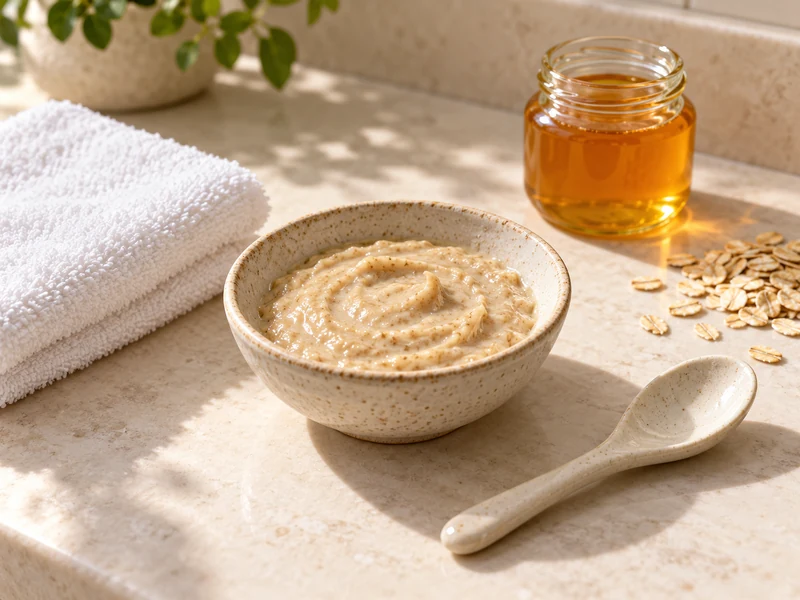
A honey and oat face mask can be a simple, short wash-off ritual if you enjoy making your own skin care. It cannot guarantee a “glow,” treat acne or replace a routine that already works for you. Skin reactions are personal, and even familiar kitchen ingredients can irritate or cause an allergy when applied to the face. This version keeps the mixture plain, uses finely ground oats so it does not need to be scrubbed, and makes only enough for one use.
Before you begin, look at how your skin feels today. Skip the mask if your skin is broken, sunburned, very irritated or in the middle of an eczema flare. Do not use it if you know you react to honey, oats or other ingredients in the mixture. For a dependable everyday routine, see our simple skin care guide; if you want a cosmetic finish afterward, browse the everyday makeup routine.
Ingredients
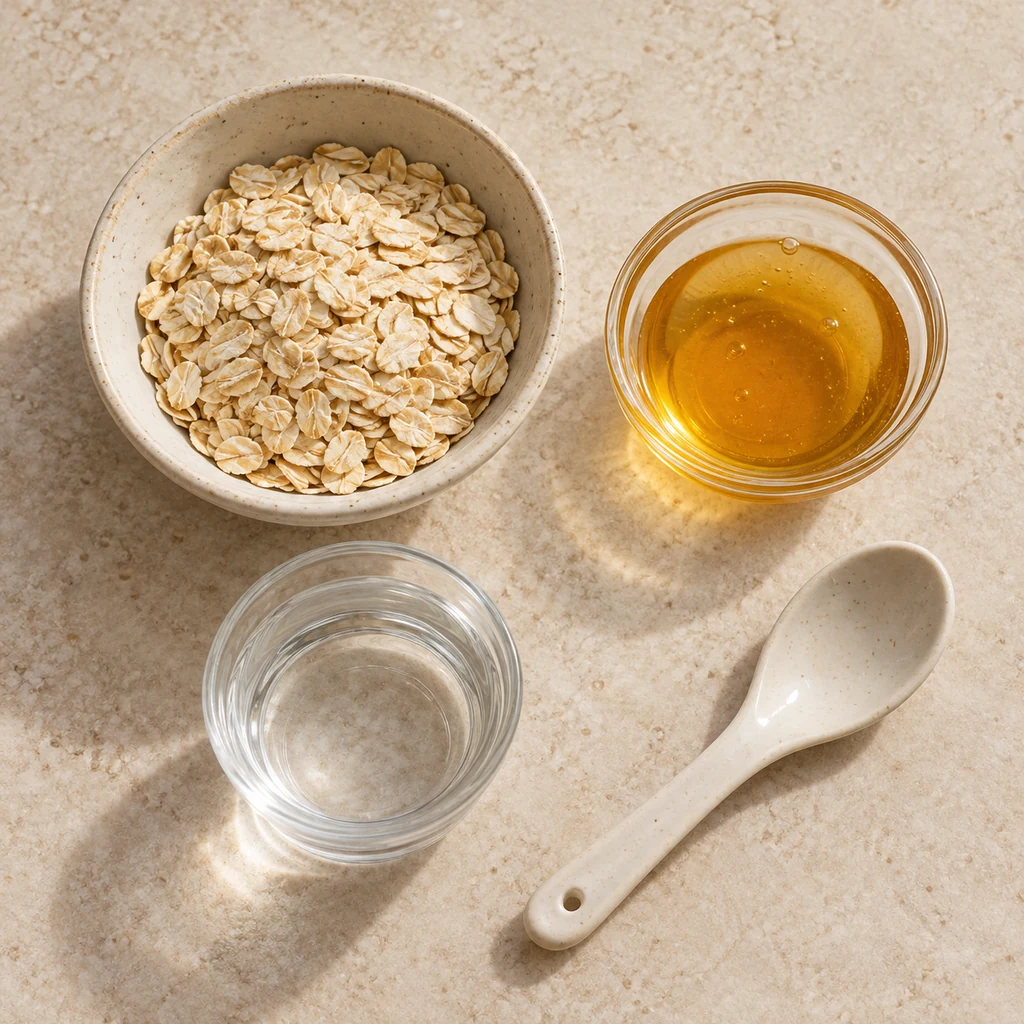
- 1 tablespoon plain rolled oats, ground to a fine powder
- 1 tablespoon plain honey
- 1 to 2 teaspoons clean water, only as needed for a spreadable paste
Choose plain oats with no flavoring, fragrance or added sugar. There is no need to buy “raw” or “organic” honey for this mixture, and those labels do not make it allergy-free. Leave out yogurt, lemon juice and essential oils: extra ingredients complicate a first trial and may make sensitive skin uncomfortable. You will also need a clean small bowl, spoon, washcloth and gentle moisturizer. Make a new batch each time rather than planning to store leftovers.
How to Make and Use the Mask
Step 1: Grind the Oats Finely
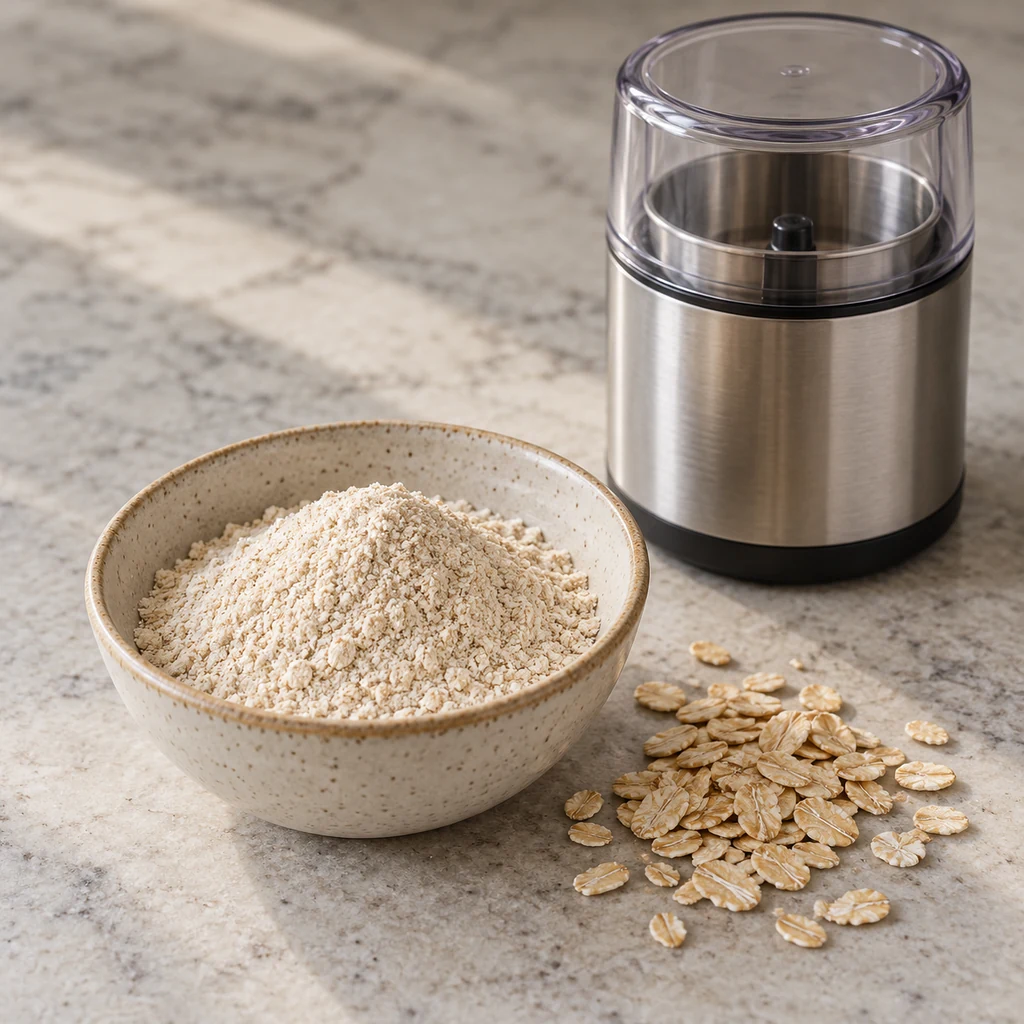
Put the tablespoon of oats in a clean small blender or spice grinder and pulse until the flakes become a fine powder. Let any dust settle before opening the lid. If the powder still contains large sharp pieces, grind it again. This is a comfort step, not an invitation to exfoliate: rubbing gritty oats across the face can cause irritation. Set the powder in a clean bowl and wash the grinder after use.
Colloidal oatmeal appears in some formulated skin-care products, but a home-ground tablespoon of oats is not the same as a tested product. The American Academy of Dermatology notes that mask ingredients and frequency should suit your skin; more products or longer wear are not automatically better.
Step 2: Stir a Fresh Paste
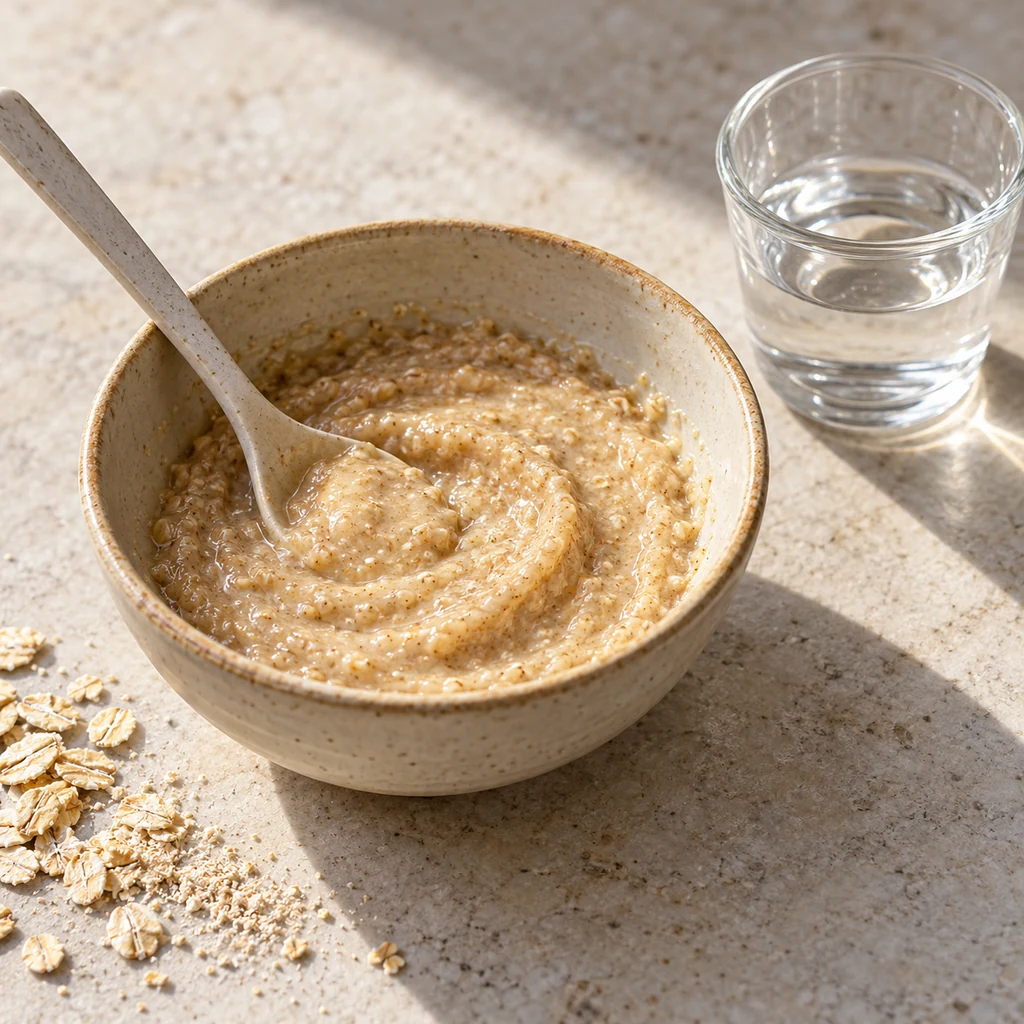
Add the honey to the oat powder and stir with a clean spoon. Add water a few drops at a time until the mixture spreads in a thin layer without running. You may need less water than expected because honey already makes the oats sticky. If the paste is lumpy, keep stirring instead of adding more coarse oats. Do not heat it or add fragrance.
Use the mixture promptly. Water and repeated finger dipping can introduce microbes into a homemade cosmetic, and this recipe contains no preservative system. The FDA warns that microbial contamination is a safety concern for homemade cosmetics. Discard any unused paste after the session and clean the bowl and spoon.
Step 3: Test a Small Area First
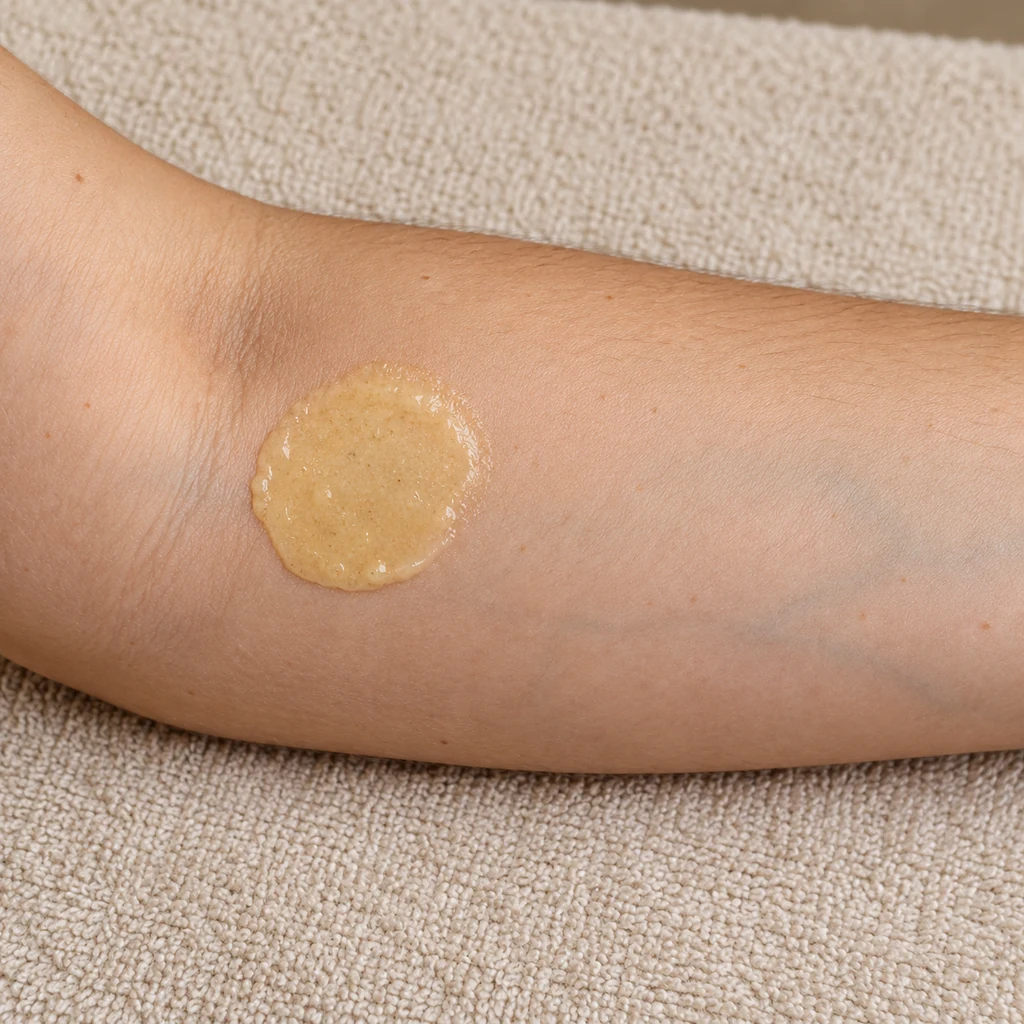
If these ingredients are new to your skin, test a small amount on the underside of the arm before facial use. Keep the test on only as long as you would keep the mask on, then rinse. Watch for redness, itching or swelling. A single quick check cannot rule out a delayed allergy: the AAD recommends repeated testing of a new skin-care product over seven to ten days. For that longer test, make a tiny fresh amount each time and discard the rest.
If the test area reacts, wash it gently and do not use the mask on your face. Seek advice from a dermatologist if a reaction persists or is severe. Testing is especially worthwhile if your skin is easily irritated, but it does not make a known allergen safe.
Step 4: Apply Briefly, Rinse and Moisturize
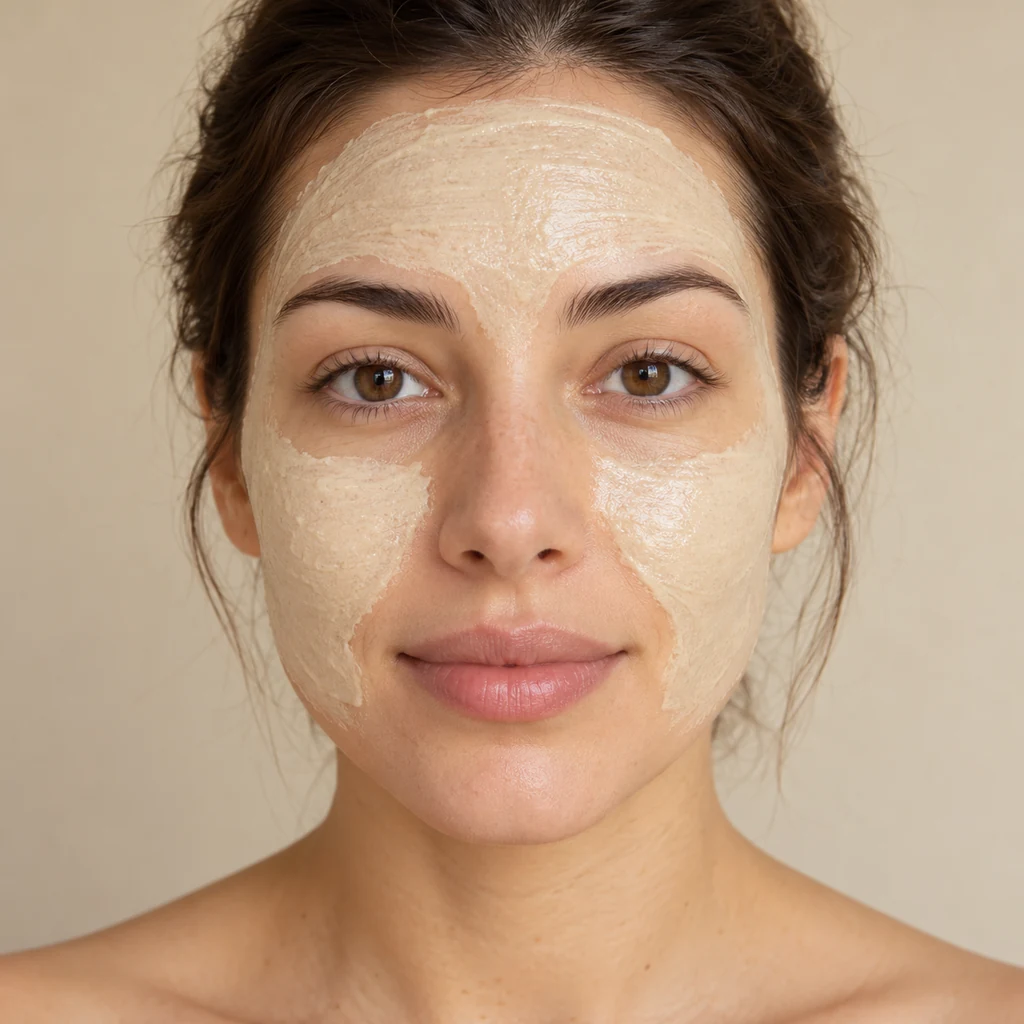
After a successful test, start with clean hands and a gently cleansed, dry face. Spread a thin layer over the cheeks and forehead, staying well away from the eyes, lips and nostrils. Leave it on for about five minutes the first time. If it stings, burns or itches, rinse it off right away. Do not let the mask harden and then scrub it away.
Rinse with lukewarm water, using fingertips or a soft damp cloth without rubbing. Pat dry and apply a moisturizer that your skin already tolerates. Continue your usual daytime sun protection; a homemade mask does not replace sunscreen. If you feel dryness or irritation afterward, skip future applications and simplify your routine. A mask should be optional, not something to push through discomfort for a promised result.
Keep the Routine Simple
The useful measure is how your own skin responds, not whether it looks dramatically different after one application. Make only a small fresh batch, test before facial use, limit contact time and discard leftovers. Keep the bowl and towel clean, and avoid sharing the mixture or dipping a used applicator back into it. If you want help choosing products for ongoing dryness, acne or eczema, a dermatologist can recommend a routine for that concern.