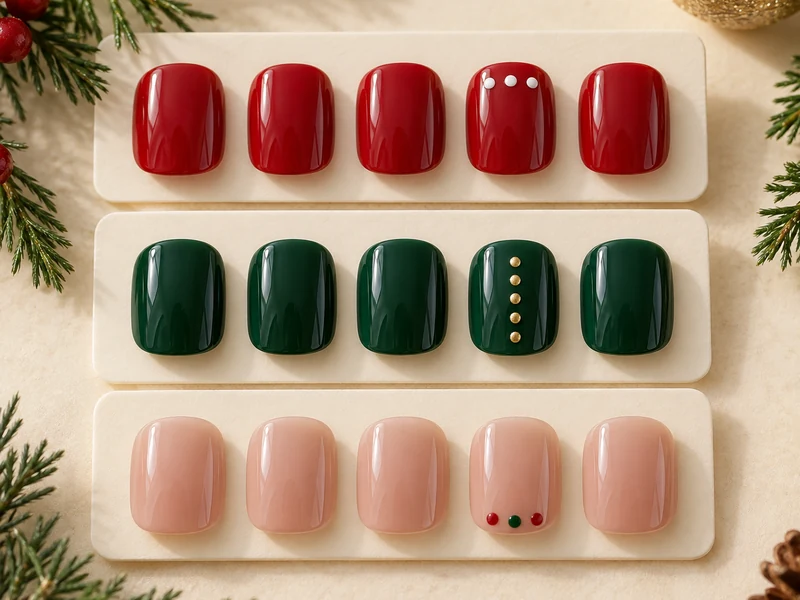
Short nails have enough room for a Christmas manicure when the detail stays small. These three looks use one dotting tool and one accent nail per hand: cranberry with white dots, forest green with a gold dotted line, or rosy nude with a tiny red-and-green cluster. Pick one palette and repeat it on both hands.
What You Need
- Base coat and clear top coat
- One main polish: cranberry red, deep forest green, or sheer rosy nude
- Accent polish for your chosen design: opaque white, metallic gold, or cranberry red plus forest green
- A small ball-tip dotting tool and a scrap of foil or a washable palette
- Nail polish remover and a small cleanup brush or cotton swab
You only need the colors for the look you choose. A small dotting tip keeps the design readable on a short nail; if your tool has two ends, start with the smaller one.
Prepare the Nails Once
File the free edges into a soft square or rounded shape, then clean and dry each nail. Apply base coat and let it dry according to the bottle. Paint two thin coats of your main color, allowing the first coat to dry before the second. Place a small drop of accent polish on foil just before making the dots. Too much polish on the tool creates a raised blob that takes longer to dry.
Three Christmas Nail Designs for Short Nails
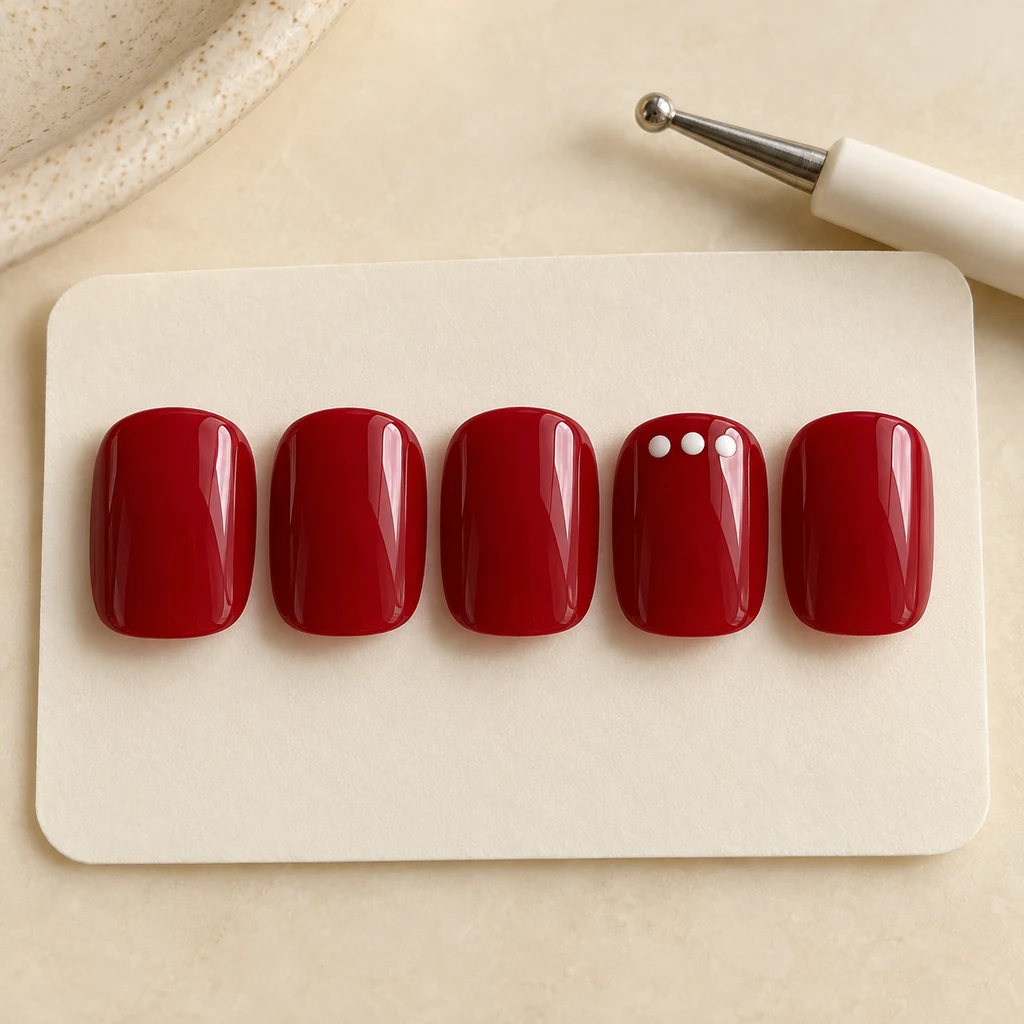
Step 1: Add Three White Dots to Cranberry Nails
Paint all nails cranberry red. On one accent nail, touch the small dotting tip to white polish, then place three separate dots in a gentle row close to the cuticle. Leave a slim border of red between the dots and the skin. Wipe the tool and reload it lightly if the third dot gets smaller. Keep the other nails solid red.
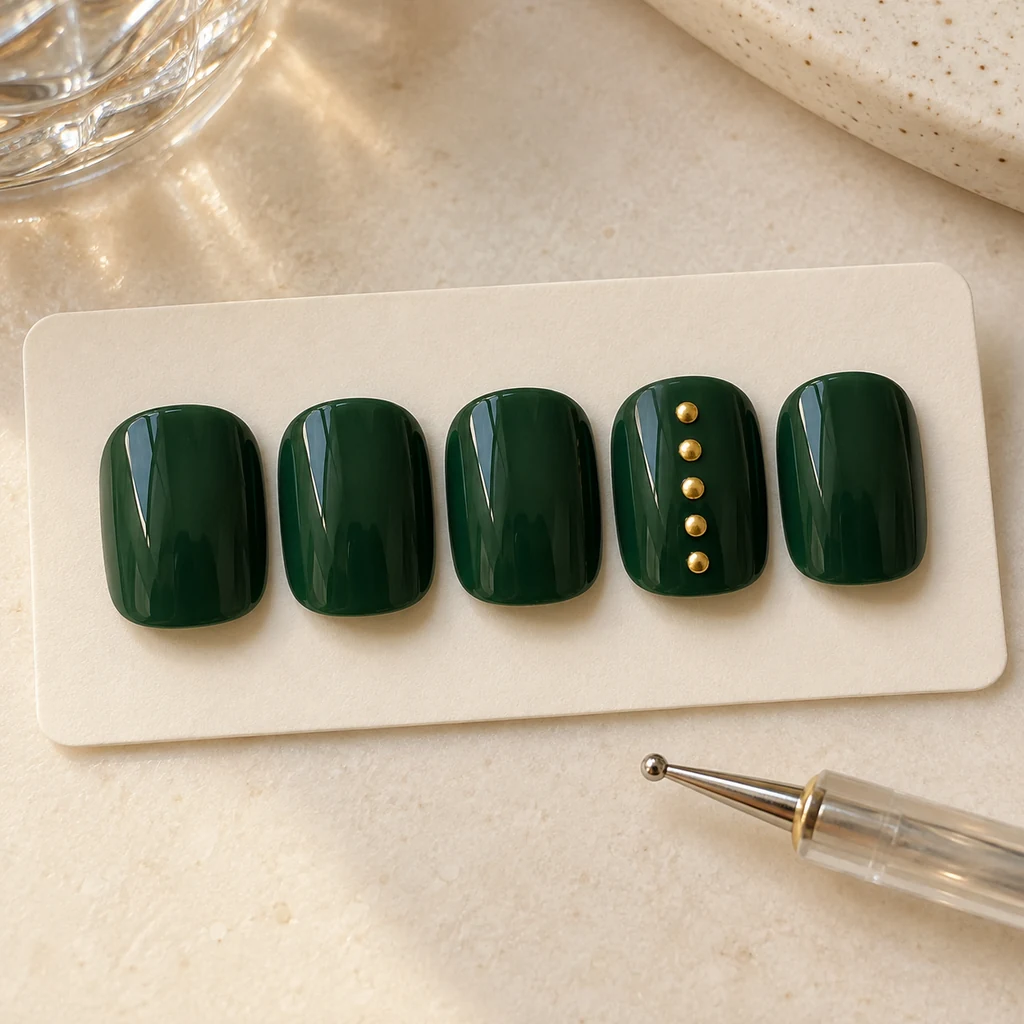
Step 2: Make a Gold Dot Line on Forest Green
Paint all nails deep forest green. Center five small gold dots in a straight line on one accent nail, starting just above the cuticle and moving toward the free edge. Leave a visible gap between each dot. If the gold polish spreads, wipe the tool and use less polish for the remaining dots. Keep the other nails solid green.
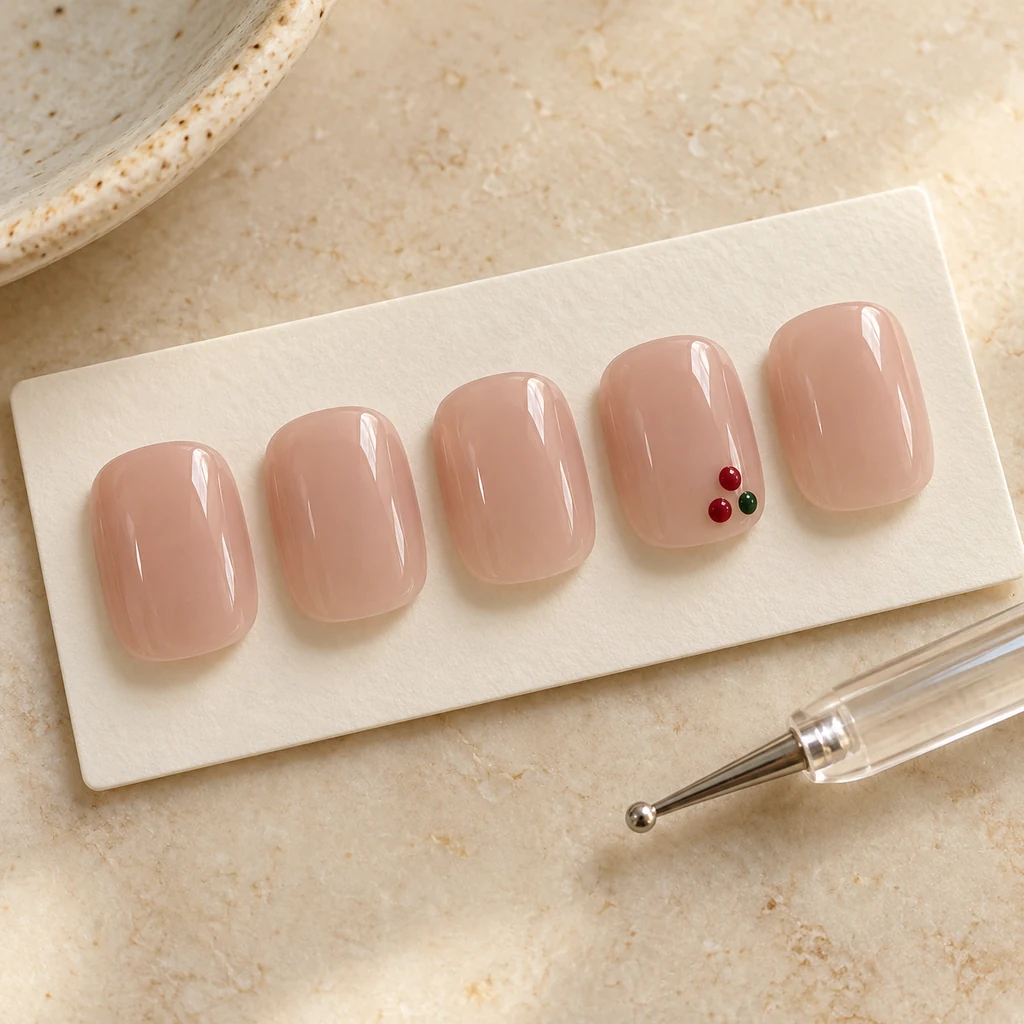
Step 3: Place a Tiny Red-and-Green Cluster on Rosy Nude
Paint all nails with sheer rosy nude polish. On one accent nail, put two small cranberry dots and one forest green dot near the free edge, leaving a little nude space between them. Clean the tool before switching colors so the red and green stay distinct. Keep the other nails plain nude for a quieter holiday look.
Finish Without Smearing the Dots
Let the accent polish dry thoroughly before applying top coat; the time depends on the polish and how much was deposited. Use a well-loaded top-coat brush and glide it over the nail in a light stroke instead of dragging repeatedly across the dots. If you see color transfer on the brush, stop and give the design more drying time. Clean stray polish from the skin with a small brush dipped in remover.
Quick Fixes
- Dots are different sizes: wipe and reload the tool after each dot, using a similarly small amount of polish.
- A dot spread into a blob: let it dry, remove the accent nail’s polish, and repaint with less polish on the tool.
- Top coat dragged the color: wait longer for the dots to dry and use a lighter, single-pass stroke.
- The design feels crowded: use fewer dots or keep the accent on one nail only.
For a nonseasonal design with regular polish, try our easy tortoiseshell nails. For another cold-weather palette, see these winter print nail ideas.