Quick Homemade Plum Jam
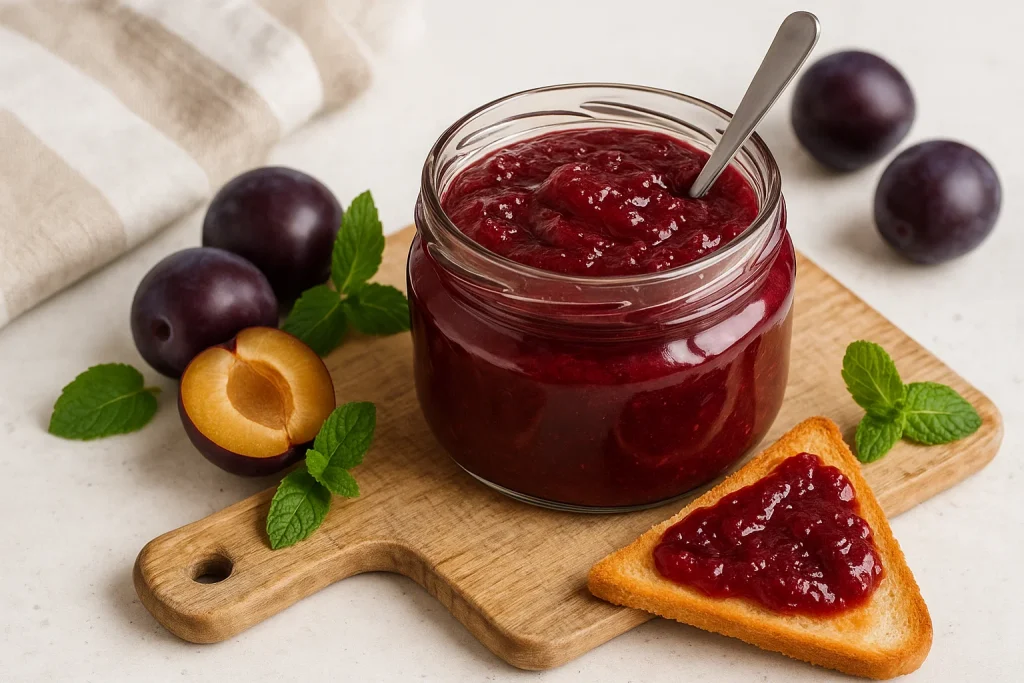
Who doesn’t love a jar of homemade jam? I’ll be honest—there’s something so satisfying about spreading a thick layer of fruit jam on toast or a fresh biscuit. But, when life gets busy, the idea of making homemade jam can feel overwhelming. It’s not something that should take all day, right? The good news is, making quick homemade plum jam is easier than you think, and I’m here to show you just how simple and rewarding it can be.
I remember the first time I tried making plum jam at home. I had a bunch of ripe plums sitting in the kitchen, and I thought, “Why not give it a go?” Fast forward a few hours, and I had jars of sweet, tangy plum jam to enjoy for weeks. It’s such a simple process, and it’s perfect for those of us who want to make something delicious without spending all day in the kitchen.
In this post, I’ll walk you through how to make quick homemade plum jam with a few basic ingredients. Whether you’re a seasoned jam-maker or a beginner, this recipe will guide you through it step-by-step. Ready to get started?
Why Make Homemade Plum Jam?
If you’ve never made jam at home, you might be wondering, “Why should I go through the effort when I can buy it from the store?” Let me tell you—there are so many benefits to making your own:
- Fresh and Natural: You get to control exactly what goes into your jam. No preservatives or artificial flavors here!
- Customizable Sweetness: You can adjust the sweetness to your liking, making it perfect for your taste buds.
- A Labor of Love: There’s something incredibly satisfying about making your own food from scratch. The joy of spreading jam you’ve made with your own hands is unmatched!
When I first made my plum jam, I was amazed at how easy it was, and how much better it tasted than anything you can buy at the store. Plus, it makes a great homemade gift if you’re looking for a thoughtful present!
Ingredients You’ll Need for Quick Homemade Plum Jam
Making plum jam doesn’t require a lot of fancy ingredients—just a few simple staples, and you’re good to go.
Ingredients:
- 4 cups fresh plums (about 8-10 ripe plums)
- 2 cups granulated sugar (you can adjust based on your sweetness preference)
- 1/4 cup lemon juice
- 1/4 cup water
- 1/2 teaspoon vanilla extract (optional, but adds a nice depth of flavor)
That’s it! Simple, right? The plums will provide the sweetness and natural pectin, so you don’t need to worry about any added thickeners. Just a few fresh ingredients and a little time, and you’ve got the perfect homemade jam.
How to Make Quick Homemade Plum Jam
Now, let’s get into the fun part—the cooking! Here’s a step-by-step guide to making your very own plum jam.
1. Prepare Your Plums
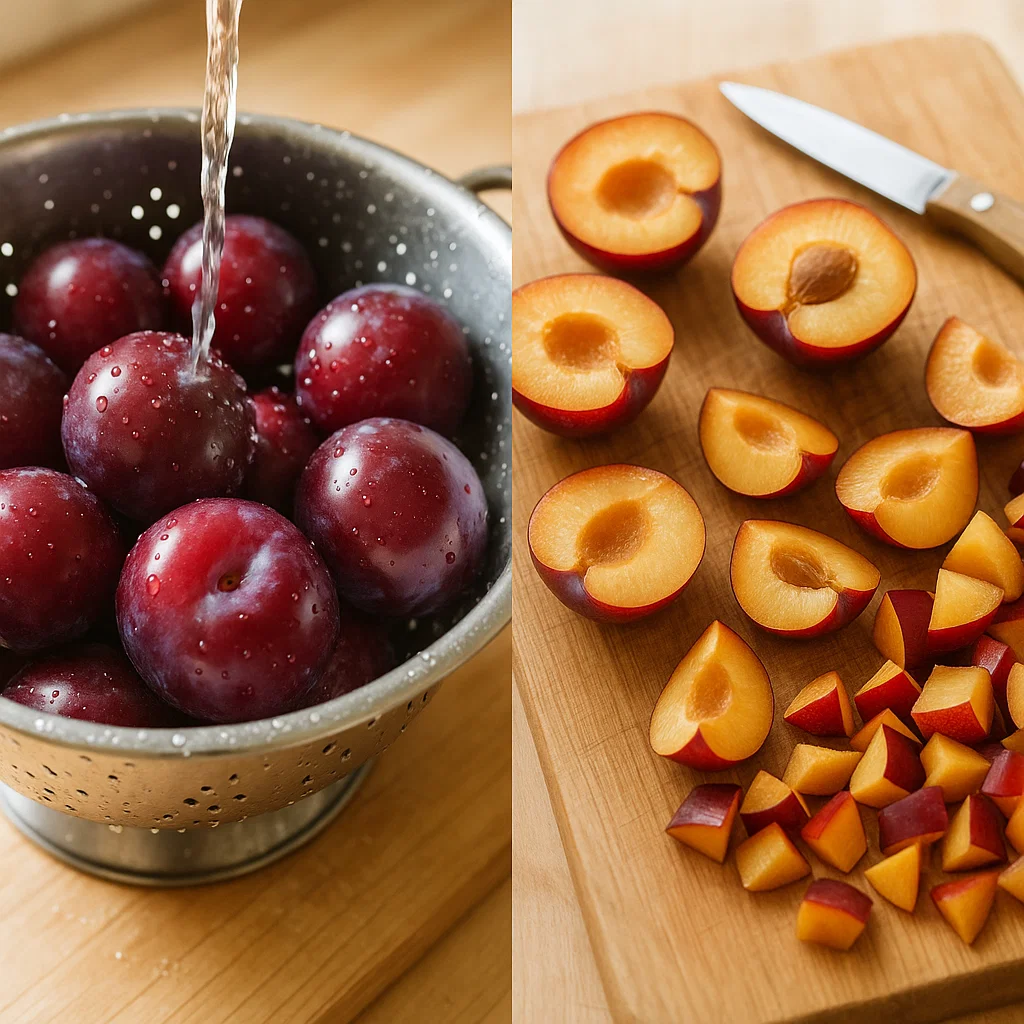
Start by washing your plums thoroughly. Then, slice them in half and remove the pits. You don’t need to peel them, as the skins will soften up and add to the jam’s texture. Cut the plums into small chunks—this will help them cook down faster.
2. Cook the Plums
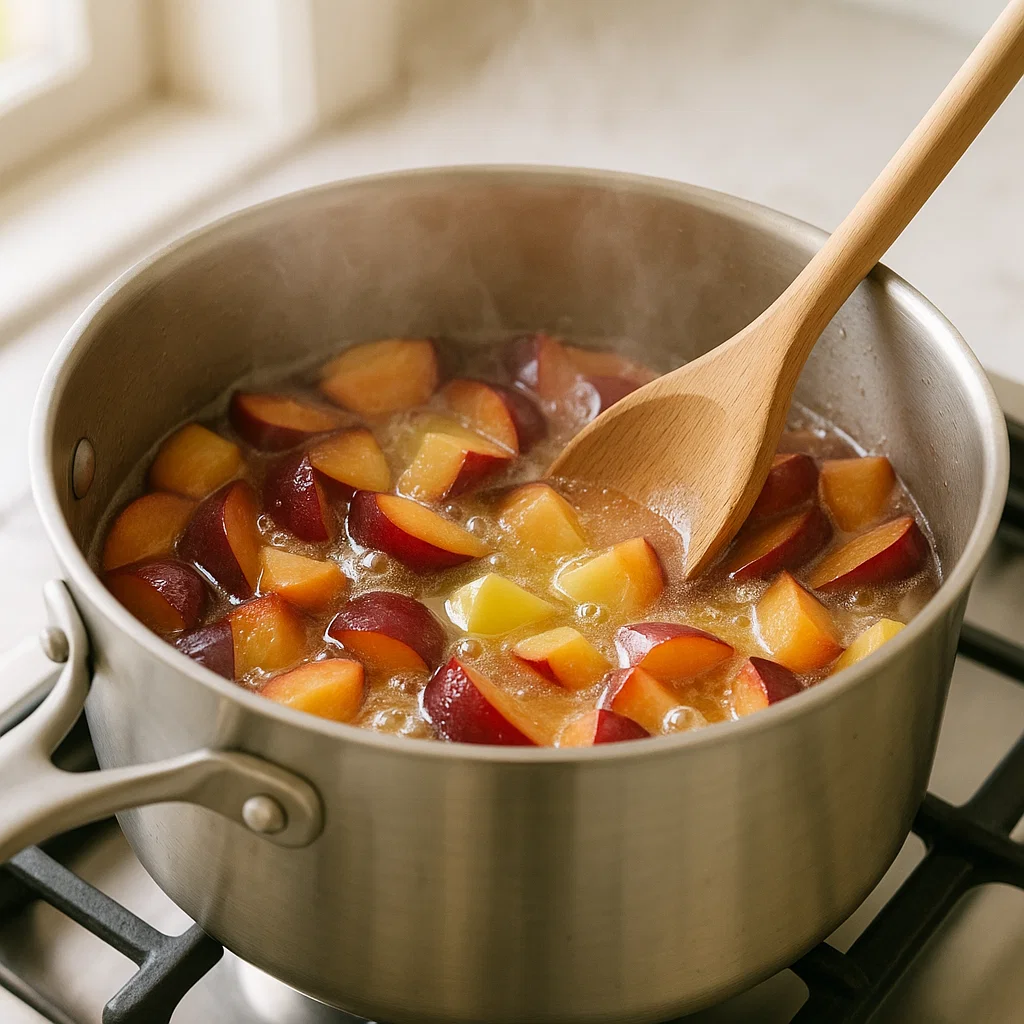
Add the chopped plums, sugar, lemon juice, and water to a large saucepan over medium heat. Stir everything together to help dissolve the sugar. As the plums start to cook, they will release their juices, and the mixture will begin to simmer.
3. Simmer Until Thickened
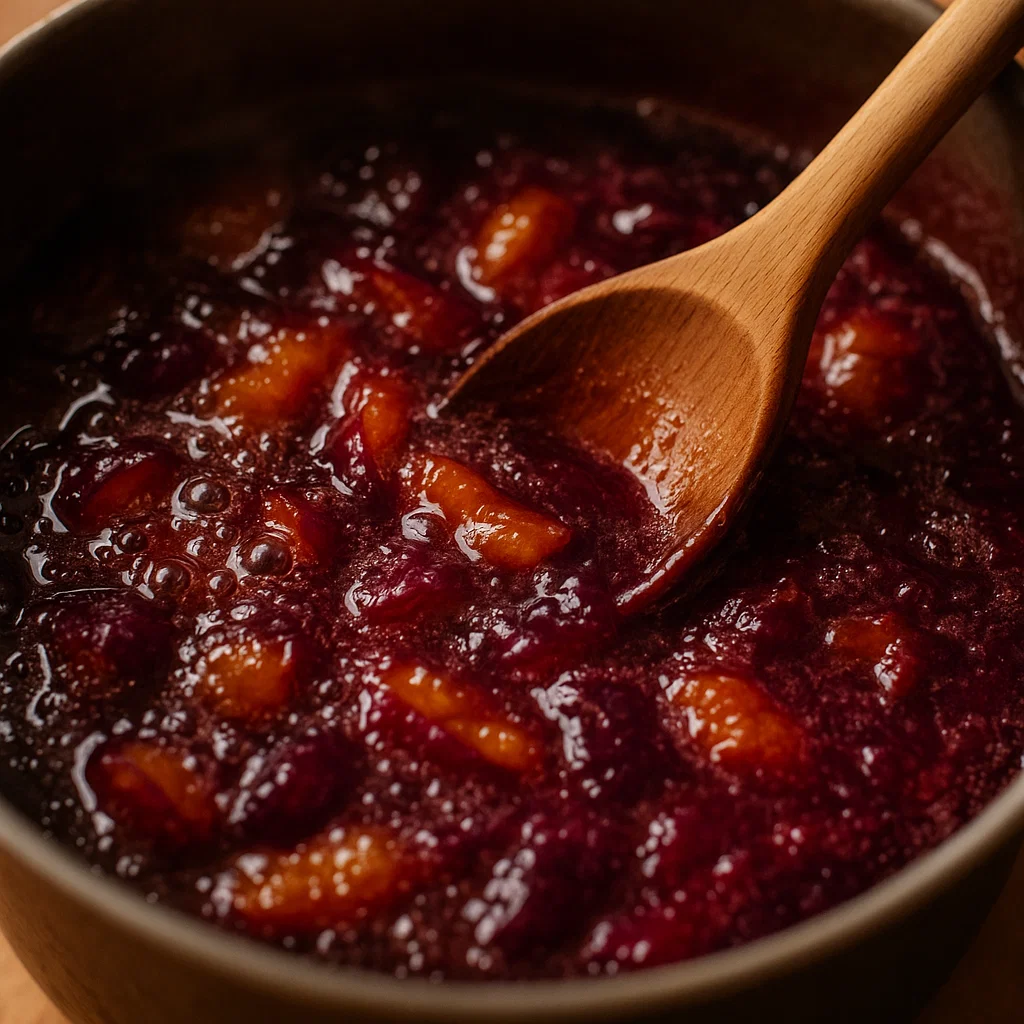
Continue simmering the mixture for 25-30 minutes, stirring occasionally. You’ll notice the plums softening and breaking down. Keep an eye on the consistency of the jam—once it starts to thicken and coat the back of a spoon, it’s time to test for doneness.
To test if the jam is ready, place a small spoonful of jam on a chilled plate and let it sit for a minute. Run your finger through it—if it wrinkles and doesn’t flood back into the gap, it’s ready! If it’s still too runny, cook for a few more minutes and check again.
4. Blend for Smoothness (Optional)
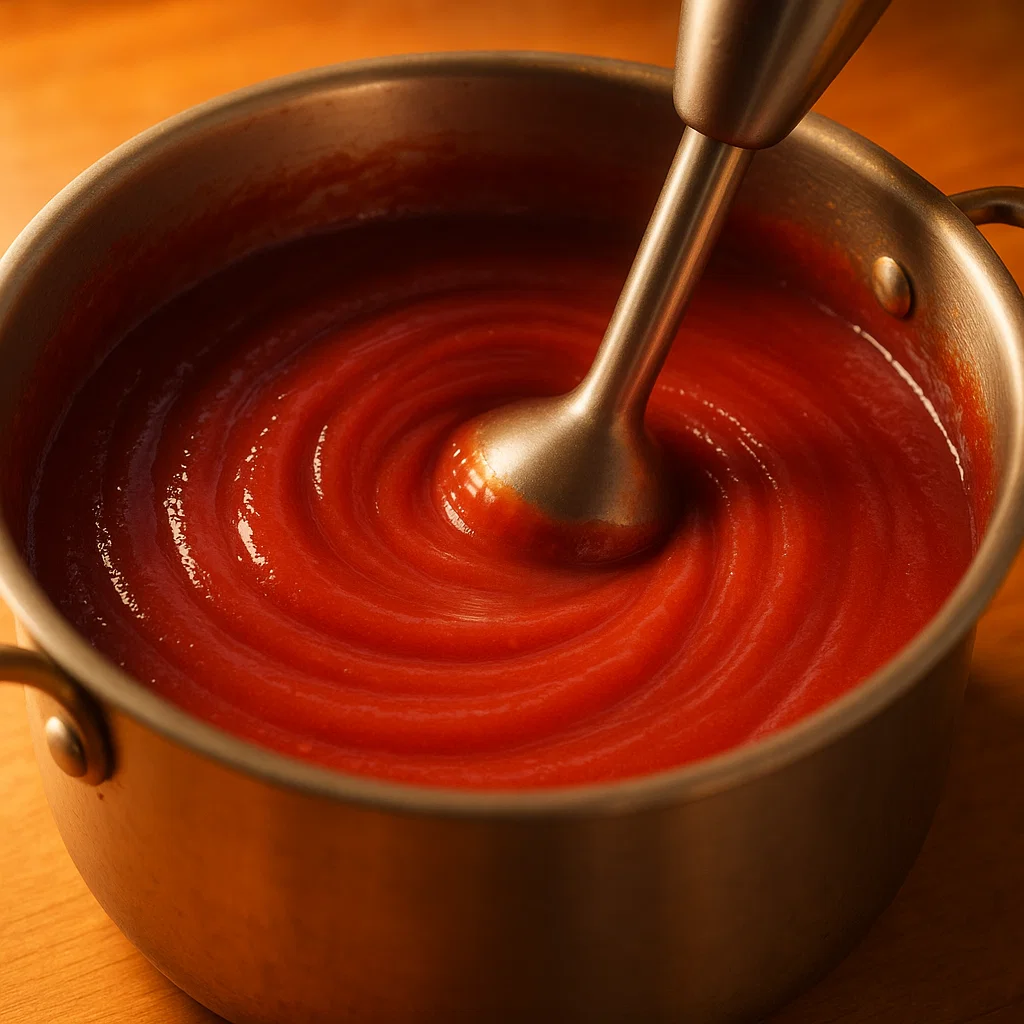
If you prefer a smoother texture, you can blend the jam with an immersion blender. I personally like a bit of texture, so I usually leave it as is, but this step is entirely up to you!
5. Jar Your Jam
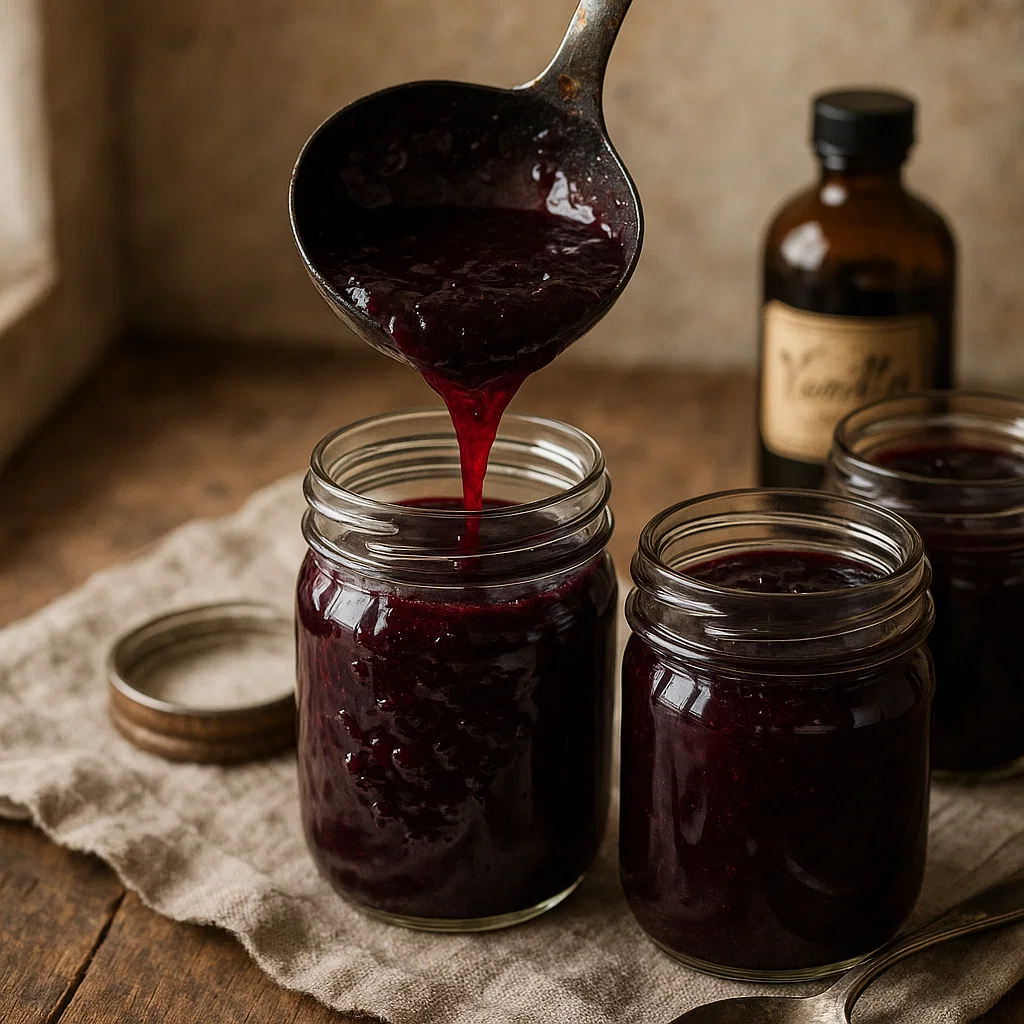
Once the jam has reached your desired consistency, remove it from the heat and stir in the vanilla extract if you’re using it. While the jam is still hot, transfer it into clean, sterilized jars. Leave about 1/4 inch of space at the top of each jar.
If you’re planning to preserve the jam for longer, you can process the jars in a hot water bath for 10 minutes to seal them. But honestly, I usually just store mine in the fridge, where it lasts for about 3-4 weeks.
Tips for Perfecting Your Plum Jam
To ensure your homemade plum jam comes out just right, here are a few tips I’ve picked up over the years:
- Use Ripe Plums: The sweeter the plums, the better your jam will taste. Look for plums that are ripe but still firm enough to hold their shape while cooking.
- Adjust the Sweetness: If you prefer your jam on the sweeter side, feel free to add more sugar. Likewise, if you like a tart jam, you can reduce the sugar to your taste.
- Adding Spices: For an extra kick, try adding a pinch of cinnamon or cardamom to the jam as it simmers. It brings out the rich flavor of the plums and adds a warm depth.
Why You’ll Love This Quick Homemade Plum Jam
What I love most about this recipe is how it brings out the natural flavors of the plums without being overly sweet. The fresh lemon juice balances out the tartness, and the vanilla extract gives it a subtle richness that’s just divine. Plus, making this jam is a great way to preserve the summer fruit and enjoy it throughout the year!
FAQ About Homemade Plum Jam
Q1: Can I make this jam with frozen plums?
Yes! You can absolutely use frozen plums if fresh ones aren’t available. Just make sure to thaw them first and drain any excess liquid before cooking.
Q2: How do I store homemade plum jam?
Store your jam in clean, airtight jars. It will last for up to 3-4 weeks in the fridge. If you want to preserve it for longer, consider processing it in a water bath.
Q3: Can I make this recipe with other fruits?
Absolutely! You can substitute plums with other fruits like peaches, apricots, or even berries. The process remains the same—just adjust the sugar depending on the sweetness of your fruit.
Wrapping It Up: A Sweet Treat You’ll Enjoy
Making quick homemade plum jam is so simple, and the result is absolutely delicious. Whether you spread it on toast, mix it into oatmeal, or use it as a filling for baked goods, this jam is sure to become a staple in your kitchen. With just a few basic ingredients and a little time, you can enjoy a jar of homemade sweetness that’s much more rewarding than store-bought alternatives.
So, what are you waiting for? Go grab some plums and start making your own jam today! I promise, once you taste the difference, you’ll never go back to the store-bought stuff.
