Soft Waves Tutorial
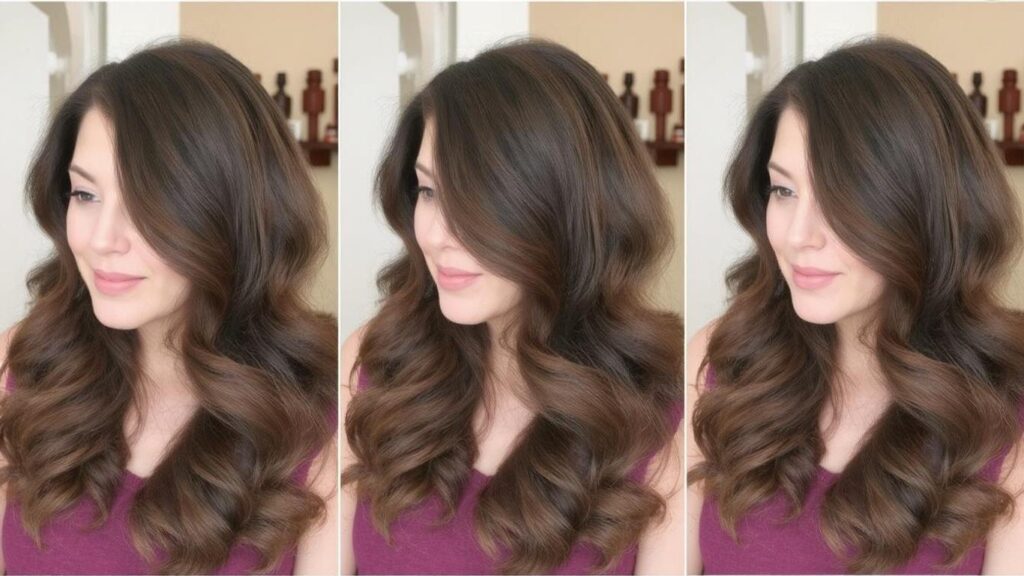
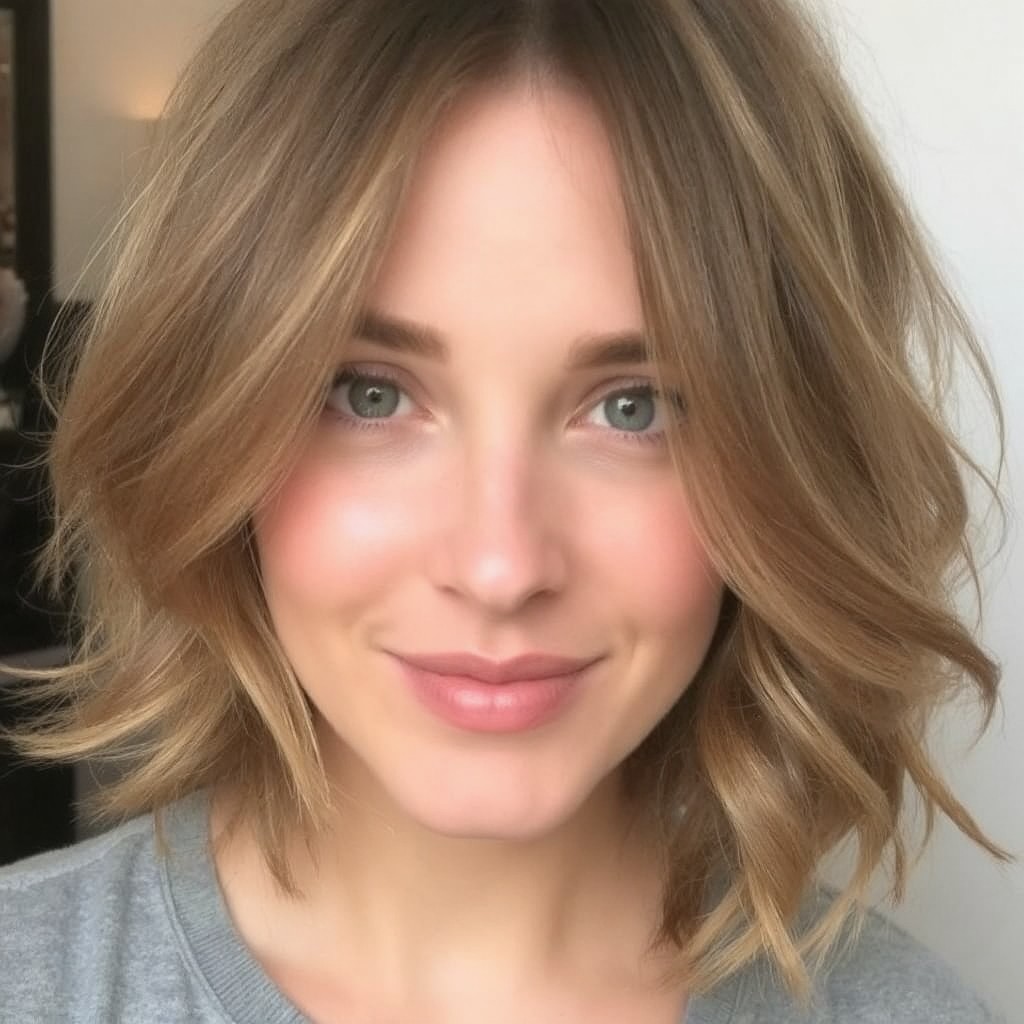
Soft, effortless waves are a timeless and versatile hairstyle, perfect for any occasion. Whether you’re going for a casual day look or something a little more polished, soft waves add a relaxed, chic vibe to your hair. Here’s a simple soft waves tutorial to help you achieve that beachy, undone look in just a few easy steps.
What You’ll Need:
-
A curling iron or wand (1-1.5 inches)
-
Heat protectant spray
-
Hairbrush or comb
-
Hair ties
-
Hairspray (optional, for hold)
-
Hair clips (optional for sectioning)
Step 1: Prep Your Hair
Start with dry, clean hair. If you have natural texture, you can skip washing, but make sure your hair is detangled and free of knots. Apply a heat protectant spray to your hair to protect it from heat damage and ensure a smooth finish.
Why it works: Heat protectant creates a barrier that keeps your hair healthy while curling, preventing frizz and heat damage.
Step 2: Section Your Hair
For an even, effortless wave, divide your hair into 2-4 sections (depending on thickness). Use clips to secure the top and bottom sections. The more sections you create, the more defined your waves will be. For loose, beachy waves, 2 sections will work fine.
Why it works: Sectioning your hair ensures every strand gets curled, resulting in more consistent and uniform waves.
Step 3: Curling the Hair
Using a curling iron or wand, take a small section (about 1-2 inches wide) of hair and wrap it around the barrel. For soft, relaxed waves, you want to curl away from your face. Hold the curl for about 5-10 seconds and then release. Repeat this all around your head, alternating the direction you curl each section for a more natural look.
Why it works: Alternating curl directions prevents your hair from looking too uniform and helps create a natural, effortless wave.
Step 4: Loosen the Curls
Once you’ve curled all of your hair, let the curls cool down for a minute. Gently run your fingers through your curls to loosen them up. If you want more volume or texture, use a hairbrush or comb to gently brush through the curls, creating softer waves.
Why it works: Brushing through your curls creates soft, voluminous waves rather than tight curls, giving a more relaxed and effortless vibe.
Step 5: Finish with Hairspray (Optional)
If you want your waves to last longer, lightly mist your hair with hairspray. Choose a flexible hold hairspray so your waves still have movement but stay in place throughout the day.
Why it works: Hairspray helps hold the waves without making them stiff, keeping your hair looking fresh all day long.
Final Tips:
-
For a more natural look, avoid using too many products or over-curling.
-
If you want more volume, try flipping your head upside down and lightly tousling the waves.
-
Use a smaller curling iron for tighter curls and a larger one for looser waves.
Conclusion: Soft Waves Made Easy
This soft waves tutorial proves that achieving effortless, beachy waves doesn’t require hours of styling. With just a few simple steps, you can create a relaxed, chic hairstyle that works for any occasion. Perfect for a laid-back vibe or a polished look, soft waves are a versatile addition to your hairstyle repertoire. Enjoy the process and rock those waves!
Key Takeaways:
-
Use a curling iron or wand to create soft, beachy waves.
-
Section your hair for more consistent results.
-
Loosen curls with your fingers or a brush for a relaxed look.

