
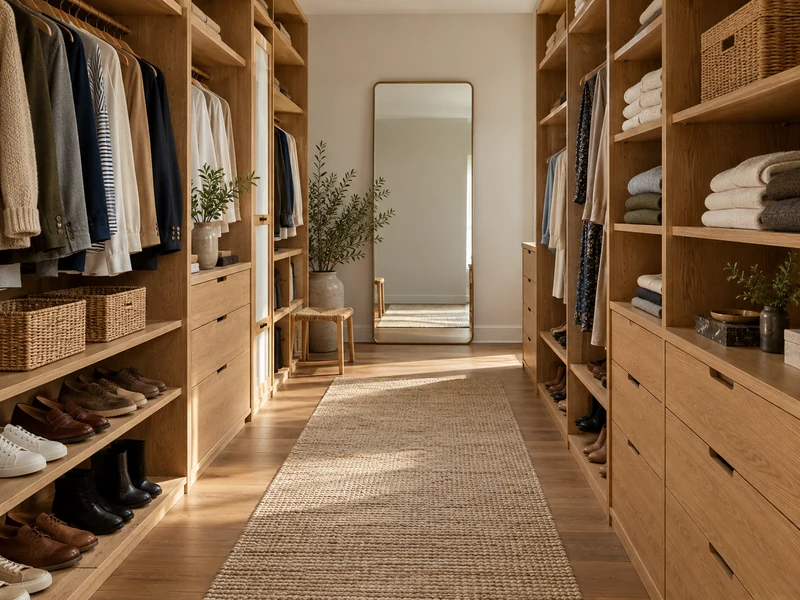
A dressing room works best when the things you reach for most are easy to see and return. That can be true in a compact closet as well as a generous walk-in space. The goal is a layout that fits your actual clothes, shoes, accessories, and daily routine, rather than a picture-perfect arrangement that takes too much effort to maintain.
Start by measuring shelves, drawer depth, hanging height, and the clear floor area. Then work through the six stages below. They combine the original guide’s ten useful ideas into a sequence: edit what you own, group it, assign storage, and build a simple reset habit. You can usually make major progress with the furniture and containers already in the room.
Why You’ll Love This System
- Each item gets a place based on how often you use it.
- Storage decisions follow real measurements and garment needs.
- A short weekly reset keeps the room usable after the first makeover.
Set aside enough time to finish one complete area, such as a single rail or drawer, before moving on. Keep a measuring tape, a cleaning cloth, and a few empty bags nearby. Photographing a shelf before you empty it can help you remember what worked, but do not feel obliged to recreate the same arrangement. This process should make the room easier to use, even if your wardrobe is shared or your storage furniture cannot be changed.
Six Steps to an Organized Dressing Room
1. Declutter and Sort by Category
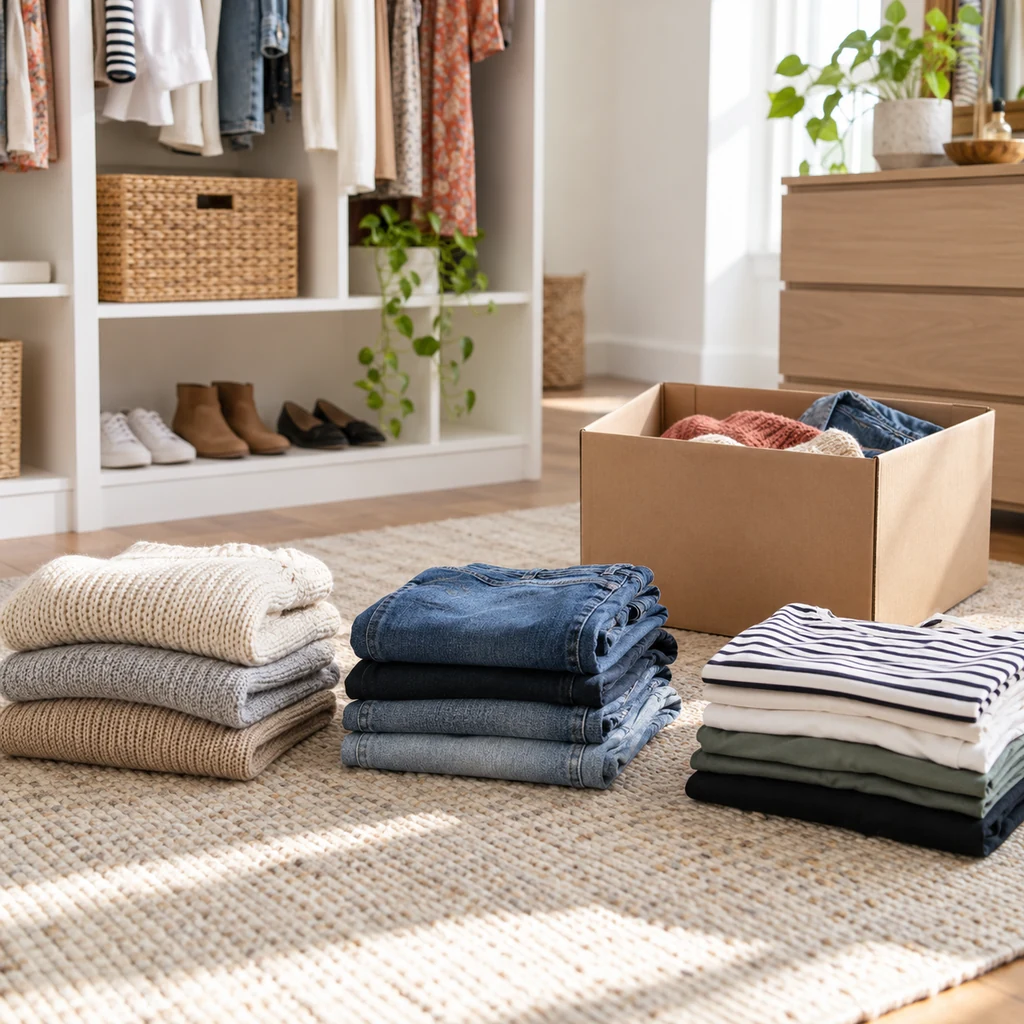
Take everything from one section at a time, rather than emptying the entire room if you cannot finish in a day. Make keep, repair, donate, and recycle groups. Decide based on fit, condition, comfort, and whether you still wear the item; a rigid “one year” rule may not suit formalwear or seasonal pieces. Return only the keep group, sorted into shirts, trousers, dresses, outerwear, shoes, and accessories. Within a category, arrange by season or color if that makes selection faster. Put donations into a closed bag promptly so they do not drift back onto the shelf.
2. Plan Hangers and Hanging Space
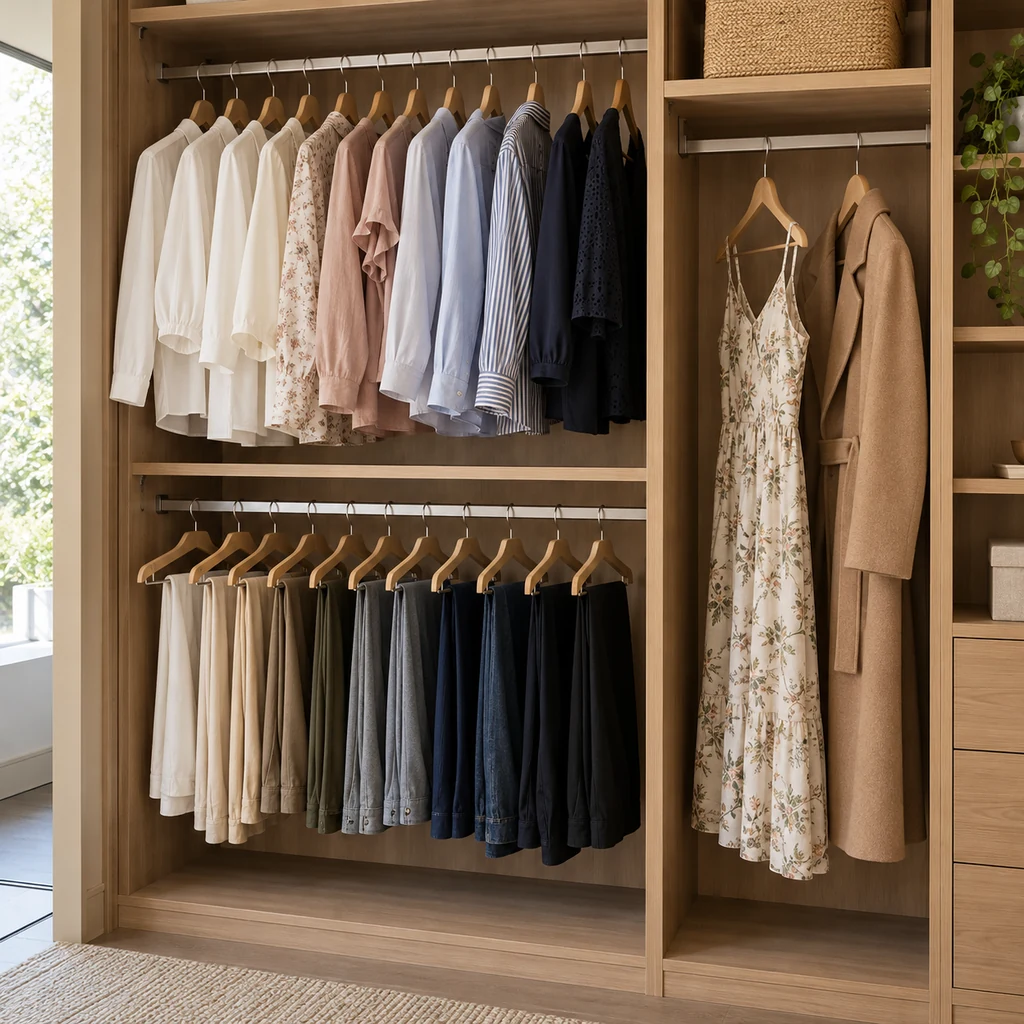
Use slim hangers for everyday shirts when the rod is crowded, but choose shaped wooden or padded hangers for jackets and delicate pieces that need support. Keep hangers facing the same way to make scanning easier. Short items can share a double-hang area; long dresses and coats need an uninterrupted drop. Measure before adding a second rod or shelf so garments do not brush the floor or block a drawer. Hooks behind a door can hold a frequently worn bag or robe, provided the door still closes fully. Avoid packing hangers so tightly that clothes wrinkle or snag.
3. Give Small Items a Defined Home
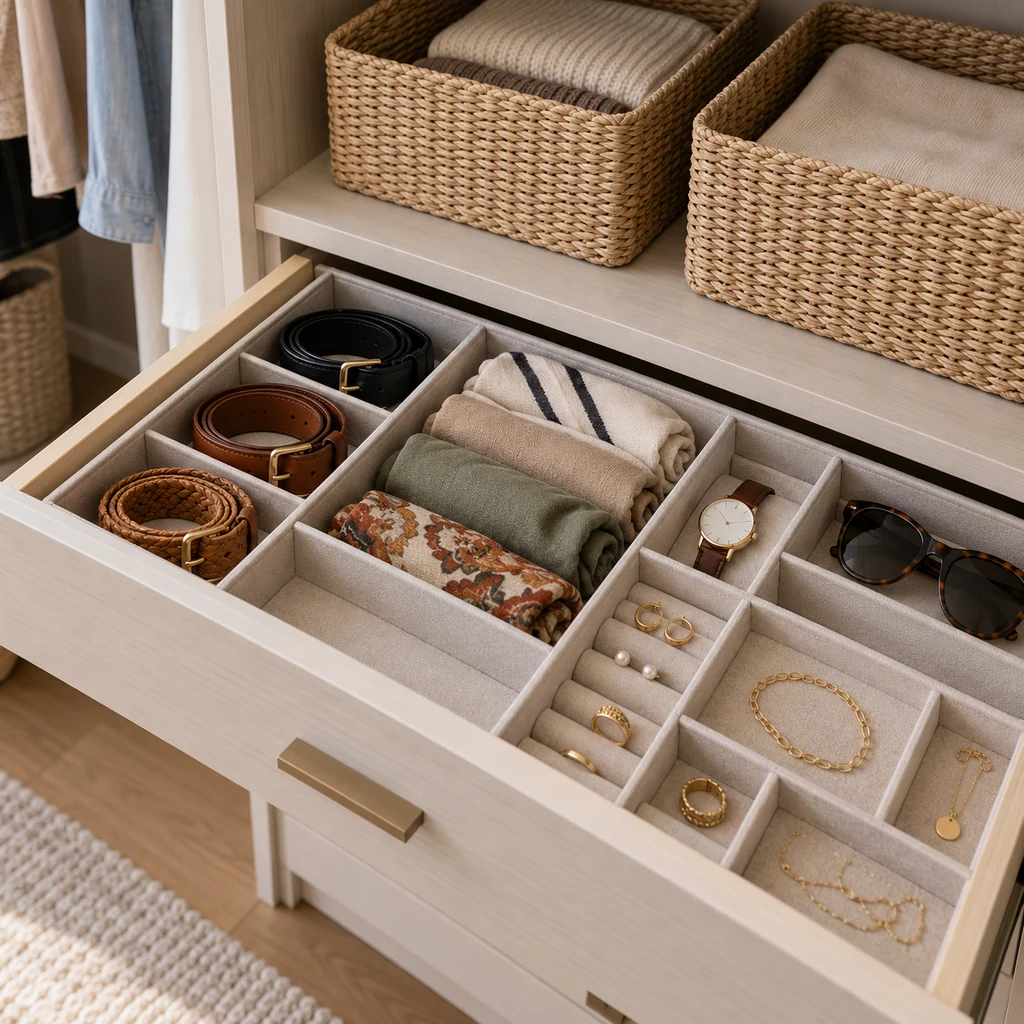
Use drawers, shallow trays, or dividers for jewelry, watches, sunglasses, and folded accessories. Keep necklaces separated so they do not tangle; store delicate pieces in soft compartments. Baskets work for scarves, belts, and seasonal items, while clear containers make contents visible at a glance. If you use opaque bins, add a simple label outside rather than opening several boxes every morning. Put everyday accessories between waist and eye level and occasional pieces higher up. Before buying organizers, measure the interior of your drawers and leave space to open them without hitting furniture.
4. Build a Shoe Zone
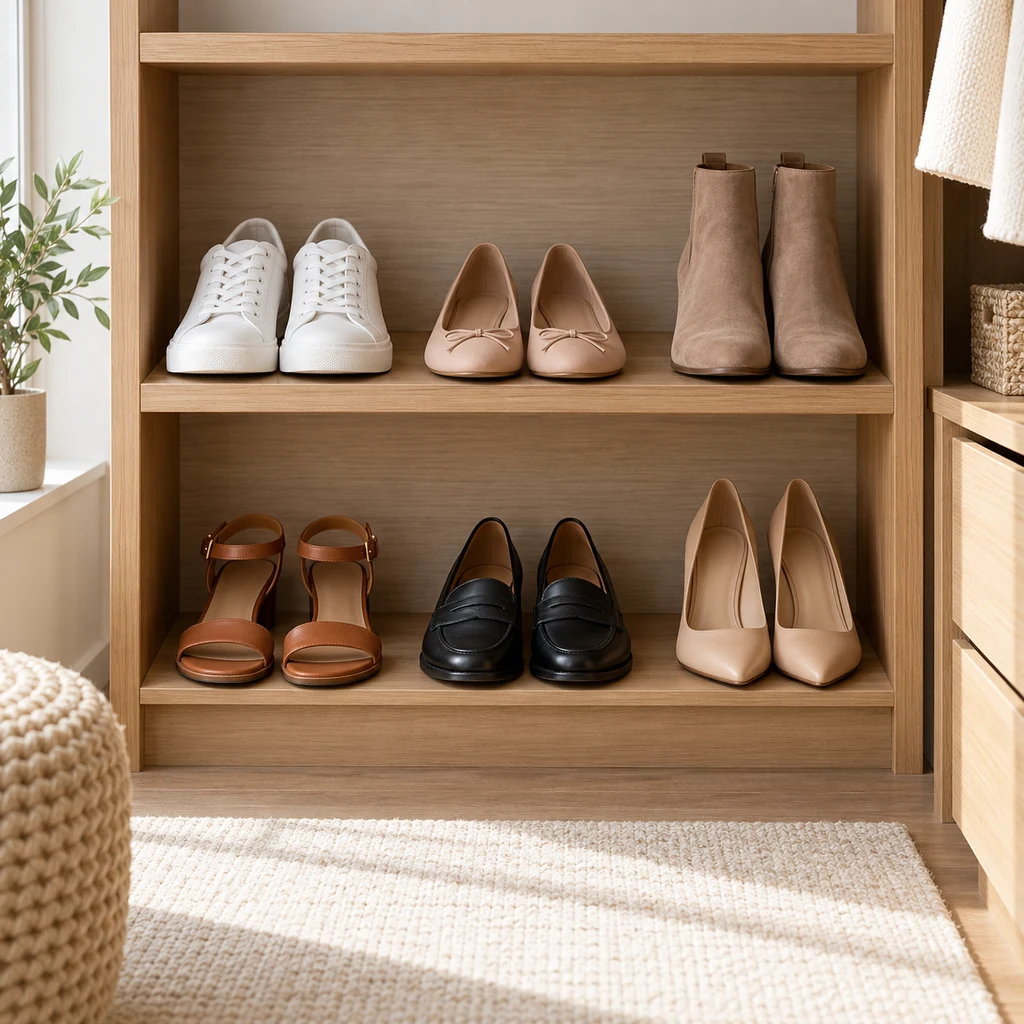
Start with the pairs you wear most often. Place them on a low open rack or adjustable shelves where you can see both shoes and reach them without moving a stack. Taller boots need more clearance; soft shoes may fit in individual cubbies or breathable boxes. Leave a little space between pairs so soles and uppers do not scuff one another. Clean shoes before storing them above clothing. If floor area is tight, use vertical shelves, but secure any tall freestanding unit as its manufacturer directs. A small tray near the entrance catches the shoes you use daily.
5. Place the Mirror and Create Zones
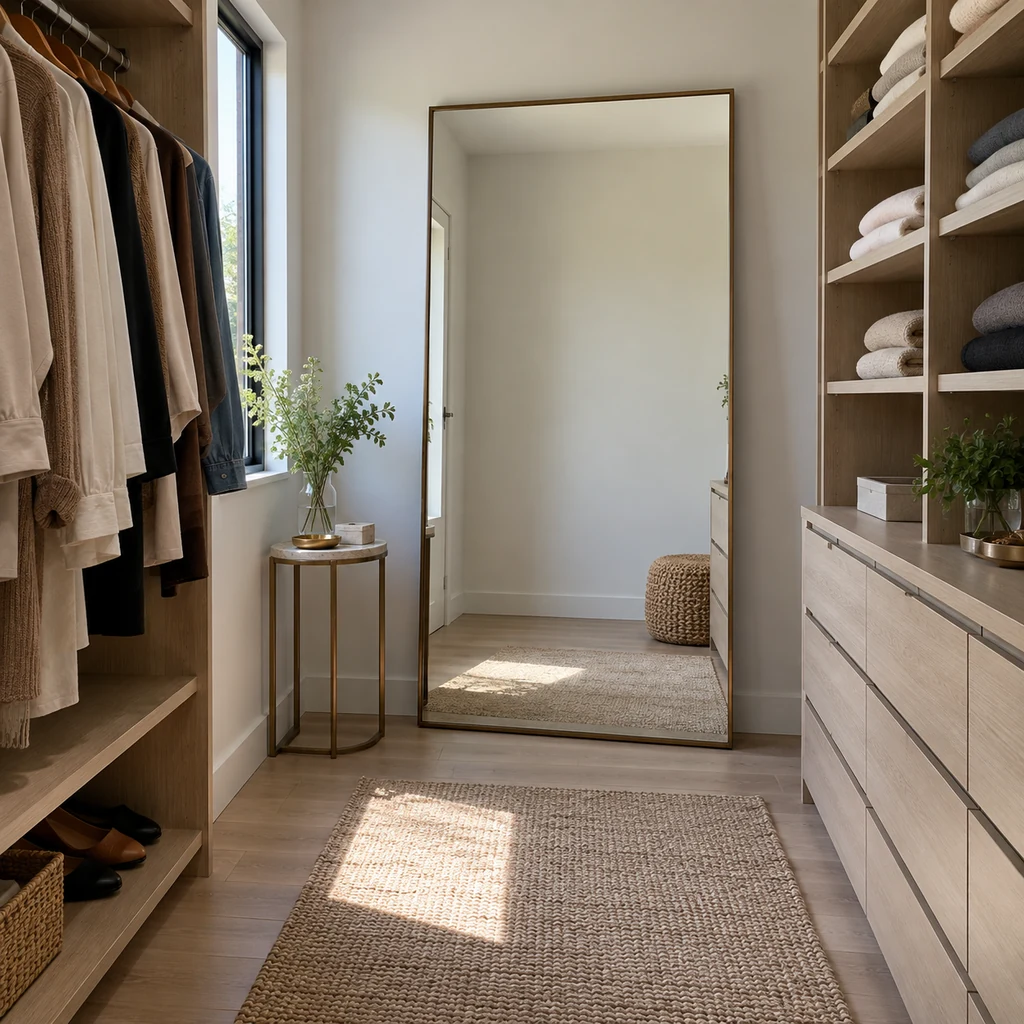
Choose a full-length mirror with enough clear space in front to step back and see an outfit. Position it where daylight or a good lamp reaches your face without harsh glare. Secure a wall mirror properly, or use a stable freestanding model that cannot tip easily. Give each task a place: hanging clothes on one side, folded pieces near drawers, accessories near the mirror, and a hamper where clothes actually land. Keep the walkway open so doors and drawers can move freely. A small vanity tray is useful if you get ready in the room, but it should not become a catch-all.
6. Keep the Layout Working
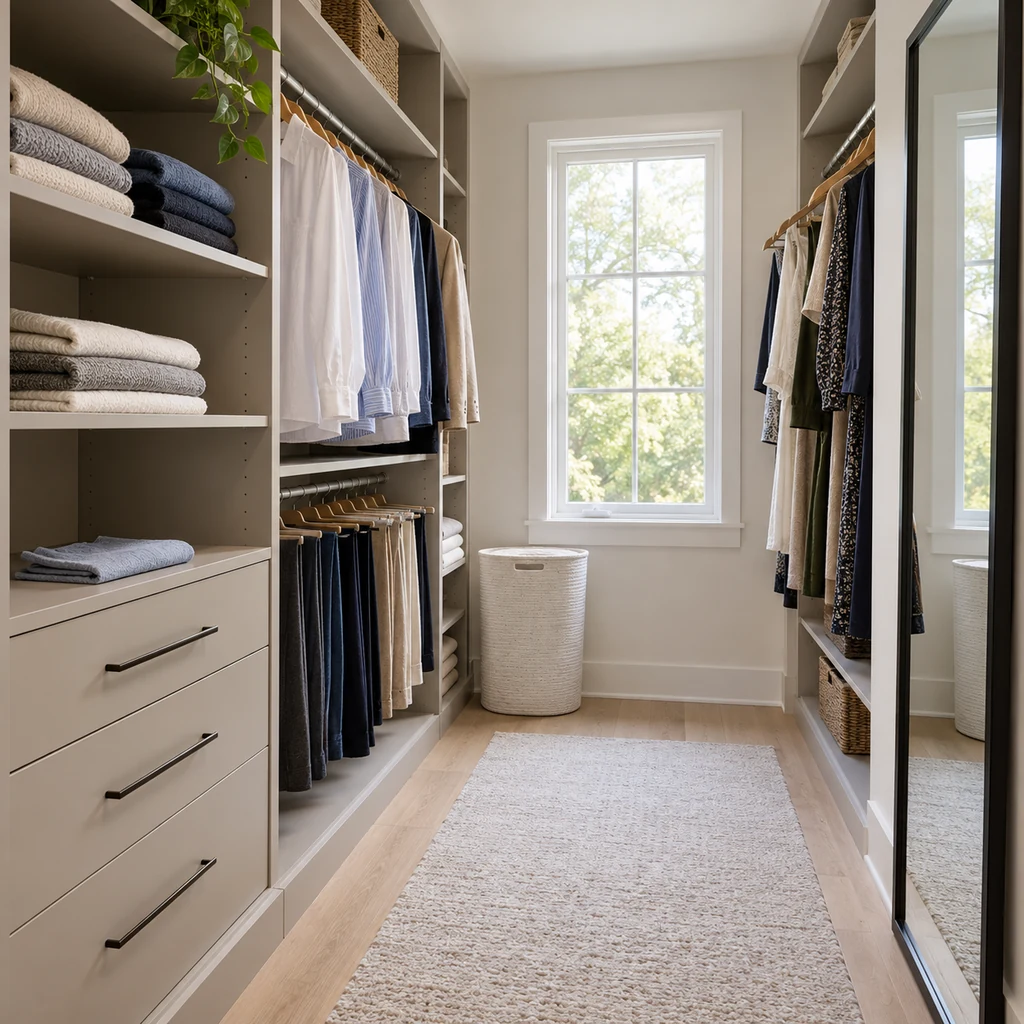
Put clean clothes back in their assigned zone and move laundry to the hamper rather than a chair. Once a week, spend a few minutes returning stray shoes, refolding one messy shelf, and clearing the mirror area. Review seasonal bins when the weather changes, rather than adding new purchases to already full shelves. If one category repeatedly spills over, adjust that zone: it may need more space or a simpler container. The layout should serve your habits, so treat it as a practical system you can change instead of a one-time display.
How to Adapt the Plan to a Small Closet
Keep daily clothes at the most accessible height and rotate out-of-season pieces to a labeled upper shelf or another suitable storage spot. Use the back of a door only if the organizer does not interfere with closing or ventilation. A narrow shoe rack and drawer dividers often help more than adding a large cabinet. For more compact layouts, see how to organize a small closet on a budget; for a broader room plan, explore clutter-free dressing room ideas.
Frequently Asked Questions
Should I buy organizers before decluttering?
Wait until you know what you are keeping and have measured the space. That prevents buying bins or drawers that do not fit your actual categories.
How do I protect delicate clothes?
Use hangers that support their shape, leave breathing room on the rod, and follow garment care labels. Fold pieces that stretch when hung.
How often should I reset the room?
A brief weekly reset is enough for many households. Revisit category sizes whenever seasons or routines change.