
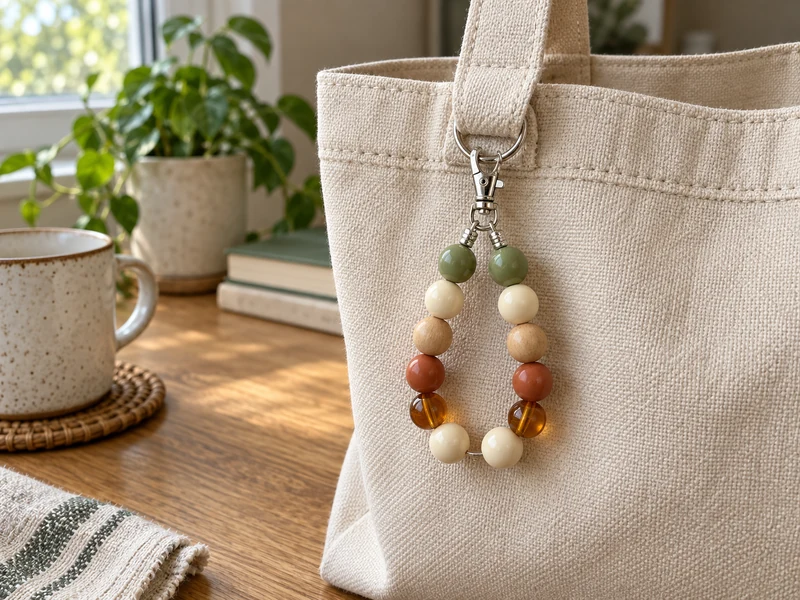
Beaded bag charms look effortless, but the attachment method decides whether the beads stay on the bag or scatter across a parking lot. Stretch cord is convenient for bracelets; on a bag, it repeatedly rubs against hardware, stretches under its own weight, and can fail without much warning. This tutorial uses flexible jewelry wire and two properly matched crimp tubes instead.
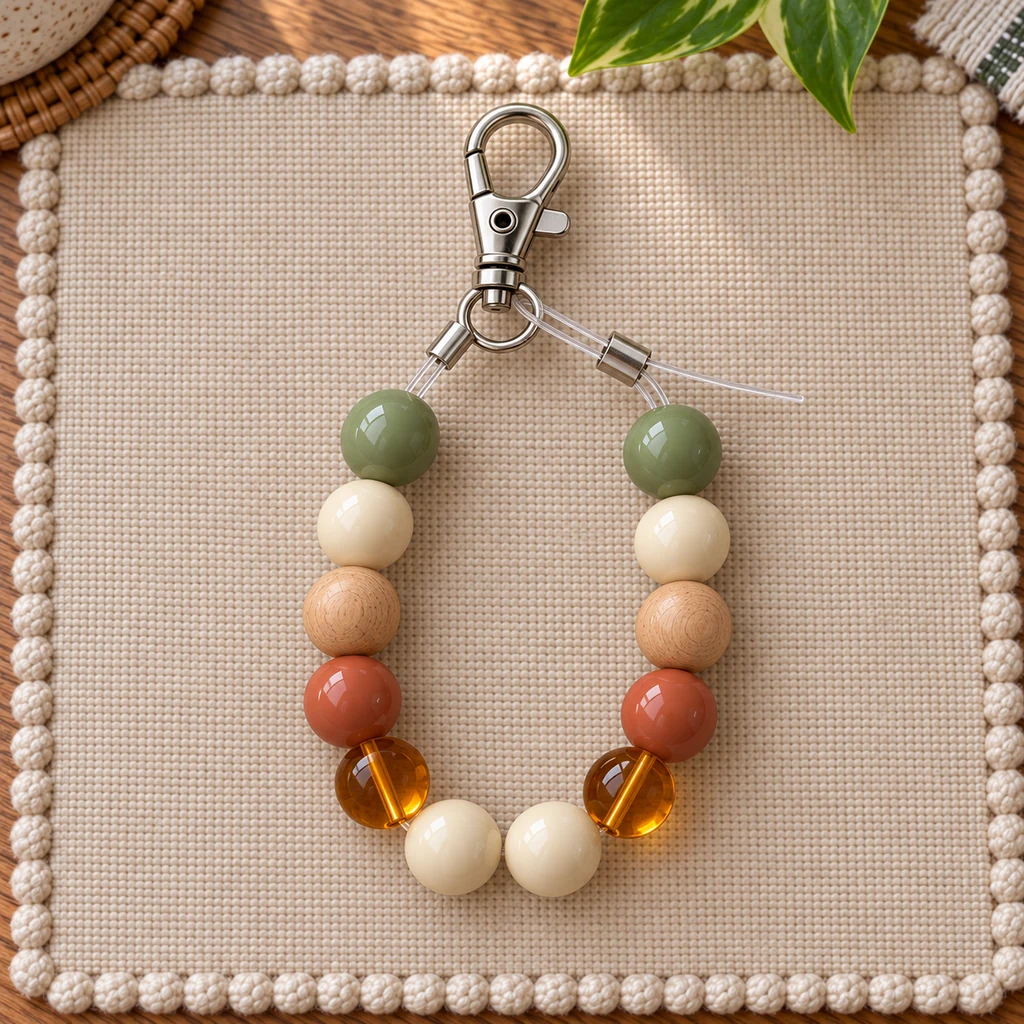
The finished charm is one softly curved loop with exactly twelve lightweight beads and one swivel lobster clasp. The earthy rust, sage, cream, wood, and amber palette works through fall but does not read as a one-week seasonal craft. More importantly, every connection remains visible enough to inspect before you clip it to a tote or backpack.
Why This Construction Is More Reliable Than Stretch Cord
Jewelry wire is made from fine metal strands protected by a coating, so it bends without relying on a knot. Each end of this beaded loop is independently returned through a crimp tube and secured to the same closed clasp eye. If one end is assembled incorrectly, you can see the problem during the pull test rather than hiding it beneath a decorative knot.
This is still a decorative accessory, not climbing equipment or a child’s toy. Do not use it to hold keys, a wallet, or anything valuable. Beads and metal findings are choking hazards, and clipped charms can snag. Keep the finished piece away from babies, young children, and pets.
Materials
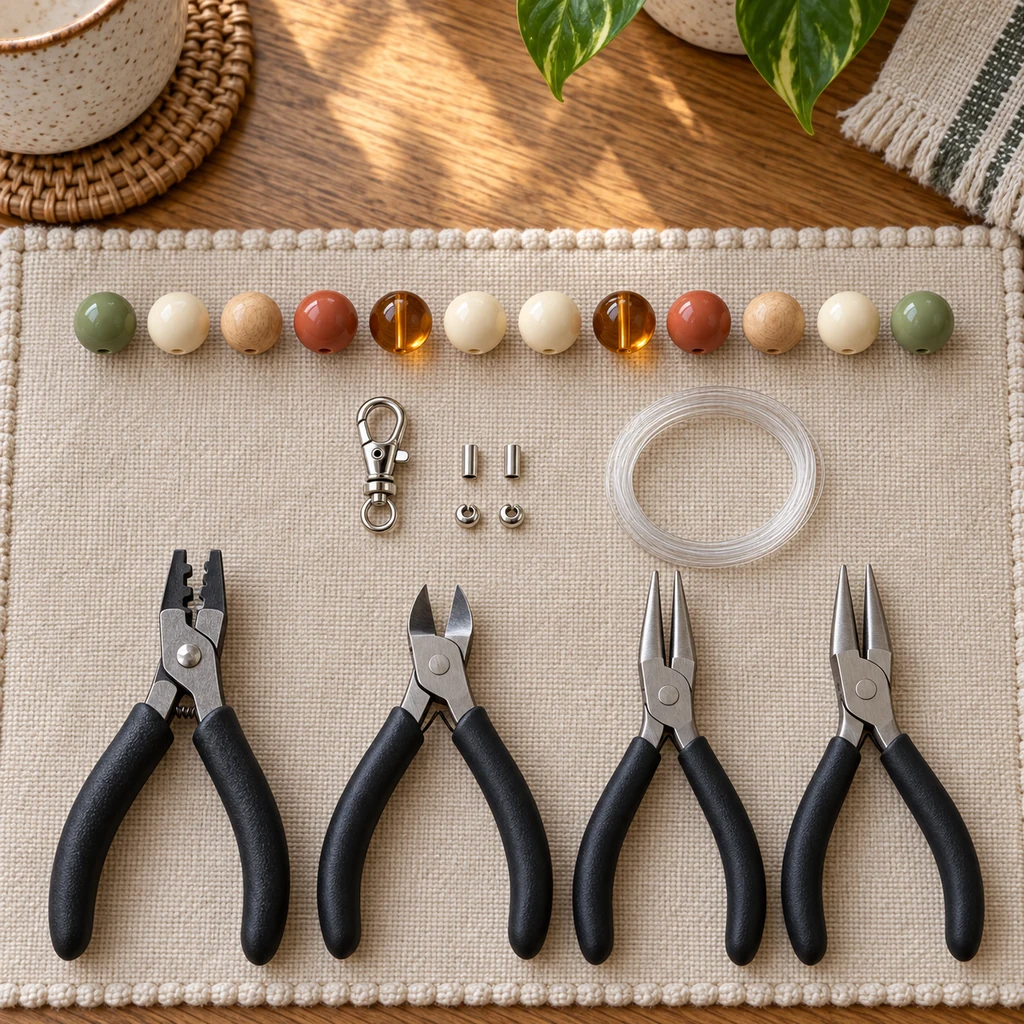
- One 14-inch piece of 0.018-inch, 49-strand nylon-coated beading wire
- Two size #2 crimp tubes approved for the chosen wire
- Two crimp covers sized to fit the compressed tubes
- One 1 1/2-inch swivel lobster clasp with a fully closed attachment eye
- Exactly twelve lightweight 10–12 mm beads: two sage, four cream, two natural wood, two terracotta, and two translucent amber
- One bead stopper or small binder clip
- Crimping pliers matched to the crimp tubes
- Flush cutters
- Two smooth-jaw chain-nose pliers for closing crimp covers
- Shallow bead tray or folded towel
Compatibility matters: Do not choose the wire, tube, and crimping tool independently. Use the sizing chart or instructions supplied by the wire and crimp manufacturer. A tube that is too large may slide; one that is too small can damage or cross the wires.
The Twelve-Bead Pattern
Lay the beads from left to right in this order: sage, cream, wood, terracotta, amber, cream, cream, amber, terracotta, wood, cream, sage. The pattern mirrors around the two center cream beads. Arrange everything on a tray before opening a crimp tube; finding a missing bead while holding loose wire is an excellent way to test gravity.
Use acrylic, resin, or lightweight wood beads rather than glass or stone. Heavy beads put more force on the end loops and make the charm swing harder against the bag. Check every hole for a sharp edge that could scrape the wire coating.
Step-by-Step Instructions
1. Inspect and Arrange All Twelve Beads
Run a short scrap of the same wire through every bead to confirm that the holes are open and smooth. Reject a bead that catches, chips, or has a visibly sharp rim. Then place all twelve beads in the mirrored order above. Count them individually; the two cream center beads should touch when the pattern is correct.
2. Crimp the First Wire End to the Clasp
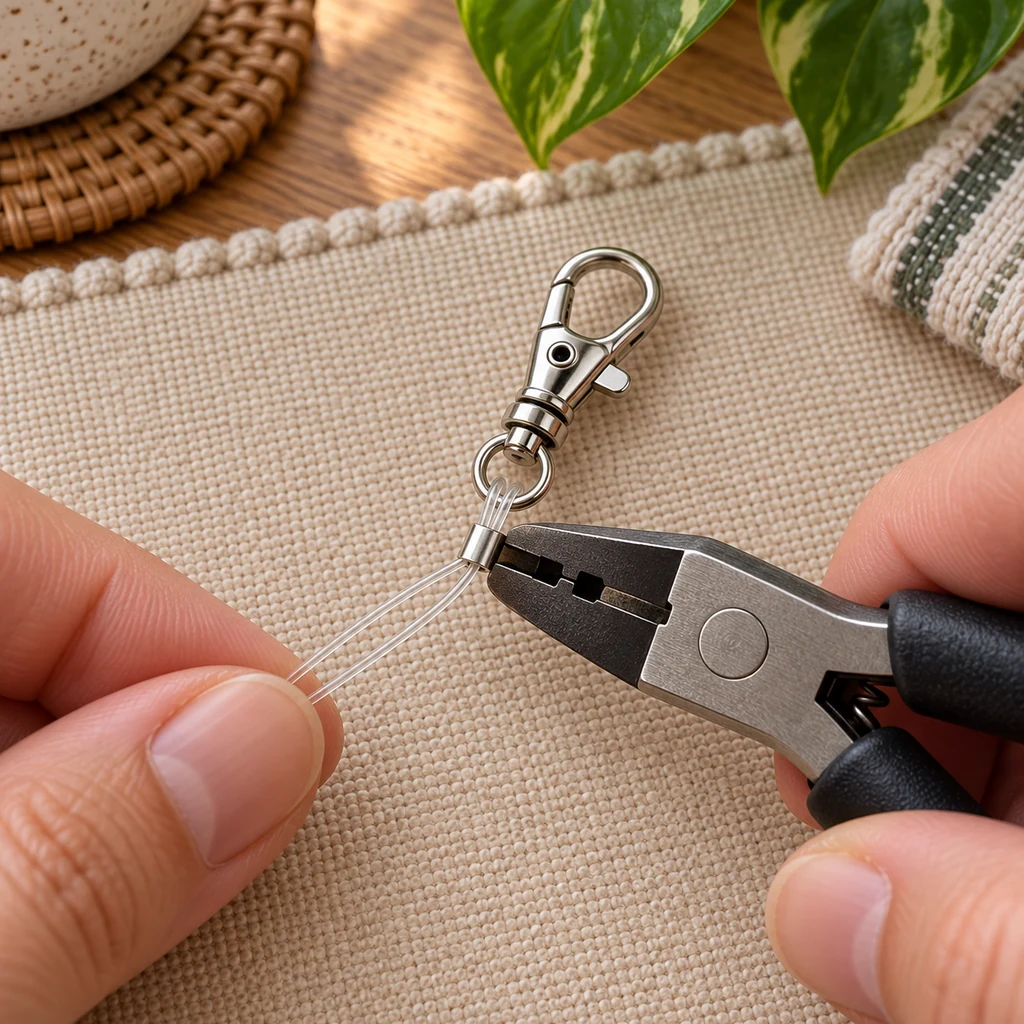
Slide one crimp tube onto the wire. Pass about 2 inches of wire through the clasp’s closed bottom eye, then return the tail through the same crimp tube. The two wire sections must lie parallel inside the tube without crossing. Leave a small, relaxed loop at the clasp so the wire can pivot without scraping tightly against the metal.
Use the matched crimping pliers exactly as their instructions specify: form the crimp, rotate it if directed, and make the finishing compression. Do not flatten a tube randomly with household pliers. Give the main wire and tail a firm opposing pull over the bead tray before proceeding.
3. String the Mirrored Bead Pattern
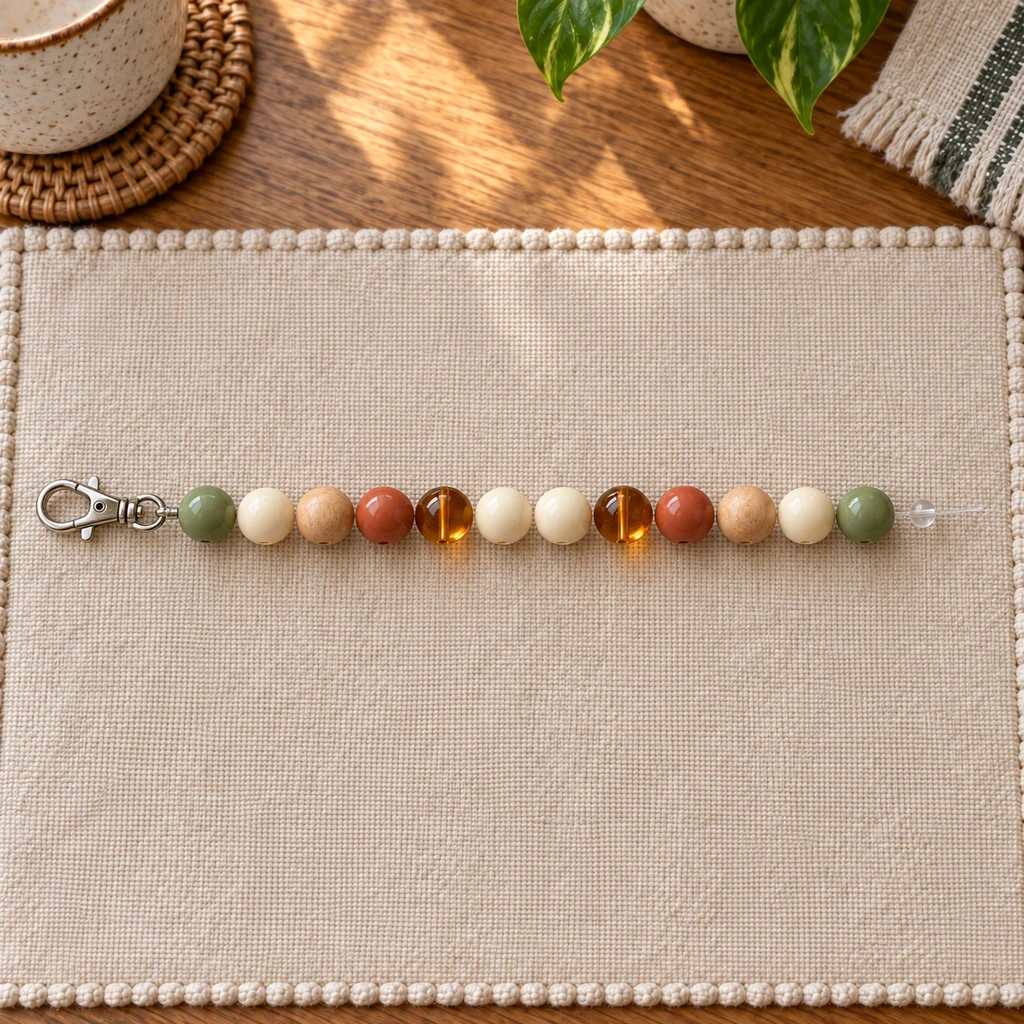
String the first two beads over both the main wire and the short tail. Pull the tail through until it disappears beneath those beads, then trim only the protruding tail with flush cutters—never nick the working wire. Continue adding the remaining beads in order. Clip a bead stopper to the free end whenever you set the project down.
After bead twelve, compare the strand with the written pattern. Both outer beads should be sage; the pair at the center should be cream. Correct the order now, before the second end is closed.
4. Form the Second End Without Making the Loop Rigid
Slide the second crimp tube onto the free end. Pass the wire through the same closed clasp eye beside the first loop, then return it through the crimp tube and back through the last two beads. Pull the tail gradually while shaping the beaded strand into a soft U.
Do not cinch the beads into a stiff horseshoe. Leave approximately 1/4 inch of combined movement between beads so the loop can curve naturally when the clasp turns. Keep the two wires parallel inside the second tube and make sure neither end loop is twisted around the other.
5. Crimp the Second End and Cover Both Tubes
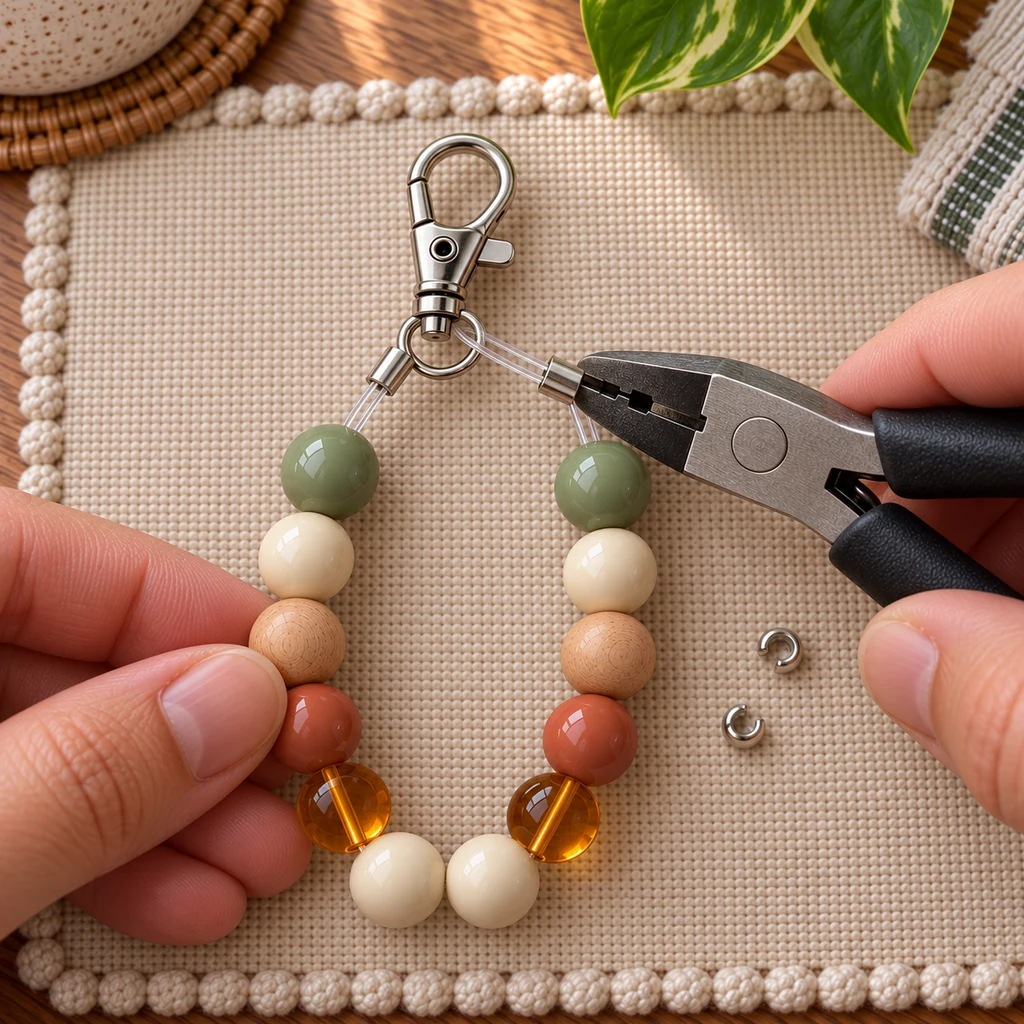
Before compressing anything, count the beads once more and check that both wire tails are seated. Crimp the second tube with the same matched tool and method used on the first. Pull the loop and clasp in opposite directions over the padded tray. If either tube shifts, cut the charm apart and rebuild it with new crimps; never compress a used tube a second time and call it secure.
When both connections pass, trim the second tail after it runs beneath the final two beads. Place one crimp cover over each compressed tube and close it gently with smooth-jaw pliers until the edges meet. The covers improve the finish and reduce snagging, but they do not repair a poor crimp.
6. Perform a Padded-Surface Tug Test and Clip It On
Hold the clasp in one hand and the lowest part of the beaded loop in the other. Tug firmly three times over a folded towel. Rotate the clasp, flex the loop, and inspect both covered ends. Stop if you see a sliding tube, exposed tail, kinked wire, cracked bead, or opening clasp eye.
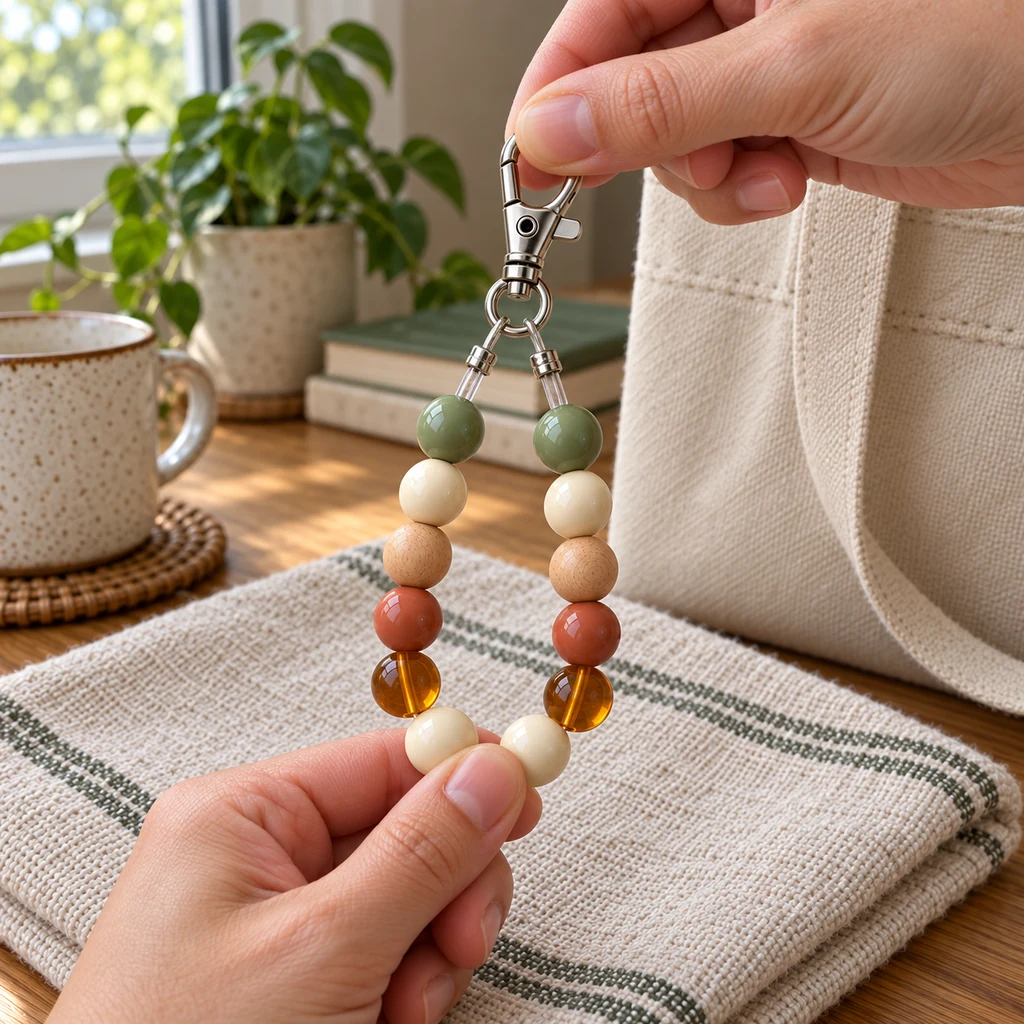
Clip the approved charm to a substantial sewn tote loop or backpack ring. Do not pierce fabric with the clasp and do not attach it to a loose thread. For the first week, inspect the end connections each time you use the bag; occasional checks thereafter take only a few seconds.
Common Mistakes That Make Beaded Charms Fail
- Using ordinary elastic: repeated stretching, abrasion, and temperature changes can weaken it on a bag.
- Crossing wires inside a crimp: crossed strands may prevent the tube from forming around the wire as designed.
- Choosing crimps by appearance: the tube must match both the wire diameter and the crimping tool.
- Removing all movement: a rigid loop forces sharp bends next to the crimps and does not drape naturally.
- Reusing a compressed tube: once a crimp has been formed or removed, replace it.
- Adding heavy glass beads: weight and impact increase the load on every connection.
Substitutions & Variations
Change the palette without changing the structure. Deep plum, smoke, cream, and wood create a moodier charm; blue, white, and clear beads feel wintry. Keep the total bead count at twelve and use similarly sized lightweight beads so the wire curve remains predictable.
If you want a shorter charm, use ten beads and re-center the pattern before cutting the wire. Do not substitute fishing line, sewing thread, memory wire, or an unknown craft cable simply because it fits through the holes. Each material requires its own termination method.
For a clay version with a completely different construction, see the air-dry clay mushroom bag charm guide. Keeping the techniques on separate pages avoids pretending that clay hardware and beading-wire crimps behave the same way.
Care and Storage
Remove the charm before washing the bag. Wipe beads with a dry microfiber cloth and keep perfume, hair spray, salt water, and household cleaners away from the wire and finish. Store the charm flat in a small fabric pouch so the loop is not crushed beneath other accessories.
Retire the charm if the wire coating wears through, a bead breaks, the clasp eye opens, or a crimp begins to move. A decorative accessory is replaceable; the contents of your bag are not.
Frequently Asked Questions
Can I tie beading wire in a knot instead?
No. Flexible beading wire is normally finished with compatible crimp components, not an ordinary knot. Follow the exact wire manufacturer’s termination instructions.
Why are there two separate crimp tubes?
Each wire end forms its own return loop around the clasp eye and is secured independently. One oversized tube crushing both ends together would require a different capacity calculation and is not the method shown here.
Can I add alphabet beads?
Yes, if their holes are smooth and their dimensions are close to the other lightweight beads. Rebuild the pattern on the tray and keep the strand balanced before attaching the second end.