
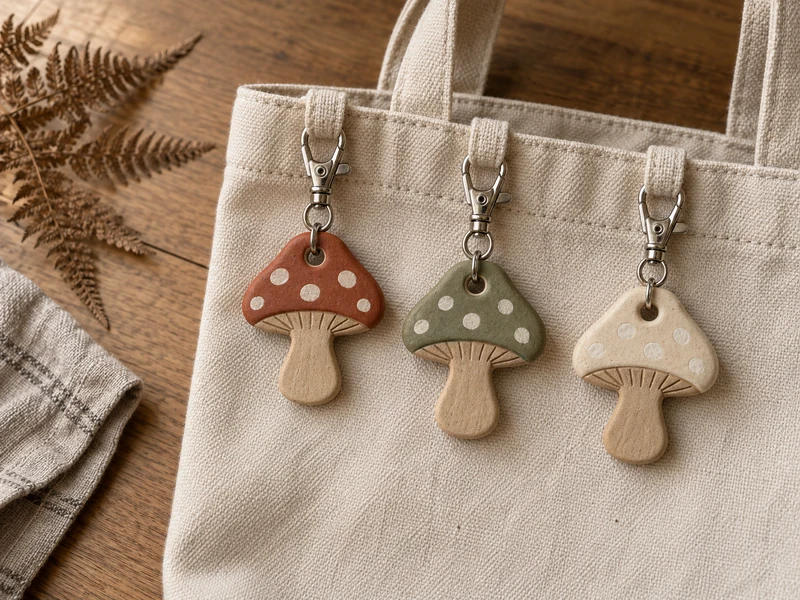
Air-dry clay mushroom charms are irresistible until the stem snaps, the hanging hole tears, or a thin cap curls while drying. This version avoids those predictable weak points by using a flat, rounded silhouette, an even quarter-inch slab, and a hole that sits well inside the clay rather than near the edge.
The project makes three separate charms: one rust, one sage, and one warm cream. Each mushroom is about 2 1/2 inches tall, light enough for a tote or zipper pull, and connected to its own swivel clasp. They look detailed because of their painted gills and tiny cap spots—not because they rely on fragile three-dimensional parts.
Why This Flat Mushroom Shape Works Better
A mushroom with a narrow, separately attached stem creates a natural break point. Here, the cap and stem are cut as one continuous piece. The inner corners where they meet are gently curved, and the stem is kept at least 3/4 inch wide. Those small design decisions distribute stress through the charm instead of concentrating it in one skinny joint.
Air-dry clay still remains breakable and water-sensitive, even after sealing. Treat the finished pieces as decorative bag accessories, not as heavy-duty key rings. A tote handle, pouch zipper, or backpack loop is a better home than a crowded keychain that gets dropped on hard floors.
Materials
- About 6 ounces white air-dry clay
- One paper mushroom template, 2 1/2 inches tall with a 3/4-inch-wide stem
- Parchment paper and one rigid, flat board
- Rolling pin
- Two matching 1/4-inch wooden guide sticks
- Blunt plastic clay knife or small craft knife
- One standard drinking straw
- Small cup of clean water and a soft brush
- Fine sanding sponge, 220 grit or finer
- Acrylic craft paint in rust, sage, cream, tan, and off-white
- Small flat brush and fine detail brush
- Compatible water-based acrylic varnish or craft sealer
- Three sturdy 10 mm jump rings
- Three 1 1/2-inch swivel lobster clasps
- Two pairs of smooth-jaw jewelry pliers
Safety note: An adult should handle a sharp craft knife, fine sanding dust, sealer, and jewelry pliers. Work in good ventilation, follow every product label, and keep clay and finished pieces away from food, flames, small children, and pets.
Before You Begin
Trace the mushroom template onto ordinary paper and cut it out. Round the two corners where the cap meets the stem; sharp V-shaped notches are much more likely to start a crack. Mark the hanging-hole position on the cap centerline, about 3/8 inch below the top edge. The finished straw-cut hole should have a generous clay border on every side.
Different brands dry at different rates, so the package directions take priority. As a useful reference, Crayola says its air-dry clay is generally touch-dry after about 24 hours and fully dry after about 72 hours, with climate and piece size affecting the timing. Paint or seal only after the center is fully dry.
Step-by-Step Instructions
1. Condition and Divide the Clay
Knead the clay just until it feels smooth and cohesive. Divide it into three equal 2-ounce portions and immediately wrap two portions so their surfaces do not begin drying. Avoid adding water to the whole lump; too much water makes the outside softer than the center and can encourage uneven shrinkage.
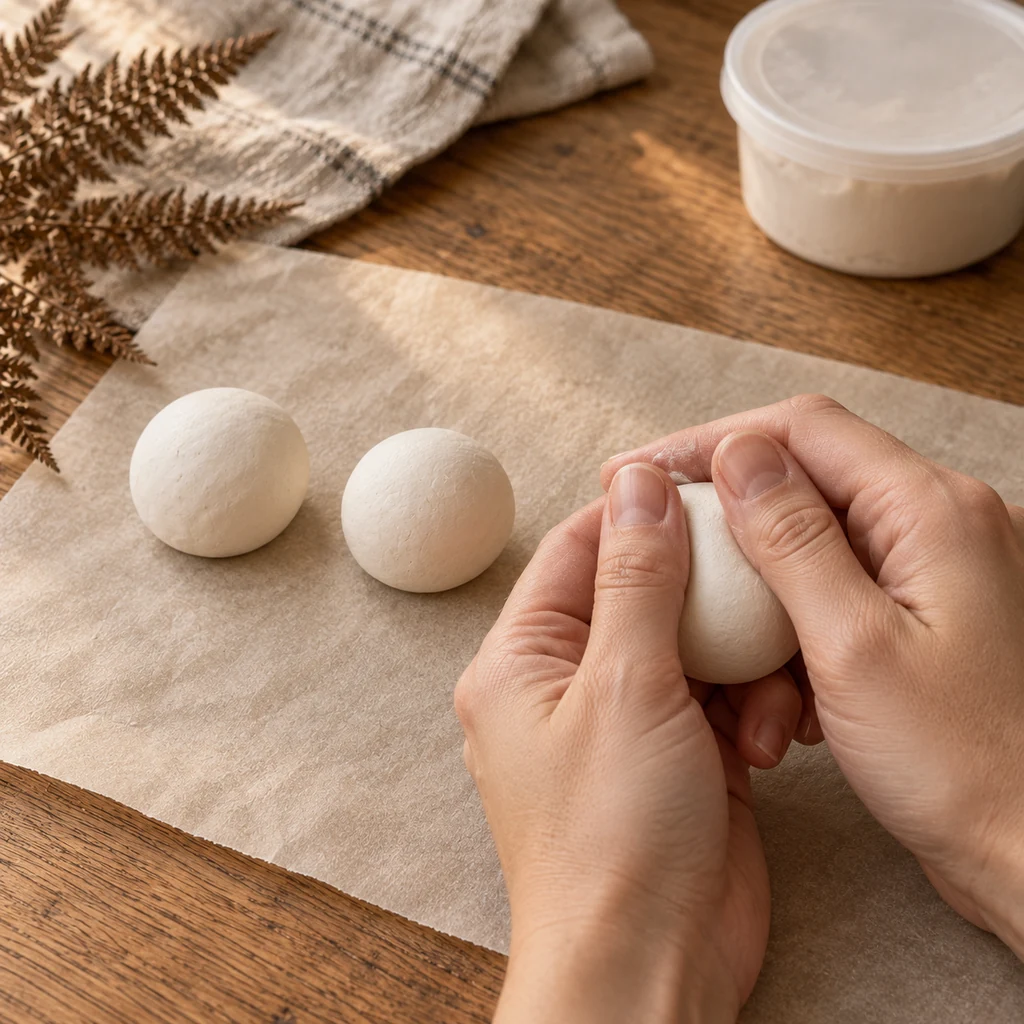
2. Roll an Even Quarter-Inch Slab
Set one clay portion between the two matching guide sticks. Roll across both sticks so they physically stop the pin at an even 1/4 inch. Rotate the parchment rather than lifting and stretching the slab. If a fine surface line appears, blend it with a barely damp fingertip; do not soak the clay.
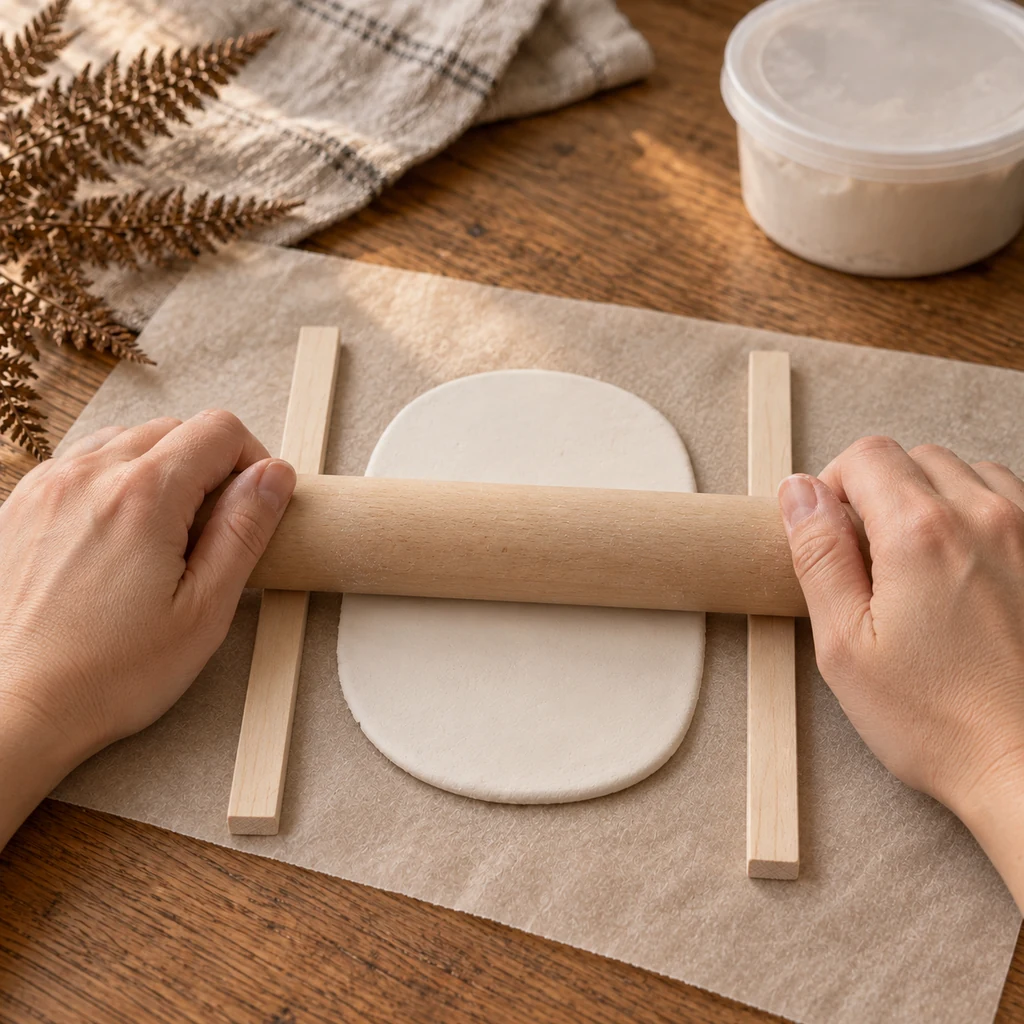
3. Cut Three Rounded Mushroom Silhouettes
Lay the paper template on the first slab and cut straight down around it without dragging the tool sideways. Lift away the scrap, then soften the perimeter with a fingertip or soft brush. Pay special attention to the curved cap-to-stem transitions. Repeat with the two covered portions so you have exactly three matching silhouettes.
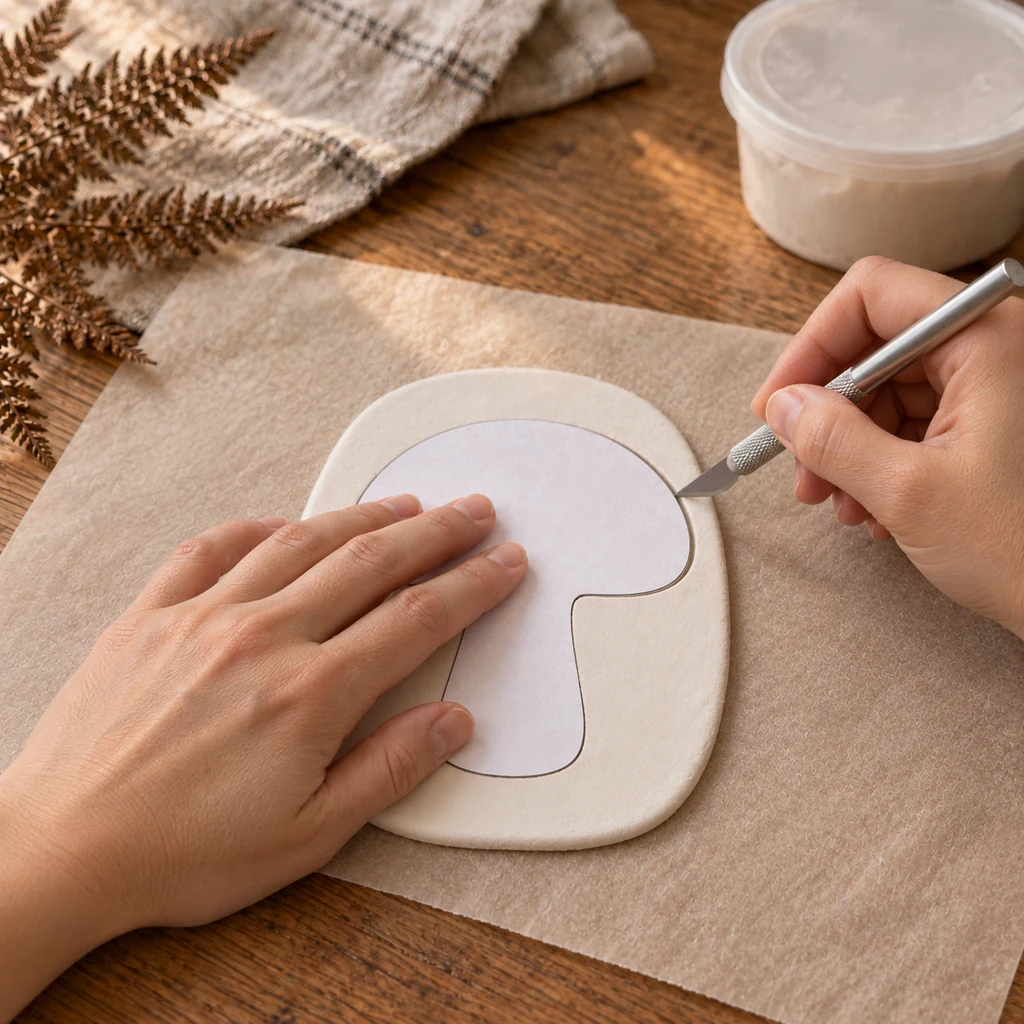
4. Punch One Hanging Hole and Refine the Edges
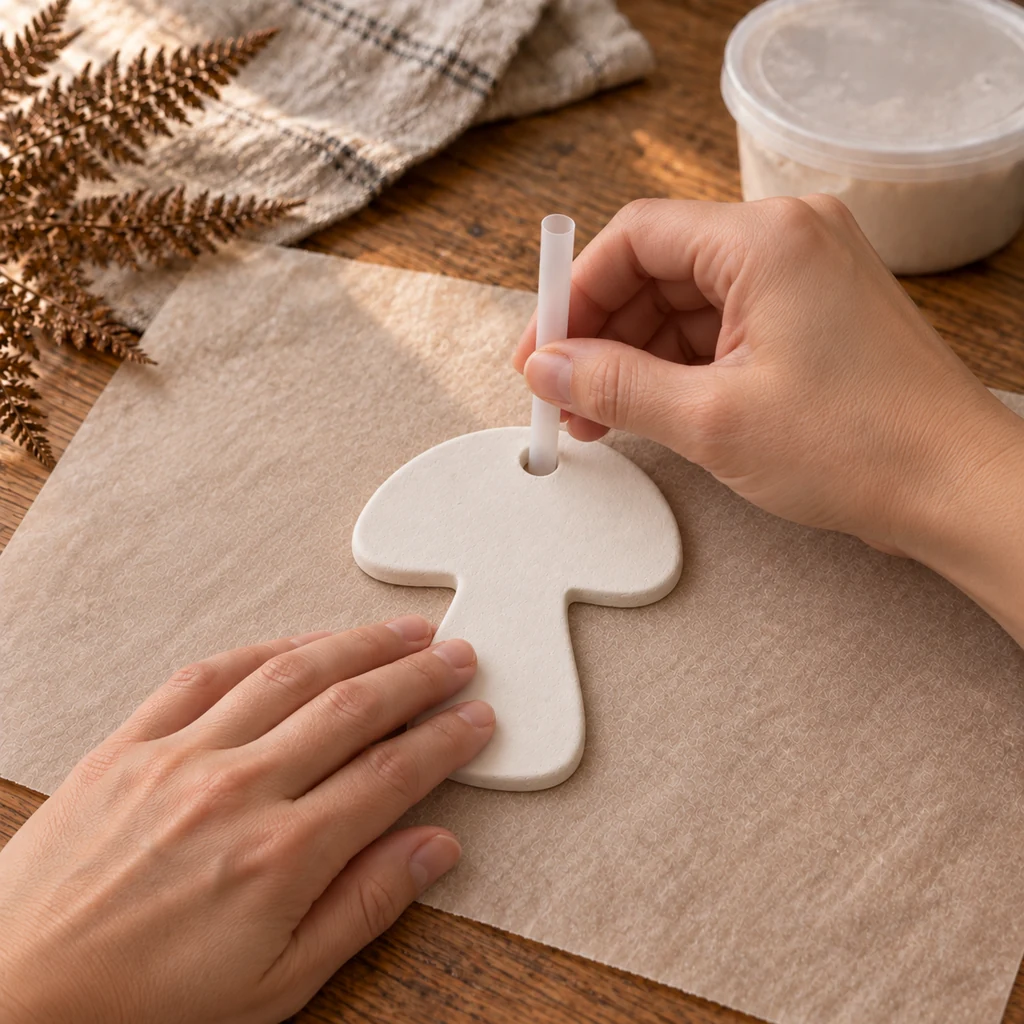
Use the straw to cut one clean hole at the marked point, 3/8 inch below the cap’s top edge. Remove the clay plug and turn the piece over carefully. Smooth the back rim of the hole so the hardware will not press against a ragged edge. Confirm that the hole is centered and surrounded by a substantial ring of clay.
5. Dry Flat and Turn Regularly
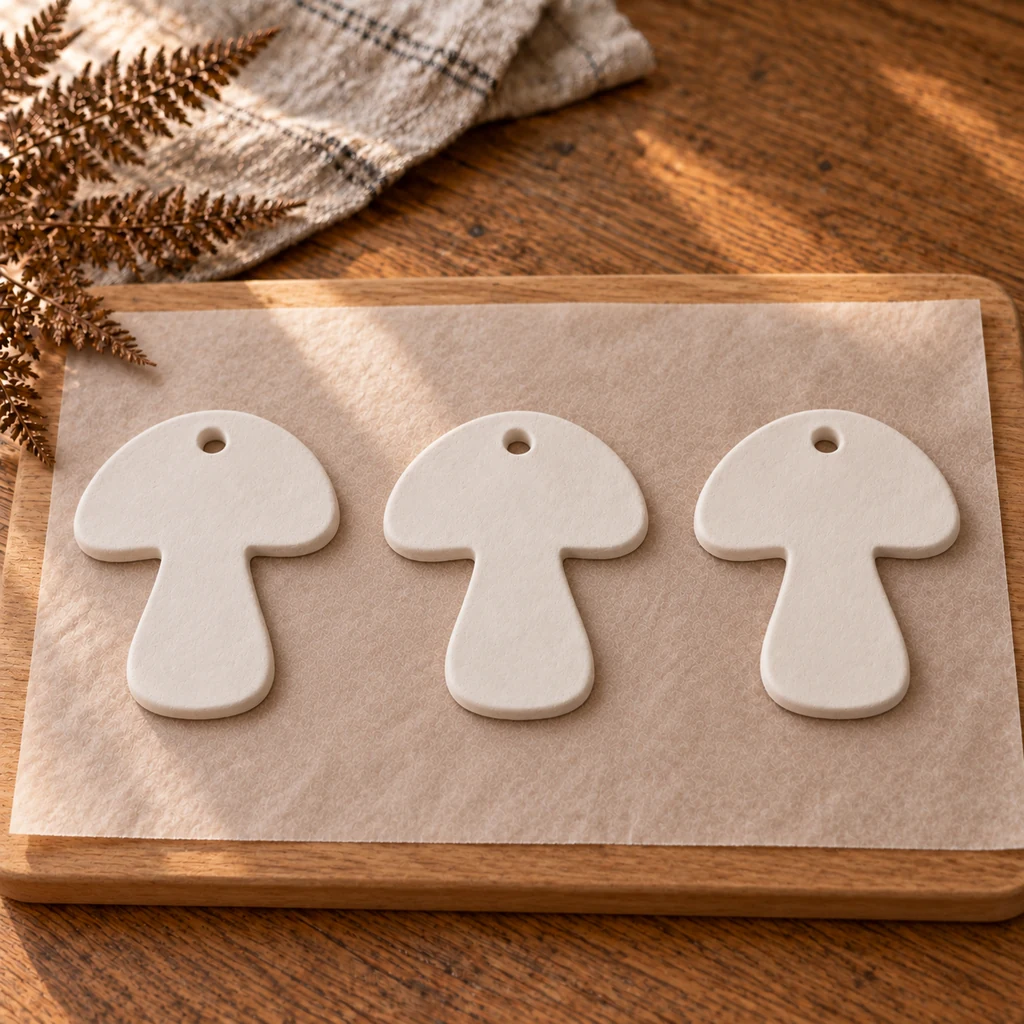
Move all three mushrooms onto fresh parchment over a rigid board, leaving at least an inch between them. For the first several hours, turn each piece every 30 to 60 minutes while it is still flexible enough to correct a slight curl. Continue turning periodically as it firms, then allow it to dry completely according to the clay label. Never speed the process in an oven, microwave, or direct blast of heat.
6. Sand and Paint Thin Coats
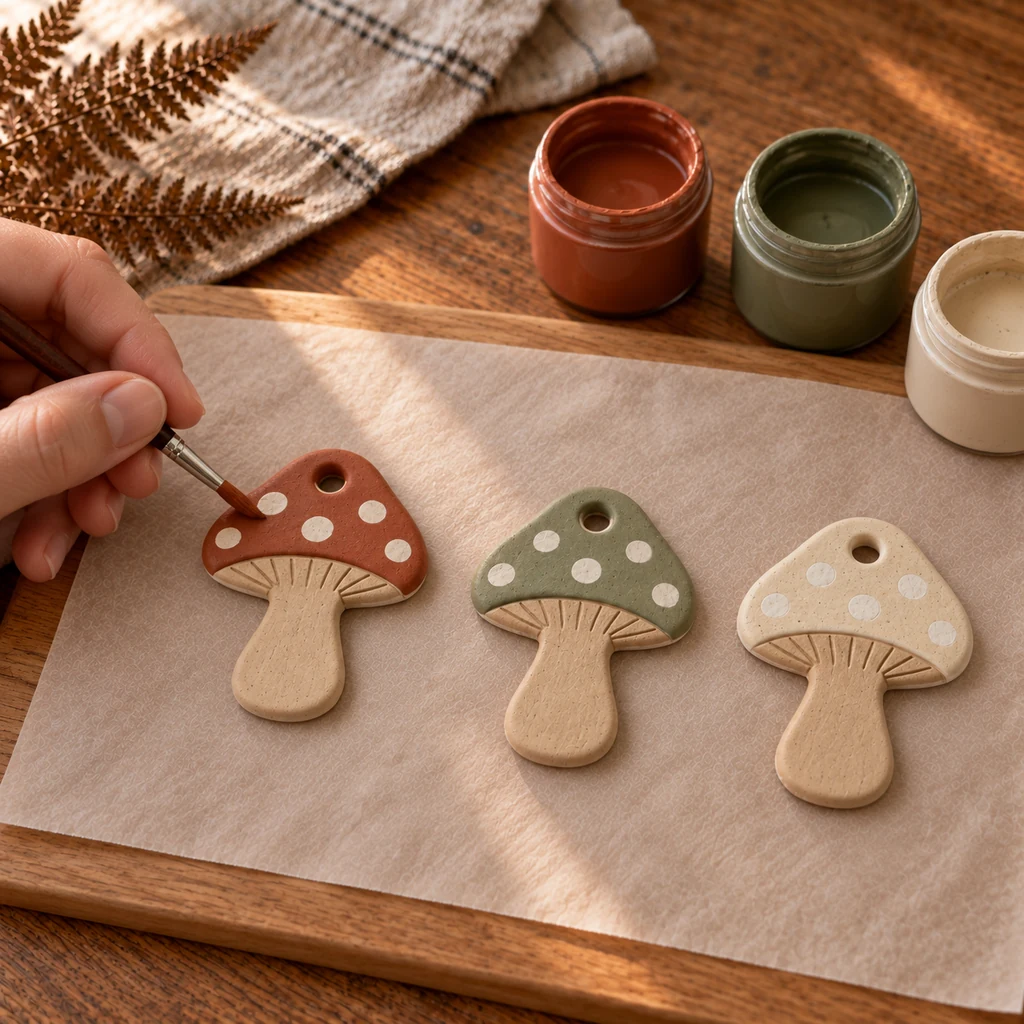
When the clay is uniformly pale, room-temperature, and fully dry, lightly sand only rough edges and the backs of the holes. Wipe away dust. Paint one cap rust, one sage, and one cream, keeping the stems tan. Add off-white spots sparingly and paint fine gill lines under each cap. Two thin coats are safer than one heavy coat; let every coat dry before adding the next.
7. Seal, Add Hardware, and Check the Connection
After the paint is fully dry, test your sealer on a leftover painted clay scrap. If compatible, apply thin coats to the front, back, edges, and inside each hole, following the label’s drying and curing times. Sealer improves surface protection but does not make air-dry clay waterproof.
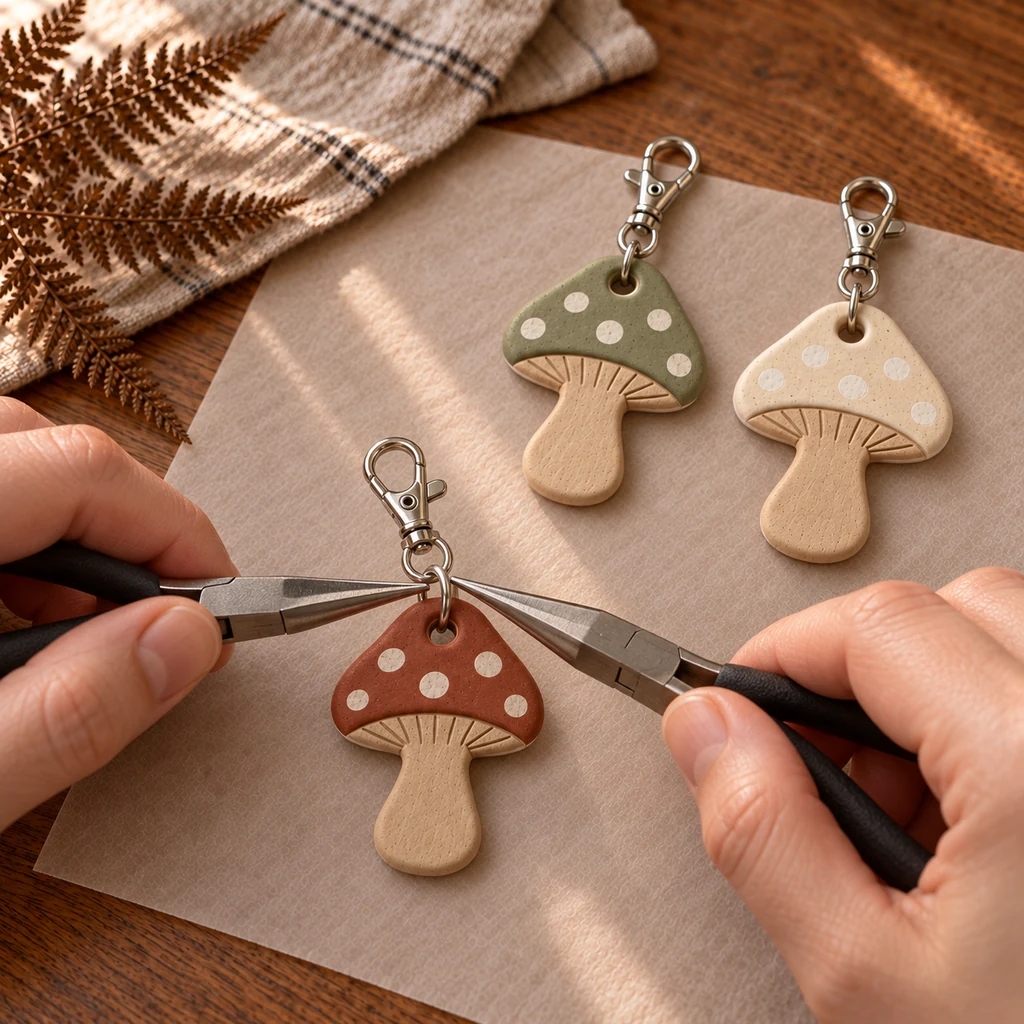
Open each jump ring sideways with two pliers—never pull it into an oval. Pass one ring through one clay hole and one clasp, then twist it firmly closed until the cut ends meet. Repeat for all three charms. Tug each clasp gently over a padded surface. If the hole shows a hairline crack or flexes, do not hang that piece; retire it as a small ornament instead.
Crack and Warp Troubleshooting
- The edge curls upward: One face is drying faster. Turn the piece more often while it is still flexible and keep it away from a vent, heater, or sunny window.
- A crack begins at the stem: The stem may be too narrow or the inner corner too sharp. Recut the template with wider, rounded transitions rather than patching a structural crack.
- The hanging hole splits: It is probably too close to the cap edge or the ring is too small. Preserve roughly 3/8 inch of clay above the hole and use a ring that moves freely without levering against the rim.
- The paint stays tacky: The clay or paint was not fully dry, or the finishes are incompatible. Let the charm cure longer and always test the sealer on scrap.
- The charm feels heavy: Do not make it thinner after the fact. Use it as decor and make a new 1/4-inch charm with a smaller silhouette.
Substitutions & Variations
If a swivel clasp is unavailable, use a sturdy split ring large enough to move freely through the clay hole. A split ring is less convenient to remove, but it should still be joined through a jump ring rather than forced directly through the clay. For a cleaner modern look, skip the spots and paint solid caps with a narrow contrasting rim.
You can also turn the same shape into a hanging ornament by replacing the metal hardware with soft cotton cord. Do not use polymer-clay baking instructions for air-dry clay; these are different materials. Likewise, do not substitute salt dough if the finished piece will hang from a frequently handled bag, because its moisture response and durability are different.
How to Style and Care for the Charms
Clip one mushroom to a neutral canvas tote, a pencil pouch, or a backpack loop. Use the three colors as separate gifts, or group them on matching bags for a woodland-themed party. Avoid dangling them where they will be crushed beneath a chair or slammed in a car door.
Wipe dust away with a dry, soft cloth. Do not wash or soak the charms. Crayola specifically notes that sealing air-dry clay does not waterproof it, so keep the finished pieces indoors and away from rain. Store them flat in a small padded box rather than loose in a drawer with metal keys.
Frequently Asked Questions
Can I make the charms thinner so they weigh less?
A thinner slab reduces weight but also leaves less material around the hanging hole and stem. For this 2 1/2-inch design, keep the slab close to 1/4 inch and reduce the overall silhouette instead.
Why not push an eye screw into the cap?
An eye screw concentrates force in a small channel and may split dry clay, especially if it is twisted after drying. A straw-cut hole distributes the load across a wider section and makes damage easier to inspect.
Can these go on a set of keys?
They are better suited to a tote, zipper, or backpack loop. Keys are dropped, twisted, and crushed regularly; air-dry clay is a decorative material and can break under that treatment.