
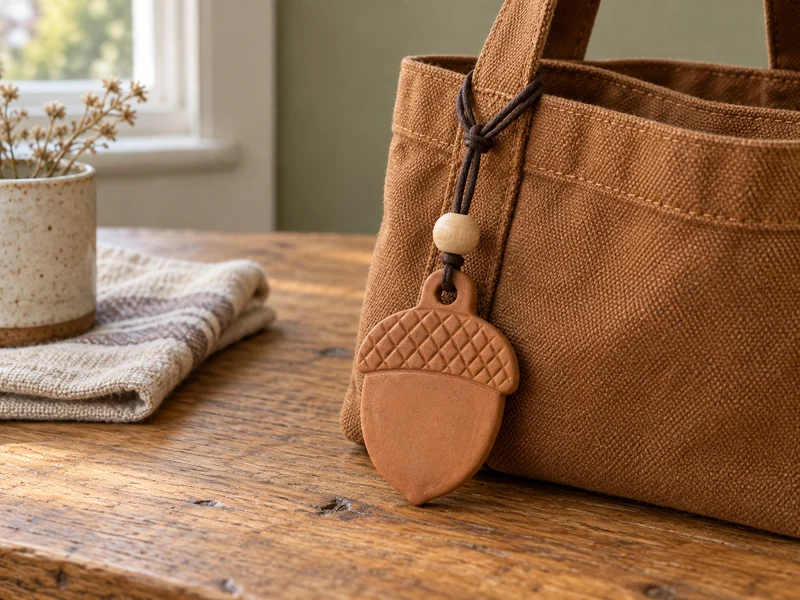
Small bag charms are having a very big craft moment, but a charm that curls, cracks at the hanging hole, or feels too heavy is not much fun to use. This air-dry clay acorn is designed around those weak points. Two thickness guides keep the clay even, a roomy hole protects the narrow stem, and slow drying on a flat tile helps the piece stay level.
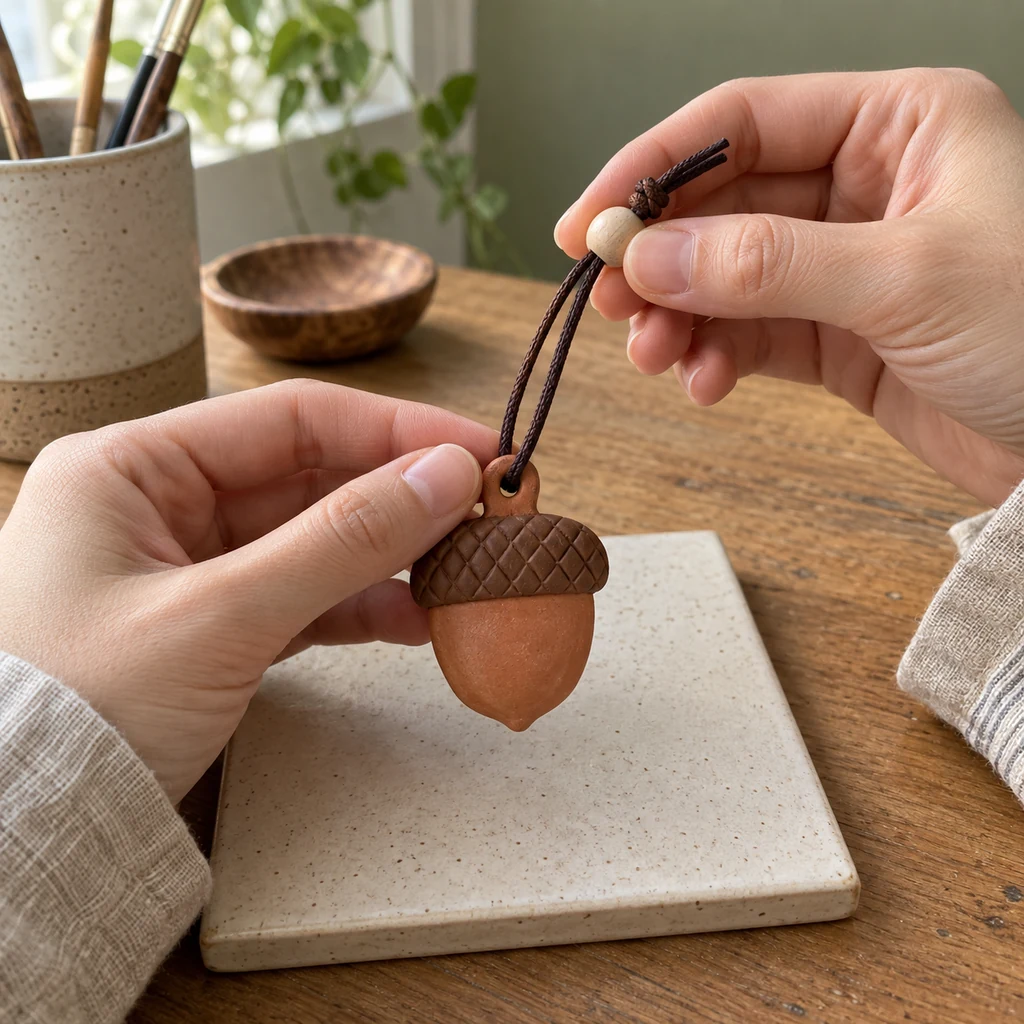
The finished acorn has a warm, handmade look rather than a factory-perfect finish. Its textured cap catches the light, while one wooden bead and a waxed-cord loop make it easy to move between a tote handle, zipper pull, basket, or seasonal gift. The project uses no kiln, metal jewelry tools, or heat gun.
Why This Little Charm Works
- Even thickness: quarter-inch guides prevent a thin edge from drying before the center.
- A reinforced hanging point: the hole sits in a broad clay stem with enough material around it.
- Controlled drying: the charm rests on a flat nonporous tile and is turned only after the surface firms.
- Light hardware: waxed cotton cord and one wooden bead add very little weight.
- Repairable finish: minor dry edges can be sanded before paint and sealer are added.
Materials and Measurements
- About 3 ounces of terracotta air-dry clay
- Small rolling pin or smooth acrylic roller
- Two 1/4-inch-thick wooden guide strips
- One paper acorn template, approximately 2 1/4 inches tall
- Smooth ceramic tile or another clean, nonporous work surface
- Clay knife or craft knife for adult use
- 1/4-inch round straw or clay hole cutter
- Wooden modeling tool or toothpick for texture
- Fine 400-grit sandpaper
- Small flat paintbrush
- Burnt-umber acrylic paint
- Clear water-based acrylic varnish compatible with your clay
- 18 inches of 2 mm dark-brown waxed cotton cord
- One 12 mm plain wooden bead with a hole large enough for both cord ends
Air-dry clay formulas behave differently, so the package directions take priority for drying time, paint, and sealer compatibility. Work on a clean surface and close the remaining clay in an airtight container immediately. A sharp craft knife is an adult tool; keep fingers outside the cutting path.
Step-by-Step Instructions
1. Roll the Clay to an Even Thickness
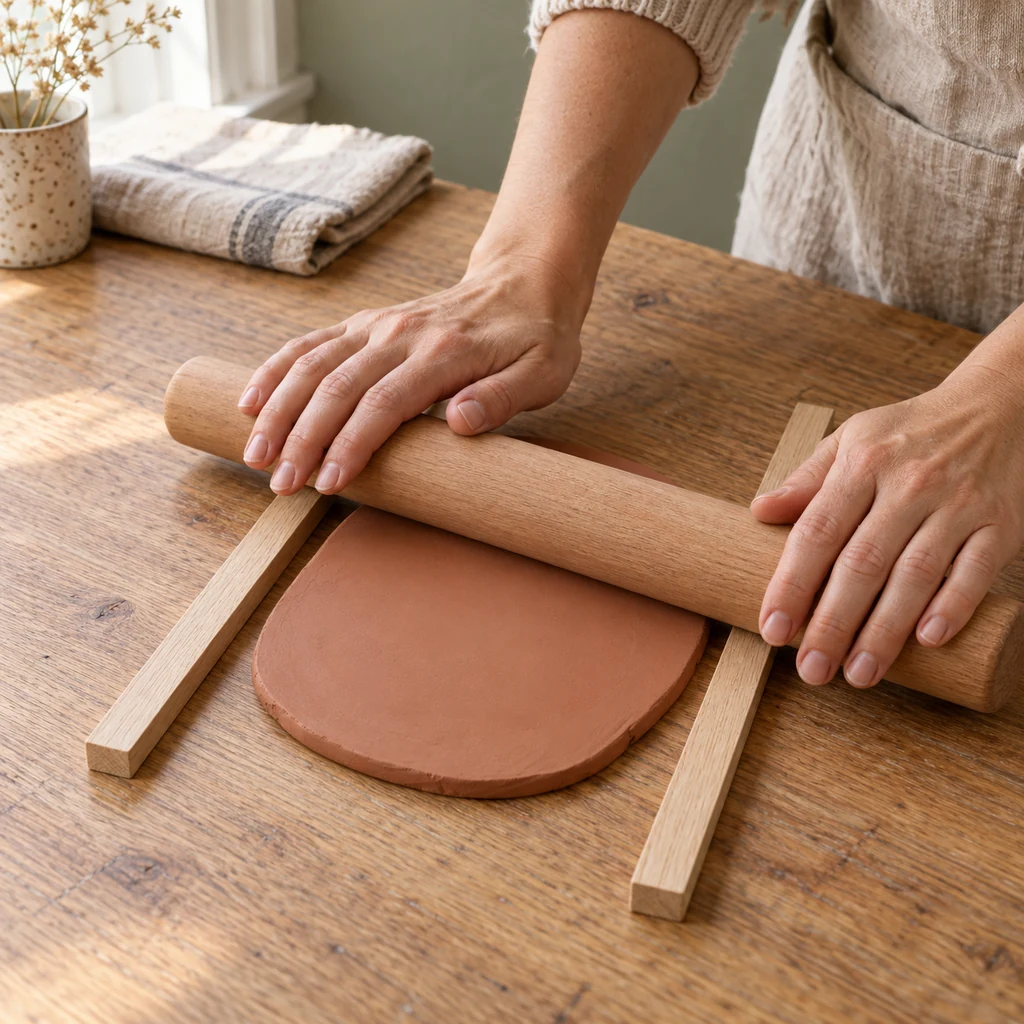
Knead one portion of clay only until it feels pliable. Place the two guide strips parallel to each other with the clay between them, then roll until the roller touches both guides. Aim for an even 1/4-inch slab rather than repeatedly thinning and folding the clay, which can trap air and create weak layers.
2. Cut One Clean Acorn Shape
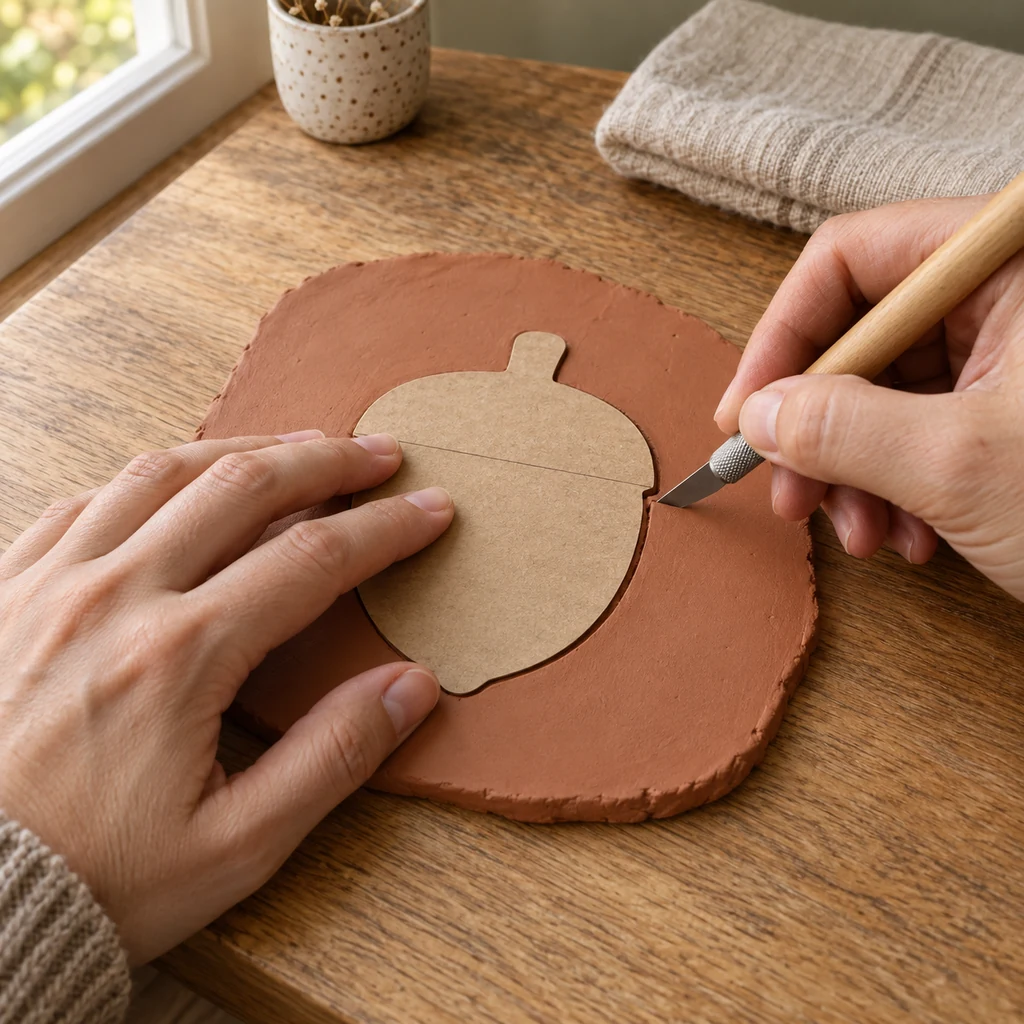
Lay the paper template on the slab without pressing it into the clay. Hold the template steady and cut around it in several light passes. Pull the scrap away from the shape instead of lifting the soft acorn. Smooth the perimeter with a barely damp fingertip, taking care not to saturate the clay.
3. Texture the Cap and Make the Hanging Hole
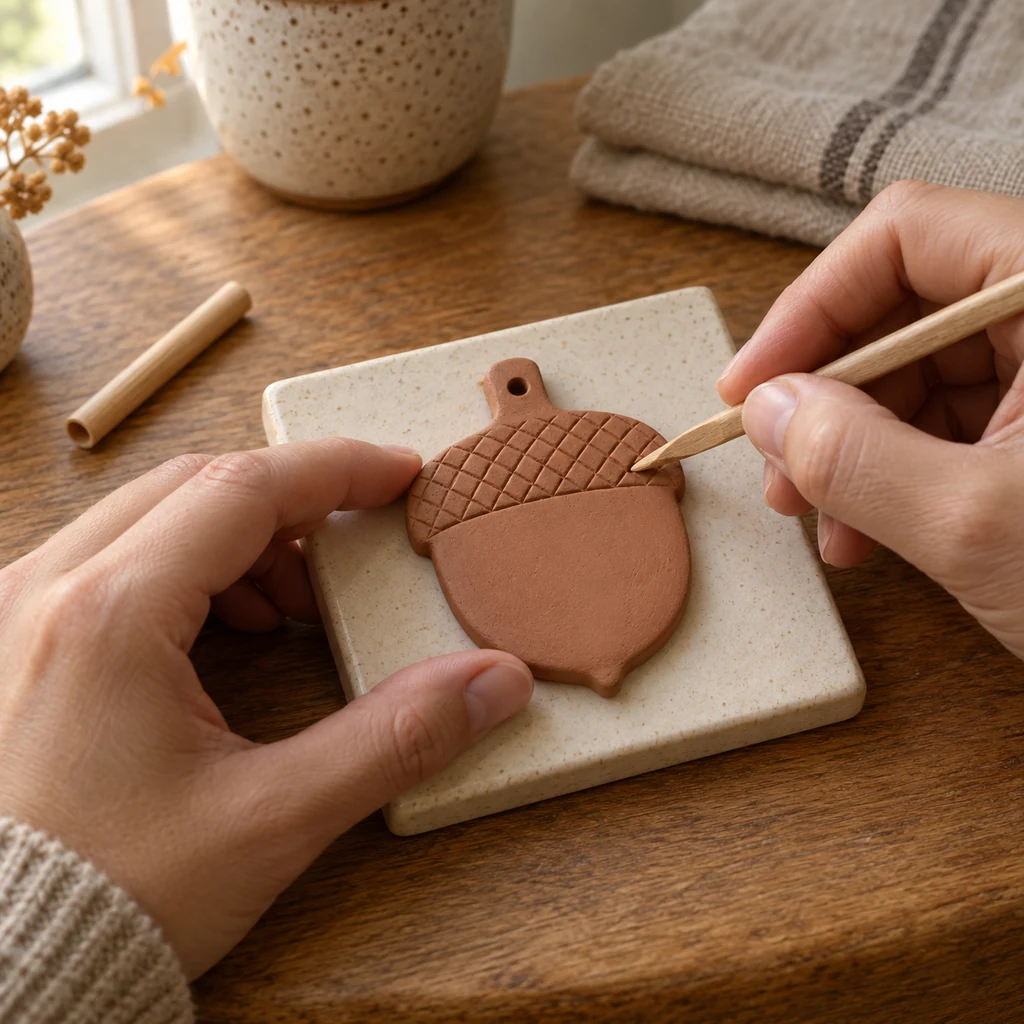
Mark a shallow curved line where the cap meets the acorn body. Press diagonal lines in one direction across the cap, then cross them in the opposite direction to form a simple diamond texture. Do not cut through the clay. Use the round cutter to make one centered hole in the broad stem, leaving at least 1/4 inch of clay between the hole and every outer edge. Clean both sides of the opening now; forcing cord through a rough, undersized hole later can start a crack.
4. Dry Slowly and Turn Only When Firm
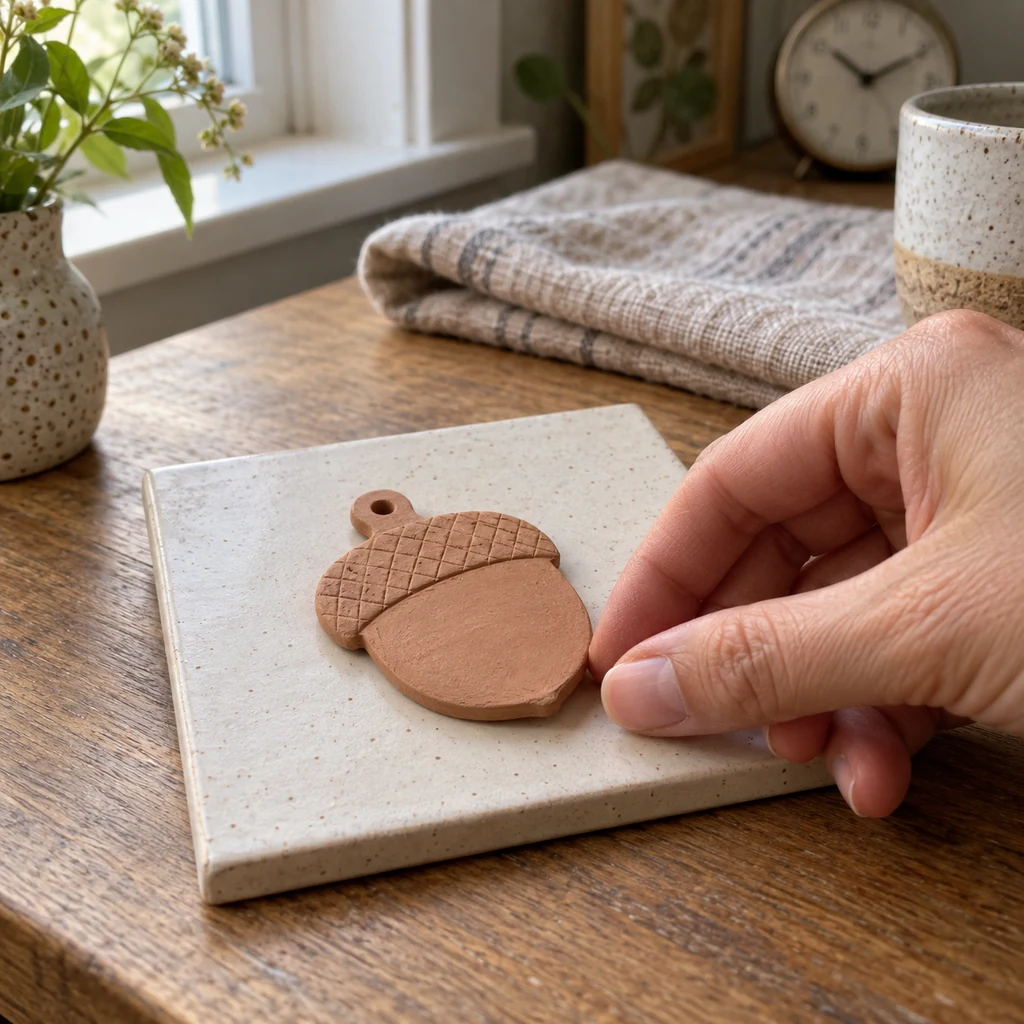
Leave the acorn flat on the clean tile in a dry room away from direct sun, a radiator, a fan, and an oven. Heat can dry the exposed surface faster than the underside and encourage curling or cracks. When the surface is firm enough to handle without fingerprints, gently turn the piece so the underside can release moisture. Return it to the flat tile rather than balancing it on an uneven rack.
Allow at least 48 to 72 hours as a planning range, then follow the clay maker’s label and extend the time in humid weather or for a thicker piece. A charm that still feels cool, soft, or darker in the center is not ready for sanding or sealing.
5. Refine the Fully Dry Edges
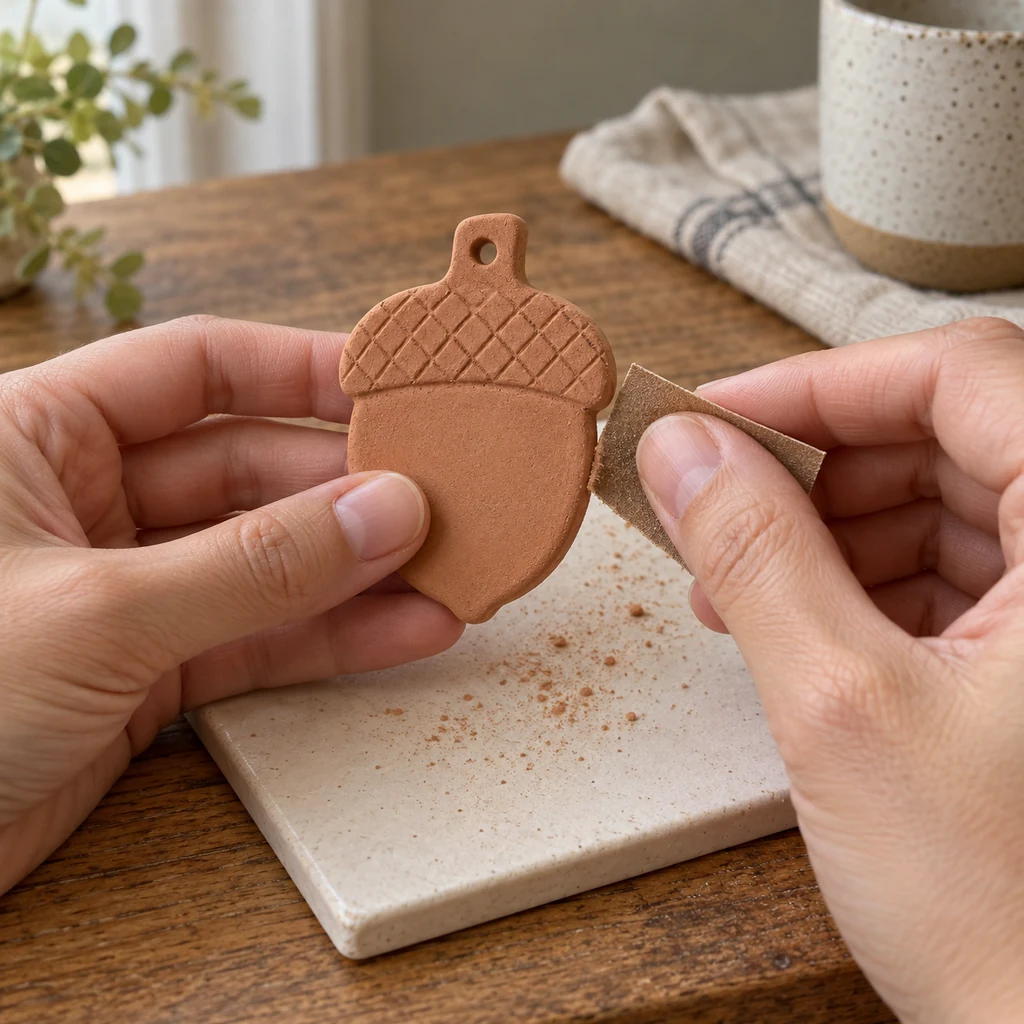
Once the piece is dry all the way through, use fine sandpaper to soften small burrs around the perimeter and hanging hole. Support the narrow stem with your fingers and use short, gentle strokes; aggressive sanding can snap it. Capture the dust with a damp cloth and follow any dust precautions on the clay label. Do not blow clay dust across the table.
6. Paint Only the Textured Cap
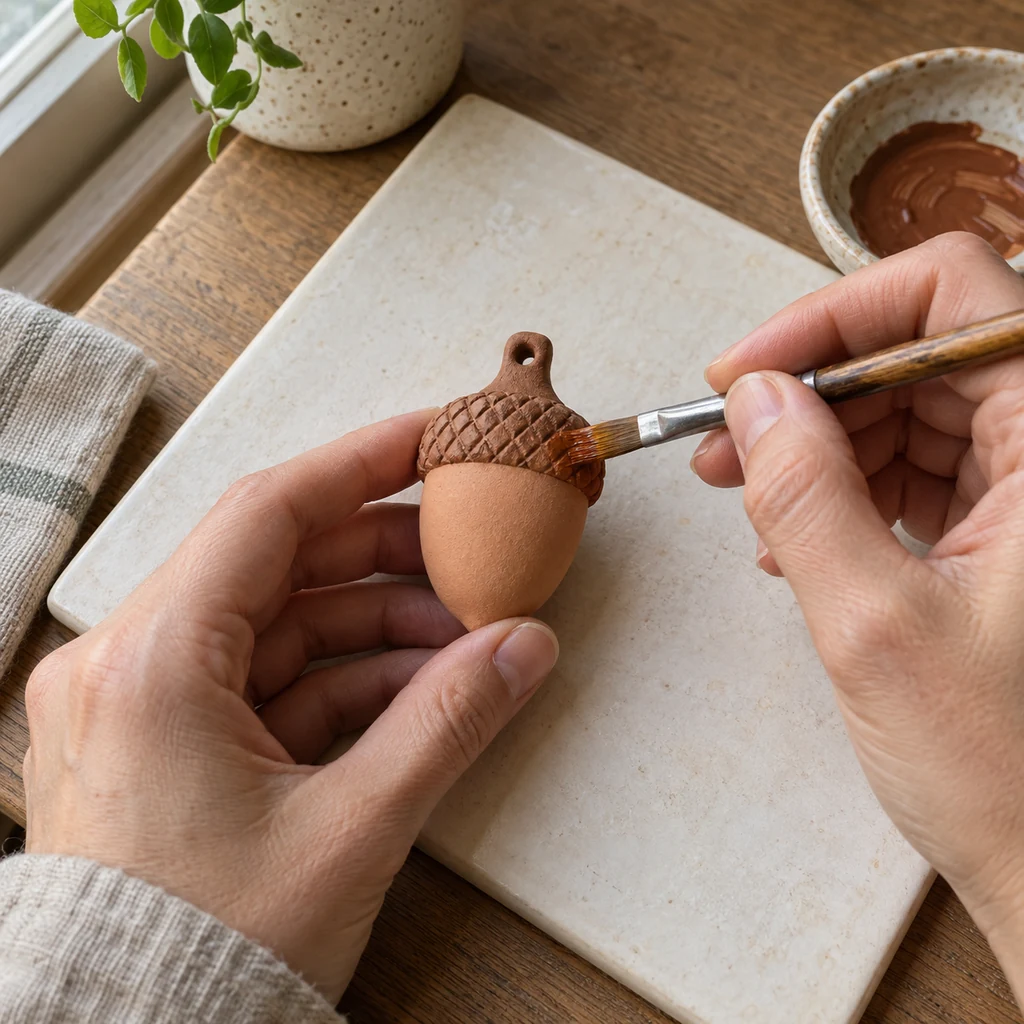
Brush a thin coat of burnt-umber acrylic paint over the crosshatched cap, working paint into the shallow grooves without filling them. Leave the smooth body in its natural terracotta color. If you prefer stronger contrast, let the first coat dry before adding a second thin coat; one heavy coat can blur the texture and collect along the cap edge.
7. Add a Thin Compatible Sealer
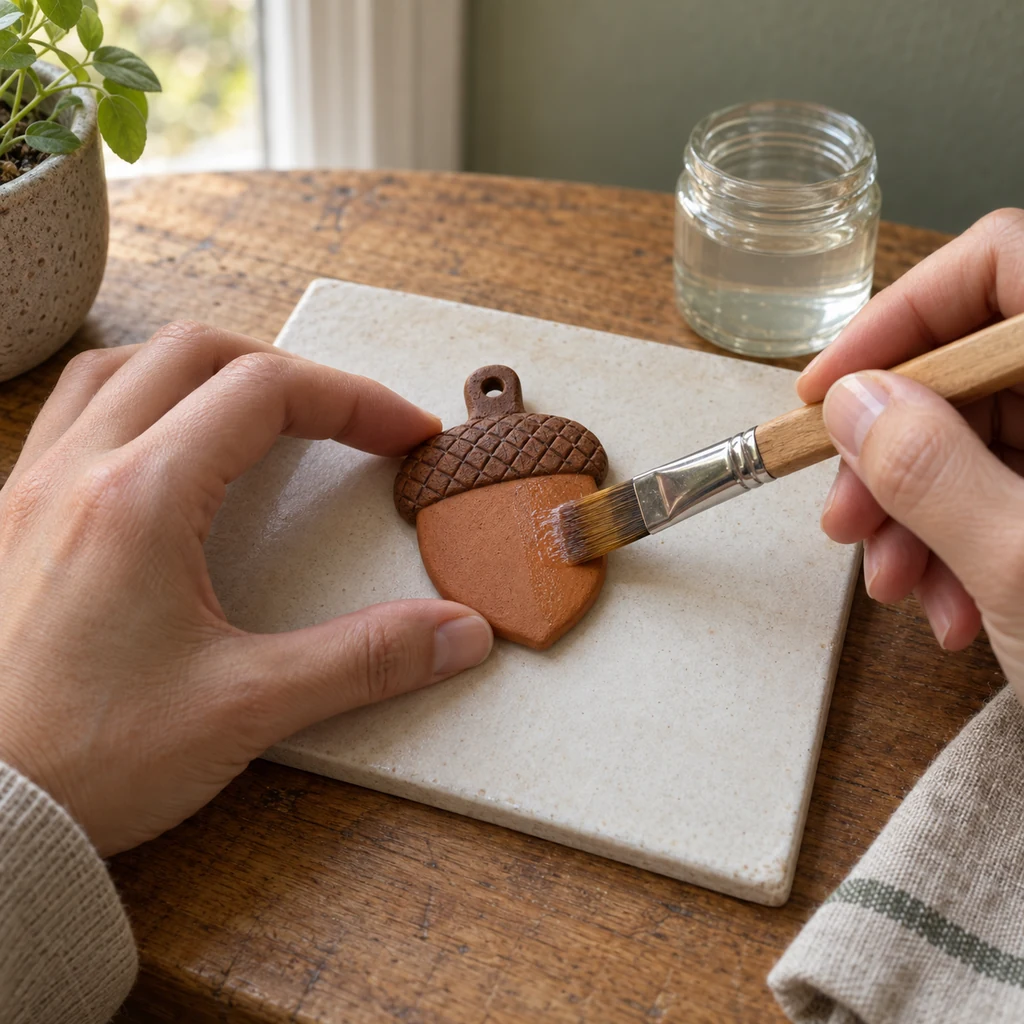
Let the paint dry completely. Test the varnish on a spare dry clay scrap first, because not every finish suits every air-dry formula. Brush on one thin coat, keep the hanging hole clear, and let that side dry before turning the piece. Add another thin coat only if the product directions allow it. Sealer improves surface resistance, but it does not make air-dry clay waterproof; keep the charm out of rain and away from wet bags.
8. Add the Cord and One Wooden Bead
After the sealer has cured for the time on its label, fold the cord in half and feed the fold through the clay hole. Pass both loose ends through that fold and tighten gently to form a lark’s-head connection around the stem. Thread both ends through one wooden bead, then tie a secure overhand stopper knot above it. The remaining loop should be large enough to pass over a tote handle or through a zipper pull. Tug the cord—not the clay—to test the knot before using the charm.
Why Air-Dry Clay Charms Curl or Crack
The slab is uneven. A thin edge loses moisture sooner than the center. Roll between equal-height guides instead of estimating thickness by eye.
The piece is dried with heat. A sunny window, heater, hair dryer, or oven accelerates one surface and can exaggerate stress. Slow, room-temperature drying is safer.
The hole is too close to the edge. The cord concentrates pressure at the narrowest point. Enlarge the stem in the paper template before cutting a new piece rather than trying to reinforce a fragile finished hole with extra paint.
The piece is sealed too soon. Trapped moisture can leave a soft center or cloudy finish. Give the clay more time whenever it still feels cool or changes color from edge to center.
Substitutions and Variations
- No terracotta clay: use a neutral air-dry clay and paint the entire acorn after it is fully dry.
- No wooden bead: omit it and tie a larger stopper knot. Do not add a heavy glass or metal bead to the clay stem.
- No waxed cord: use smooth cotton cord of similar thickness. Avoid thin fishing line, which can cut into the clay hole.
- Different texture: press the cap with a piece of coarse linen or a clean mesh bag, but test the pressure on scrap first.
- Gift tag version: write a short name on the dry, unsealed back with an acrylic paint pen, allow it to dry, and then seal only if the products are compatible.
How to Use and Store the Charm
Loop the charm onto a tote, basket handle, or indoor zipper pull where it will not be crushed. Air-dry clay is decorative rather than impact-proof, so this is not the right charm for a child’s backpack, outdoor sports bag, or key ring that is dropped on hard floors. Remove it before washing the bag.
For off-season storage, wrap the dry charm in acid-free tissue and place it flat in a small rigid box. Do not pile heavier decorations on top of the stem. If the cord becomes dusty, wipe the cord separately with a nearly dry cloth and keep moisture away from the clay.
Troubleshooting
- The edge lifted while drying: do not force a damp piece flat. Let it finish drying and remake it with even guides and slower airflow if the curl is obvious.
- A hairline crack appeared near the hole: do not hang the piece. Small surface marks elsewhere may be cosmetic, but a load-bearing crack at the stem is a failure point.
- The cap texture disappeared: the marks were too shallow or the paint coat was too heavy. Use a sharper wooden tool on the next piece and apply thinner paint.
- The cord will not fit: do not drill aggressively through the finished stem. Choose thinner smooth cord or make a larger hole in a new wet-clay piece.
- The varnish is tacky: stop adding coats. Check the product directions, humidity, and clay compatibility, and allow the piece to cure away from fabric.
Frequently Asked Questions
Can I speed up drying in the oven?
Not unless the specific clay manufacturer explicitly says that its product may be oven-dried. For a typical air-dry formula, direct heat can create uneven drying and cracks. Room-temperature drying is the safer default.
Will varnish make the charm waterproof?
No. A compatible sealer can improve surface resistance, but major air-dry clay manufacturers caution that sealing does not make the clay waterproof. Treat the charm as an indoor or fair-weather accessory.
How do I know the center is dry?
Compare the center with the edges. If the piece feels cool, flexes, dents, or shows a darker patch, wait longer. Drying time changes with clay formula, thickness, room humidity, and airflow.