
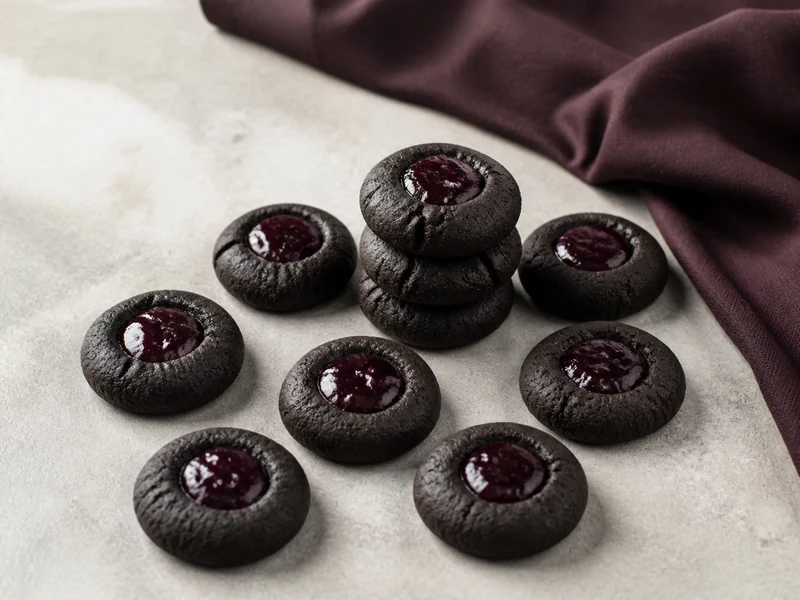
These black cocoa thumbprint cookies pair deeply dark, buttery shortbread with jewel-toned plum preserves. The small bake is balanced, fruity, pleasantly bittersweet, and striking on dessert boards.
RECIPE CARD
Plum Noir Black Cocoa Thumbprint Cookies
Ingredients
- 1 cup unsalted butter, softened
- 2/3 cup powdered sugar
- 1 teaspoon vanilla extract
- 1 3/4 cups all-purpose flour
- 1/3 cup black cocoa powder
- 1/4 teaspoon fine salt
- 1/2 cup thick plum preserves
Quick Method
Condensed overview. Use Full Instructions for the complete method, timing and doneness details.
- Beat the butter and powdered sugar for 2u20133 minutes, until smooth and creamy but not fluffy. Mix in the vanilla.
- Whisk the flour, black cocoa, and salt in another bowl. Add to the butter mixture on low speed just until a soft, even dough…
- Cover and chill the dough for 30 minutes.
- Heat the oven to 325u00b0F. Roll level tablespoons of dough into 24 smooth balls, arranging 12 on each parchment-lined light-colored half-sheet pan.
- Press a 3/4-inch-wide well into every center. Repair large edge cracks and fill each well with a scant teaspoon of thick plum preserves.
- Bake one pan at a time for 14u201316 minutes, until the edges look matte and feel set and the jam gently bubbles.
- Cool on the pan for 10 minutes, then transfer to a rack for 20 minutes.
Black Cocoa Thumbprint Cookies at a Glance
- Prep: 25 minutes
- Chill: 30 minutes
- Bake: 14–16 minutes per pan at 325°F
- Cool: 30 minutes
- Total: About 2 hours
- Yield: 24 cookies
The nearly black dough frames glossy preserves in a palette inspired by rich plum tones. Unlike soft chocolate crinkle cookies, these are short and sandy, with clean edges and a concentrated fruit center.
Plan to serve them after the jam has fully cooled: the center becomes thicker, the cocoa aroma settles, and each cookie lifts cleanly. Their bold contrast suits winter gatherings, Halloween trays, and elegant afternoon coffee. Because the dough uses powdered sugar, the surface stays especially smooth instead of developing a coarse sugar crust.
Ingredients and Useful Tools
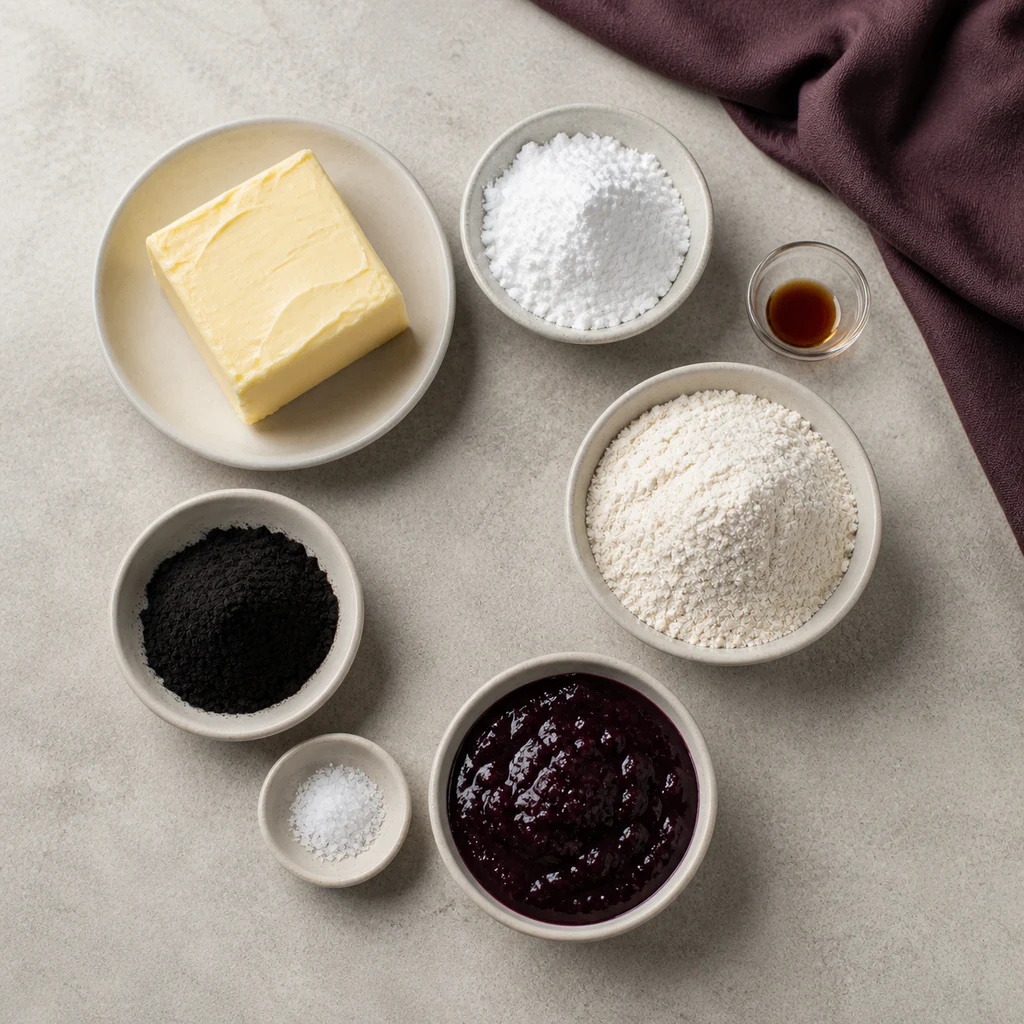
- 1 cup unsalted butter, softened
- 2/3 cup powdered sugar
- 1 teaspoon vanilla extract
- 1 3/4 cups all-purpose flour
- 1/3 cup black cocoa powder
- 1/4 teaspoon fine salt
- 1/2 cup thick plum preserves
Use two parchment-lined, light-colored half-sheet pans, a mixer, and a 1/2-teaspoon measure. Thick preserves stay neatly centered; if yours pours easily, chill it while the dough rests. Homemade fruit spread also works when cooked to a spoonable consistency—use the texture in this small-batch raspberry jam as a guide.
Step-by-Step Instructions
Mix and Chill the Dough
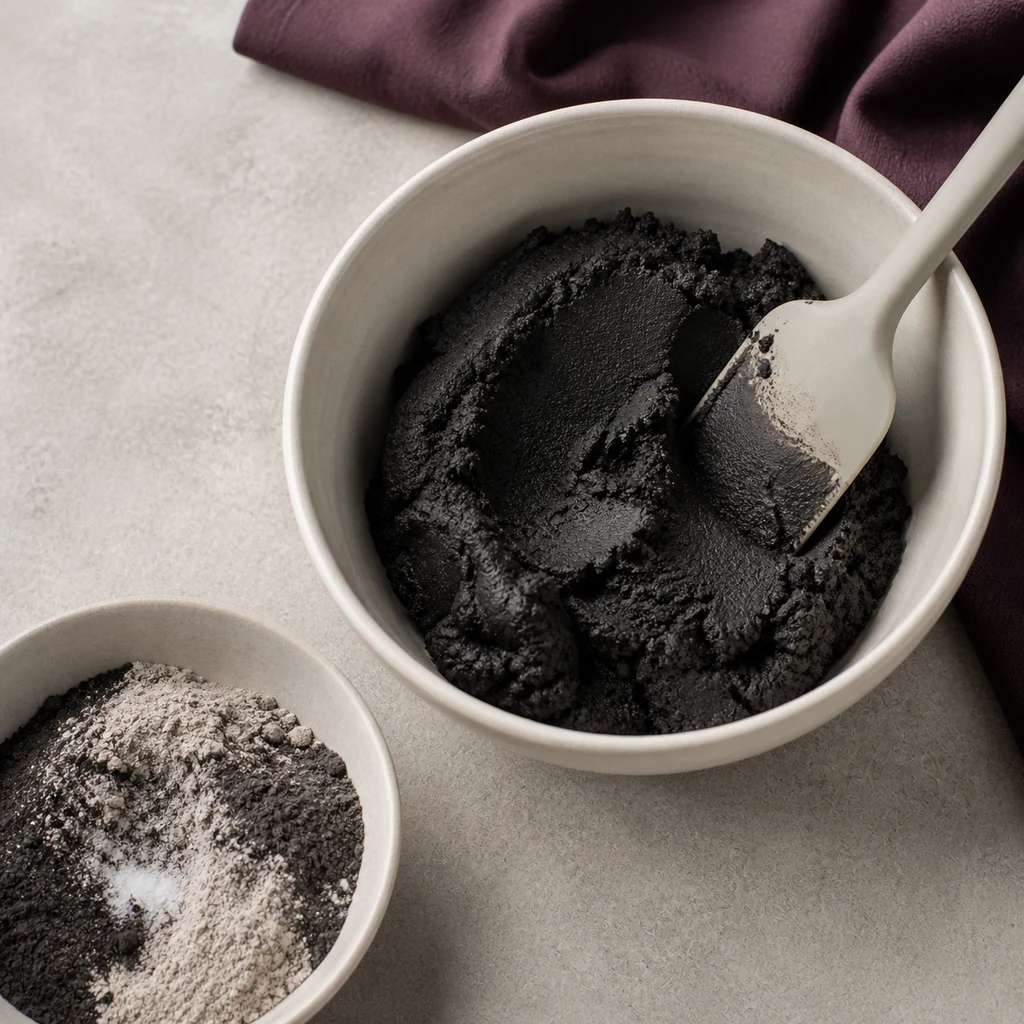
- Beat the butter and powdered sugar for 2–3 minutes, until smooth and creamy but not fluffy. Mix in vanilla.
- In another bowl, whisk flour, black cocoa, and salt; add to the butter mixture on low speed just until a soft, even dough forms.
- Cover and chill for 30 minutes. Avoid tasting raw dough because uncooked flour may carry harmful bacteria.
Shape and Fill Neat Centers
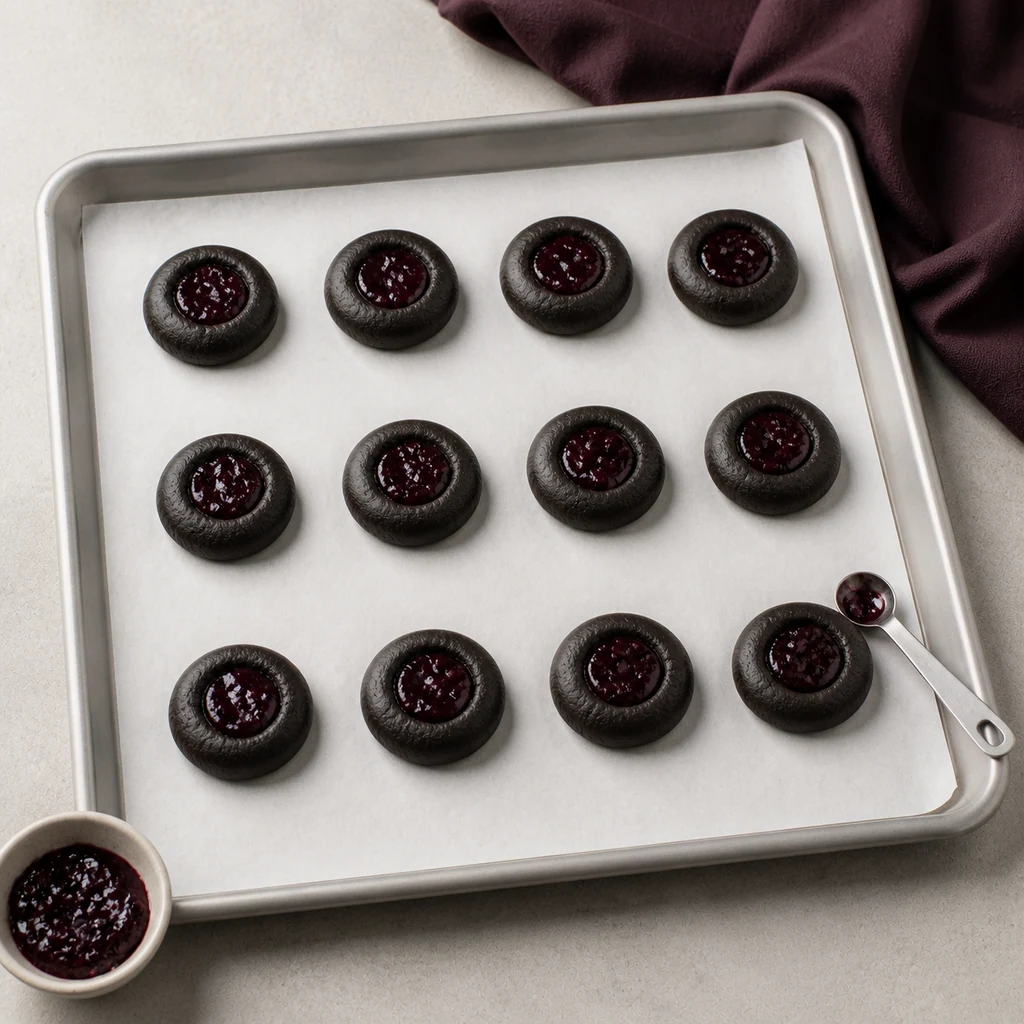
- Heat the oven to 325°F. Roll level tablespoons of dough into 24 smooth balls, arranging 12 on each pan.
- Press a 3/4-inch-wide well into every center with your thumb or the rounded back of the measure. Repair large edge cracks by gently pinching them closed, then add a scant teaspoon of preserves to each well. Do not overfill: hot jam expands.
Bake Until Matte at the Edges
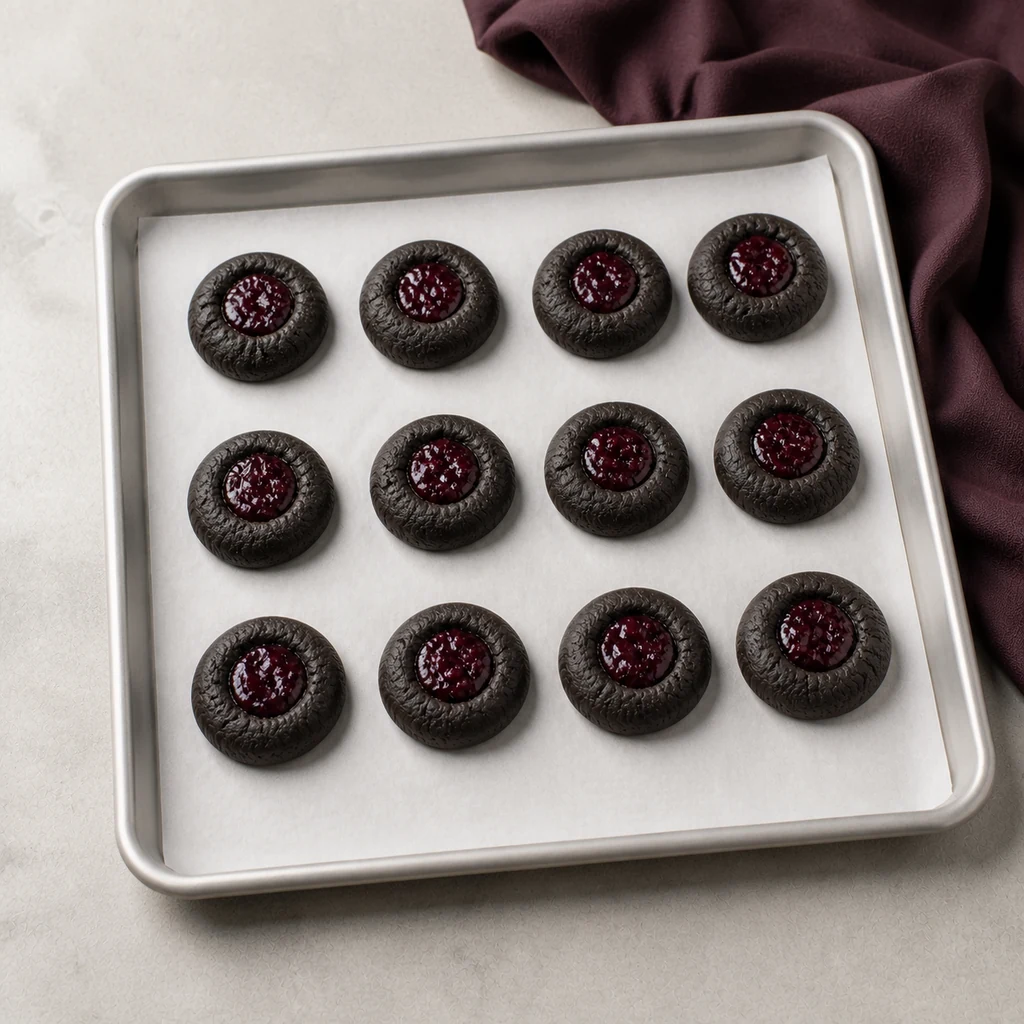
- Bake one pan at a time for 14–16 minutes. The edges should look matte and feel set, while the jam gently bubbles. The dark color will not reveal browning, so rely on those cues.
- Cool on the pan for 10 minutes, then transfer to a rack for 20 minutes. The crumb firms as it cools.
Texture, Swaps, and Storage
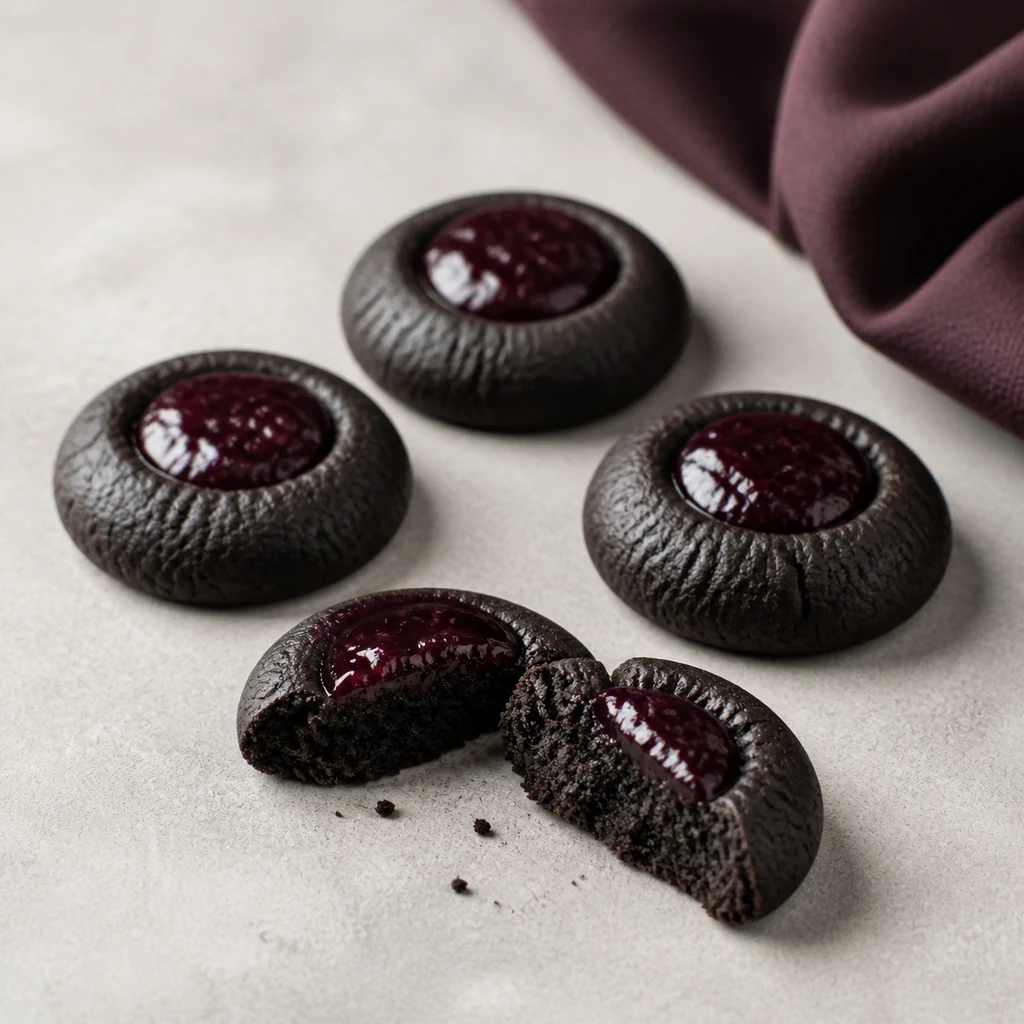
Black cocoa gives the cookies their mellow sandwich-cookie flavor. Regular Dutch-process cocoa creates a lighter, more assertive chocolate result. Plant-based block butter can work, but tub spreads contain more water and may encourage spreading. For a nutty alternative with a softer brown finish, try these pecan pie cookies.
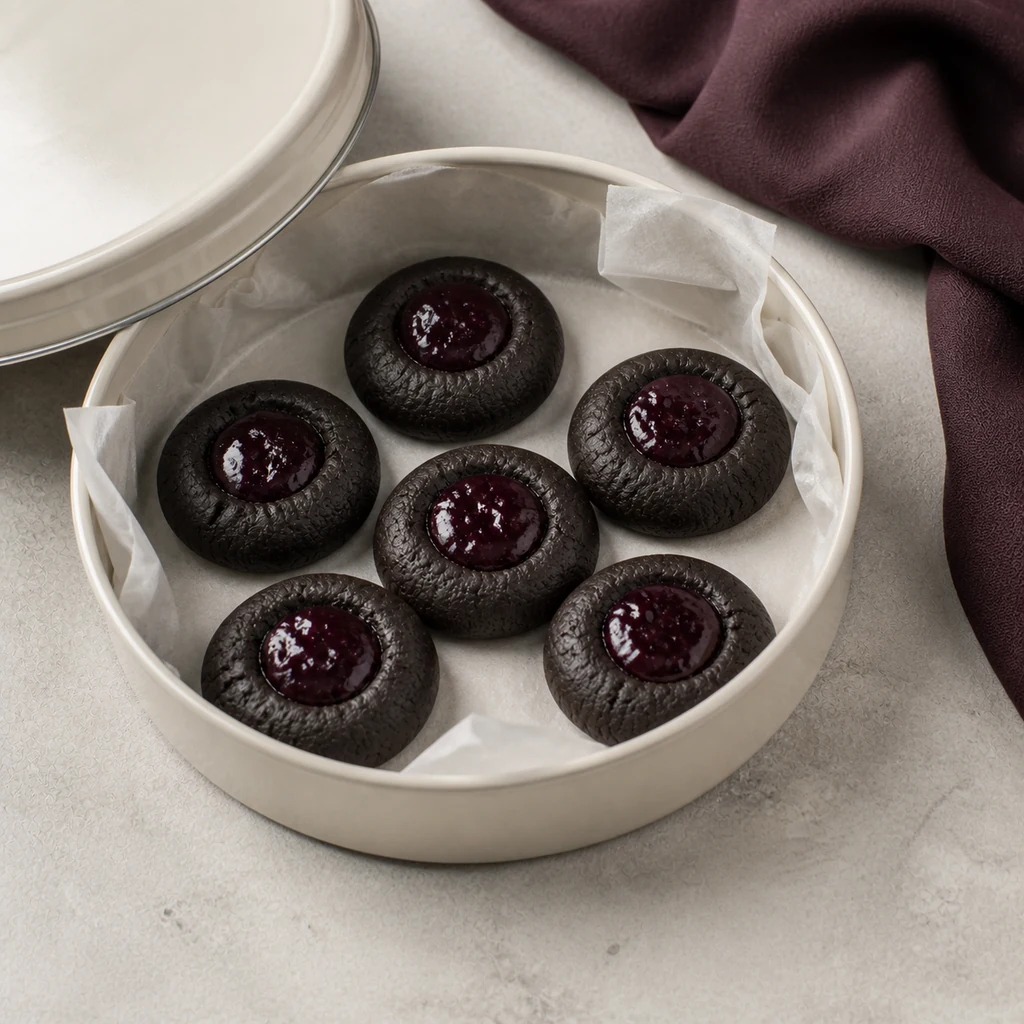
Once completely cool, store the cookies in one layer in an airtight container for up to 5 days. Separate stacked layers with parchment. Freeze baked cookies for up to 2 months, then thaw uncovered so condensation does not soften their striking matte finish.