
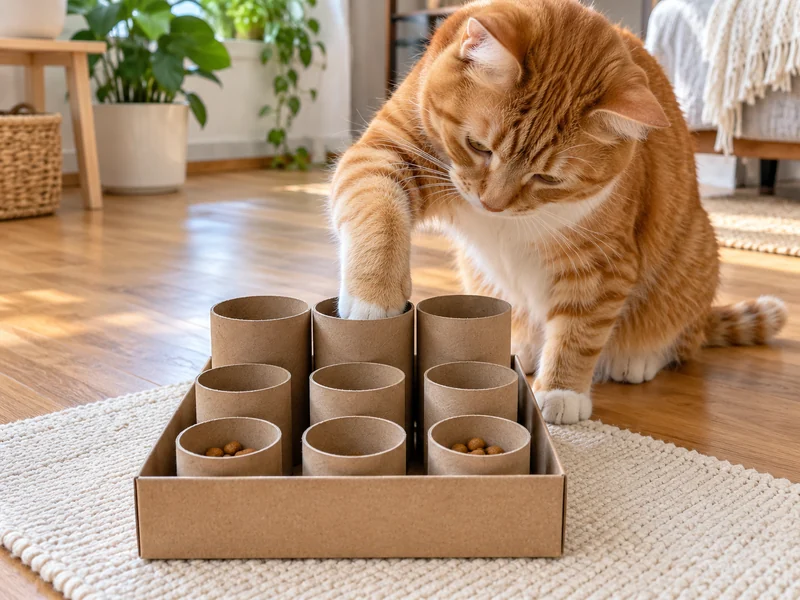
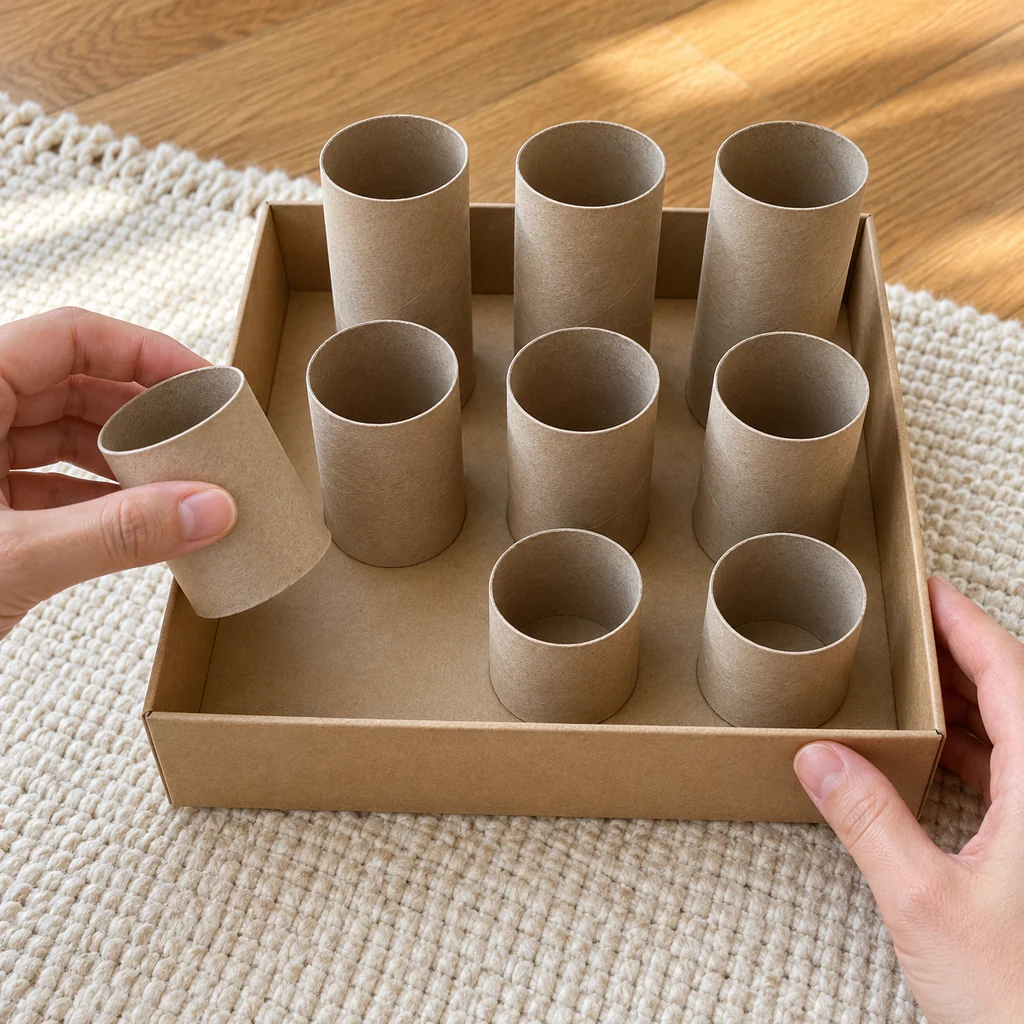
A food puzzle can make a small part of your cat’s usual dry meal more interesting, but many homemade versions need glue, tape, or complicated cuts. This one uses a shallow cardboard lid and nine plain tubes held in place by a snug fit. Three short front tubes make the first session easy; six taller tubes give you room to increase the challenge later.
Quick answer: Choose a plain box lid that holds nine tubes tightly in a 3-by-3 grid. Trim three tubes short and six taller, stand them upright without adhesive, and put a few pieces of your cat’s measured dry food in two short front tubes. Supervise every session and remove the box if your cat chews the cardboard.
Why This Simple Feeder Works
Food puzzles let cats search and use their paws at mealtime. Woodgreen Pets Charity shows a cardboard tube feeder as an affordable enrichment idea. The open, low front row helps a new user find the reward without becoming frustrated.
This is one small activity, not a replacement for play, climbing, scratching, or rest. For a broader small-home setup, see our indoor cat enrichment ideas.
Materials and Fit
- One sturdy, shallow, unprinted cardboard box lid with an inside footprint that holds a snug 3-by-3 grid of tubes (often about 5 to 6 inches square)
- Nine clean, plain cardboard tissue-roll tubes of the same diameter, with no loose paper or adhesive residue
- Scissors and a ruler for adult use
- A few pieces of your cat’s usual dry food, taken from its measured daily ration
- A flat, nonslip cloth or mat under the lid
Fit matters more than a fixed box size. Tube diameters vary. If nine tubes rattle or the lid bows outward, choose a better-sized lid; do not rely on tape, glue, or loose filler. Make sure your cat can place and withdraw a paw comfortably from an opening. This cardboard design is for dry food only.
How to Make the Nine-Tube Cat Puzzle Feeder
Step 1: Check the materials
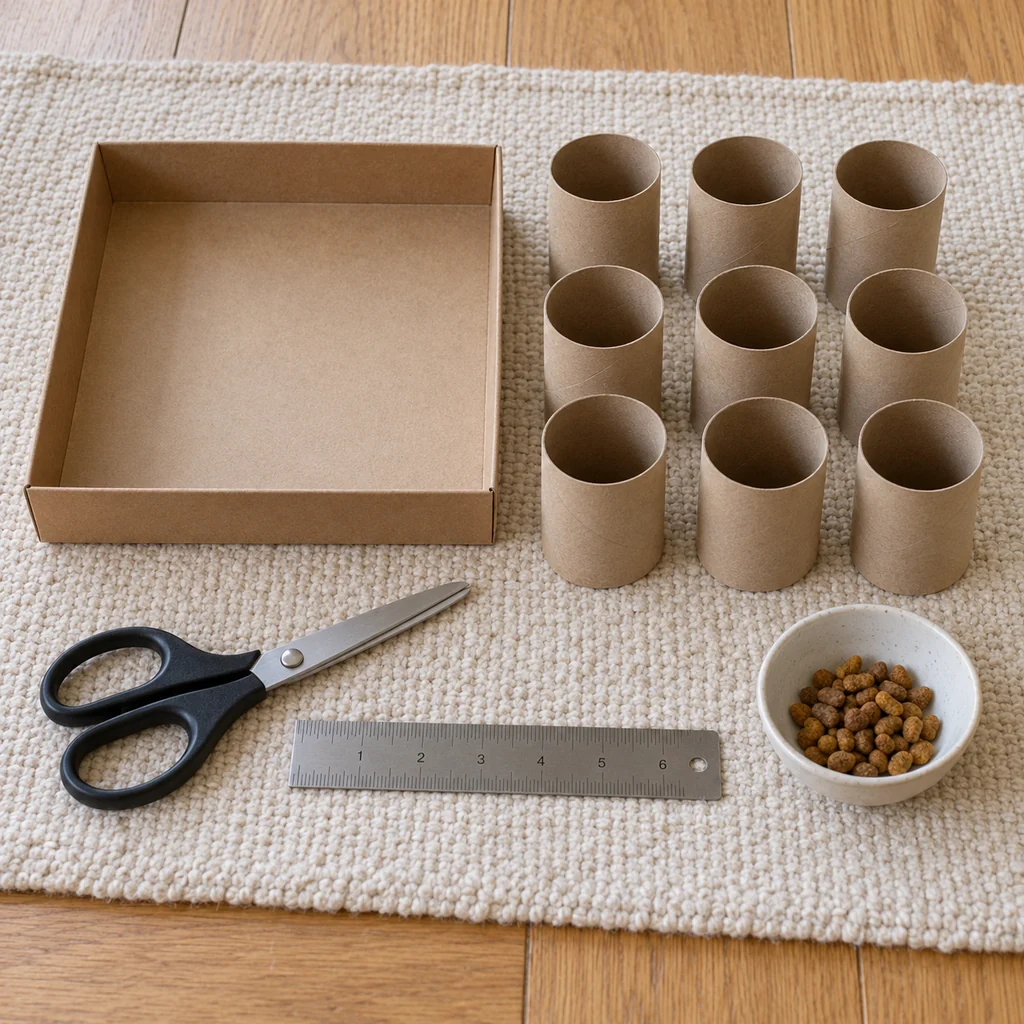
Use dry, uncoated cardboard. Remove any staples, string, tape, plastic window, loose paper, or leftover adhesive before the box goes near your cat. Set out the lid, nine matching tubes, ruler, scissors, and a small portion of your cat’s usual kibble.
Step 2: Dry-fit all nine tubes
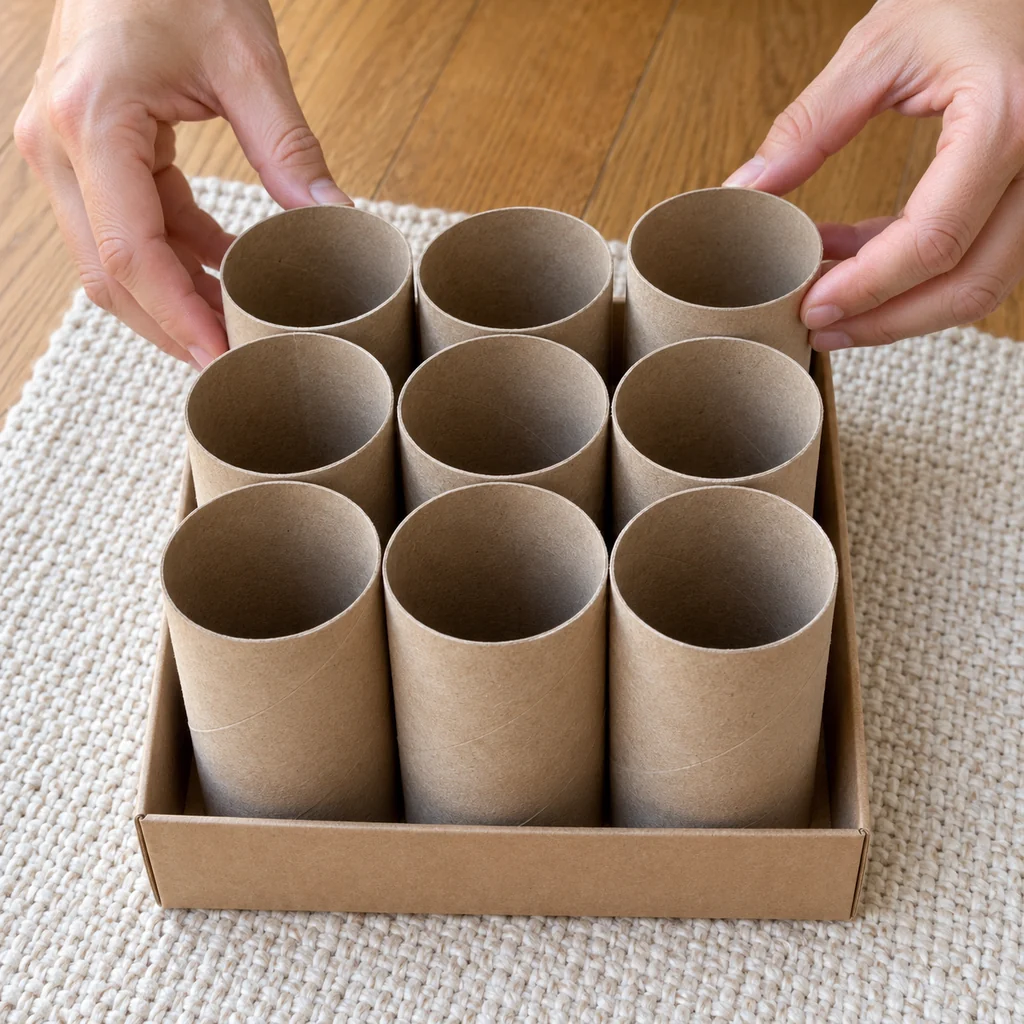
Before cutting, stand the full-height tubes in the lid in three rows of three. They should touch one another and sit upright without being crushed. If the layout is loose, switch to a smaller lid. If it is too tight, use a slightly larger lid rather than forcing the cardboard.
Step 3: Cut three short and six taller tubes
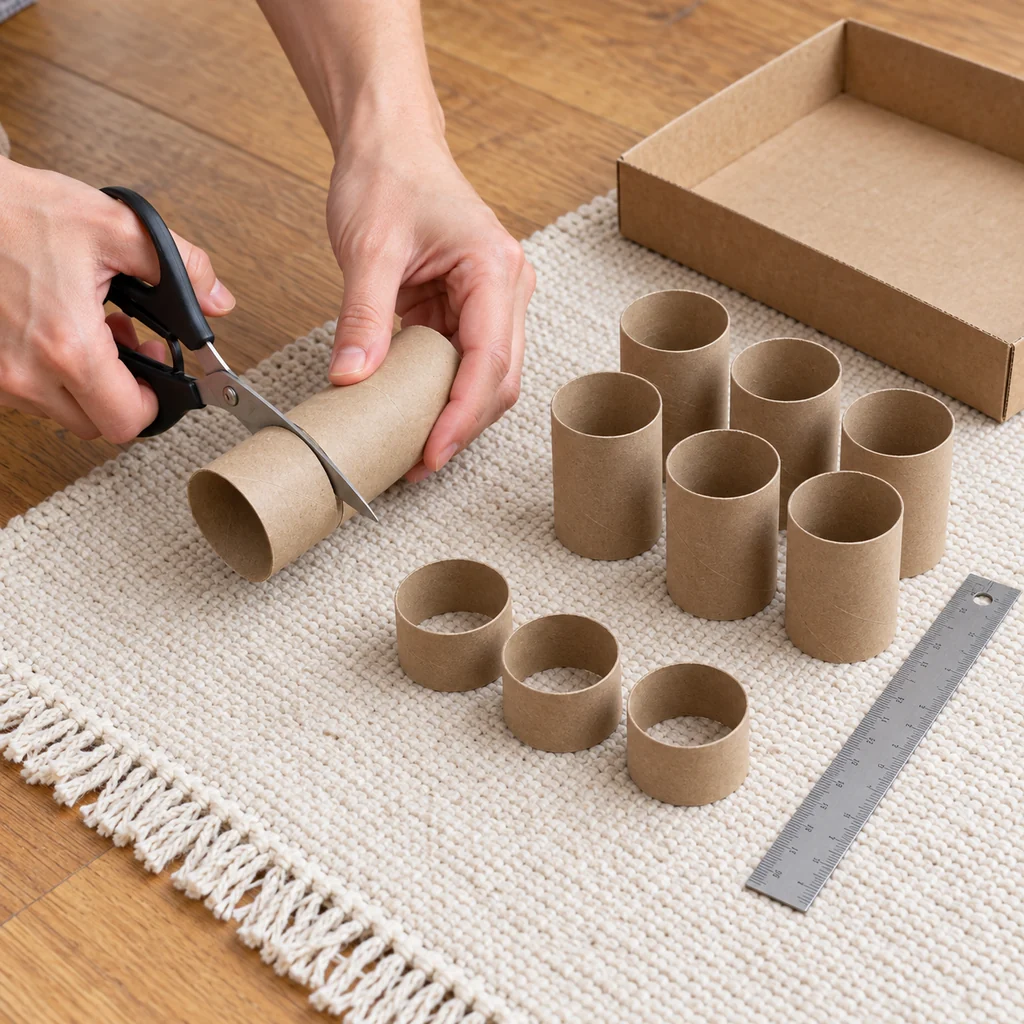
Remove the tubes. An adult cuts three to about 1 inch high for the front row and six to about 2 inches high for the middle and back rows. Check every cut edge and discard any section that splits into a sharp or loose flap. Keep scissors away from your cat.
Step 4: Pack the tubes without glue
Set the three short tubes along the edge that will face your cat. Put the six taller tubes in the two rows behind them. Press them together gently so all nine stay upright by friction. Place the tray on a nonslip surface; it should not skid when touched lightly.
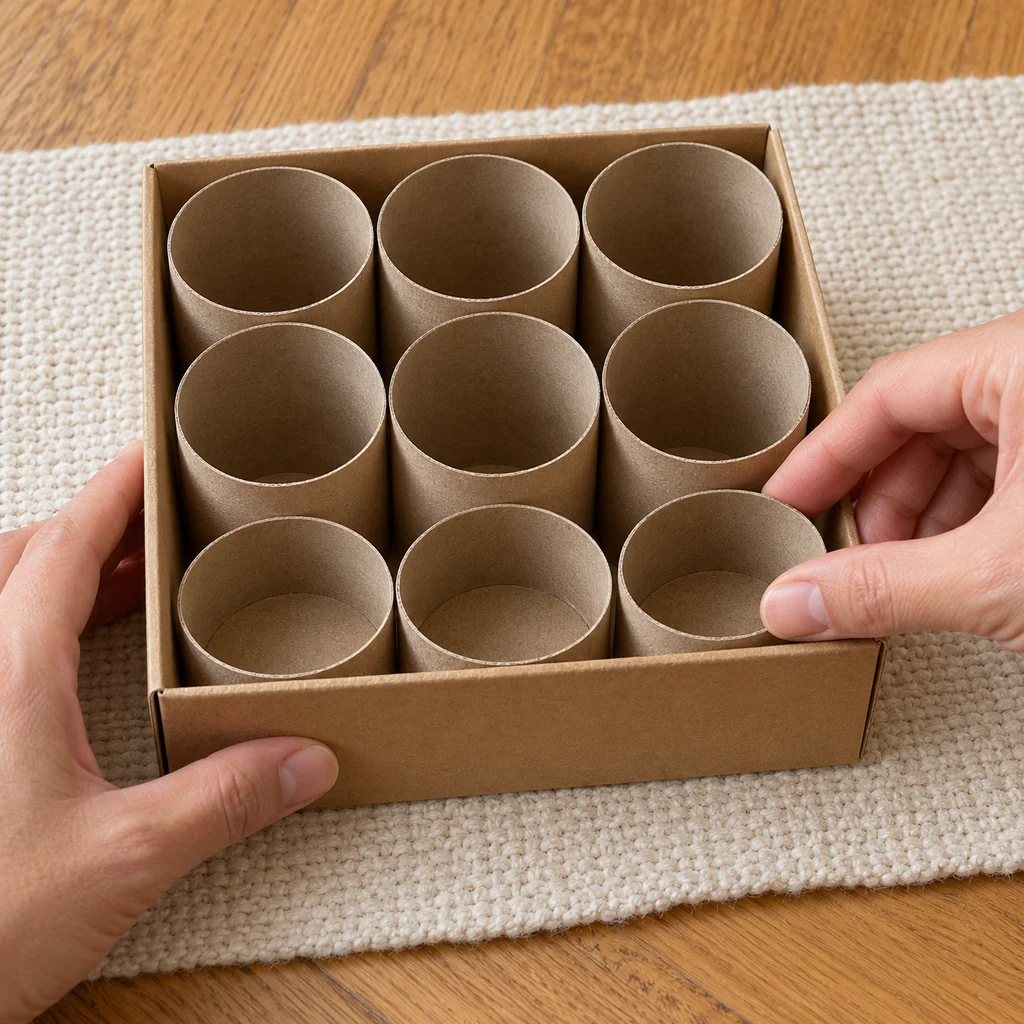
Step 5: Load an easy first challenge
Take a small amount from your cat’s normal measured dry-food portion. Put just a few pieces in one or two short front tubes, leaving the taller tubes empty. The reward should be visible and reachable. Do not add an extra meal’s worth of treats; food used in a puzzle counts toward the day’s intake.
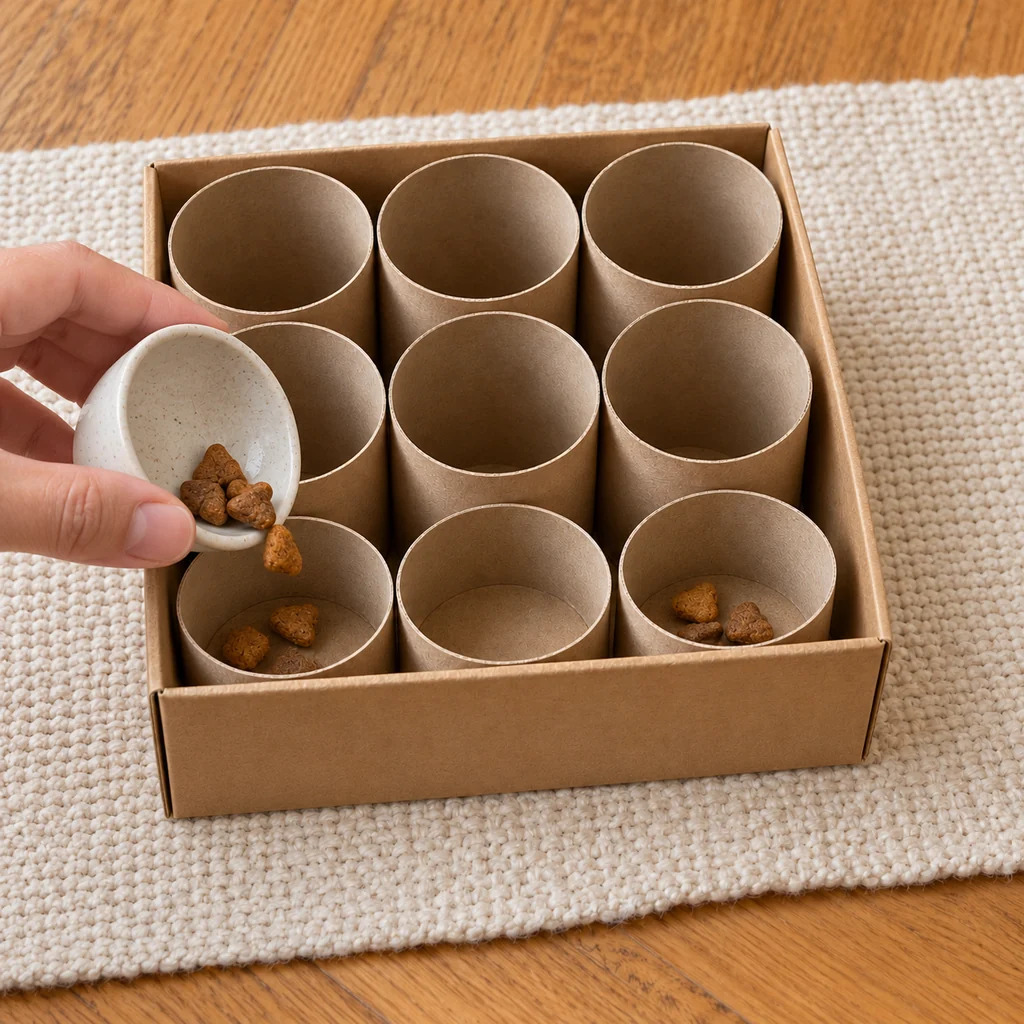
Step 6: Let your cat try it while you watch
Set the feeder on the floor in a quiet area and let your cat sniff and investigate. Do not push a paw or face into an opening. Watch for a comfortable reach and an easy release. End the session if your cat becomes frustrated, starts chewing cardboard, or tries to eat a tube.
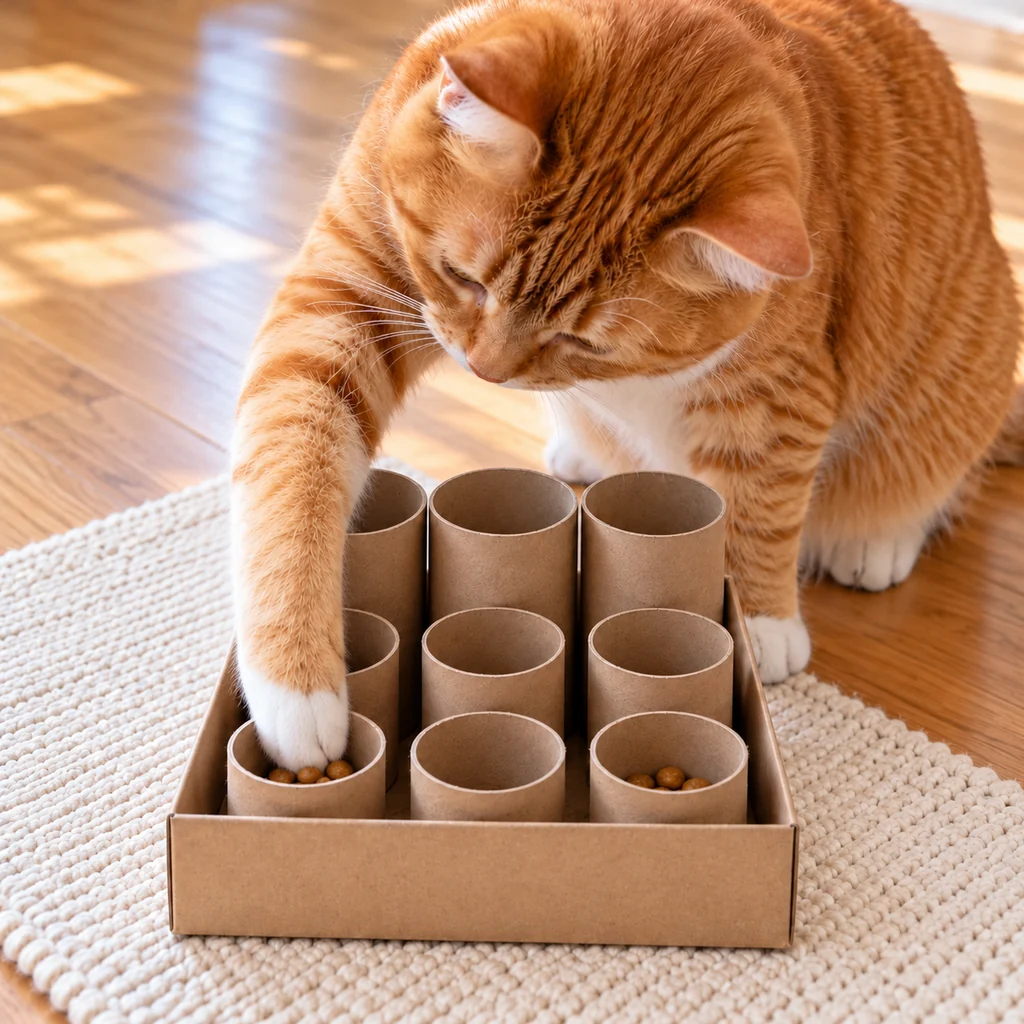
Step 7: Increase the challenge gradually
After your cat reliably finds food in the short row, use the same measured portion and move some of it into one or two taller tubes. Keep the other openings empty. If your cat gives up, move the food back to the front row; an easier puzzle is still useful enrichment.
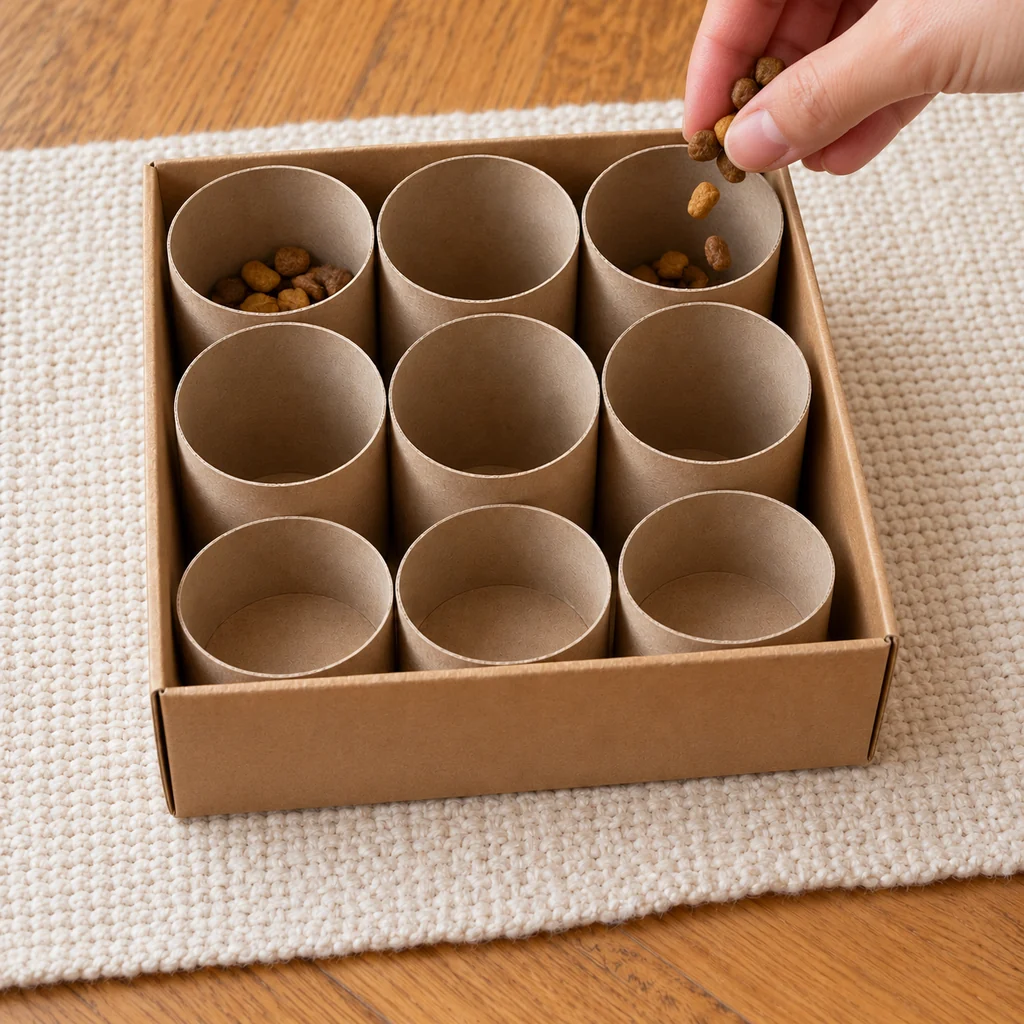
Step 8: Empty, inspect, and store
After play, remove uneaten kibble and lift each tube to check for damp spots, torn edges, or bite damage. Discard damaged or soggy cardboard and replace it with a clean dry tube before the next session. Store the empty feeder out of reach between supervised uses.
Safety Checks Before Every Session
The ASPCA also features cardboard-tube reach feeders. Check your own build before each use:
- Supervise play, especially if your cat tends to chew paper or cardboard.
- Use only the dry food your cat already eats. Cardboard cannot be washed like a commercial feeder, so do not put wet food in it.
- Make sure the tubes are wide enough for an easy paw withdrawal. If a paw seems tight, use wider tubes and a matching larger lid.
- Do not add string, elastic, loose small decorations, staples, or weights.
- If your cat has a prescription diet or a feeding problem, ask your veterinarian before changing how a meal is offered.
Common Problems and Fixes
My cat ignores the box
Start with just one or two visible pieces in the short front row. Give your cat space to investigate and try again another day. Do not force the interaction.
The tubes tip over
The lid is too large for the nine-tube array or the cardboard has softened. Choose a snugger lid and clean, dry tubes. The design should hold without adhesive.
My cat chews the cardboard
Remove the feeder immediately. A washable, purpose-made puzzle is a better choice for a cat that chews or swallows cardboard.
My cat gets frustrated
Move the food back to the short row, use fewer tubes for a brief supervised practice, or return to an ordinary bowl for that meal. Never withhold needed food to make the puzzle harder.
Frequently Asked Questions
Can I use a shoebox lid?
Yes, if its inner dimensions hold the tubes snugly. Many shoebox lids are too long for a nine-tube grid, so test the fit before cutting anything. A small gift-box lid may fit better.
Can kittens use this feeder?
Only if each opening comfortably fits the kitten’s paw and the kitten is closely supervised. Skip the project for a kitten that chews cardboard or cannot retrieve the food easily.
How much food should I put in it?
Begin with a few pieces taken from the cat’s normal measured dry-food ration. The right daily amount depends on the individual cat and its food; follow the feeding plan from your veterinarian.
More Small-Space Pet Activities
Rotate this feeder with other safe activities instead of leaving it out all day. Explore our small-home cat enrichment guide or browse simple DIY pet toys for more ideas.