
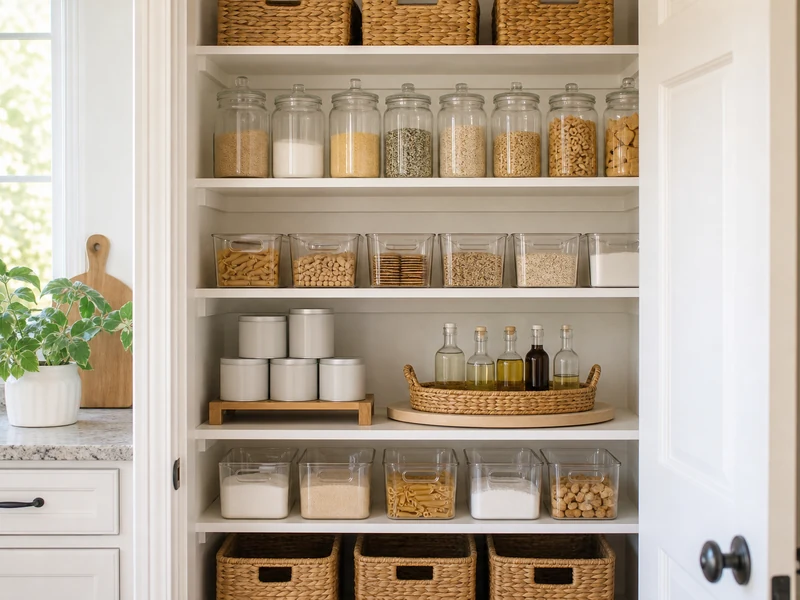
An organized pantry should make dinner easier, prevent duplicate purchases, and show you what needs using before it expires. It does not need matching designer containers or a walk-in room. These kitchen pantry organization ideas work in deep cabinets, narrow closets, and freestanding cupboards because they begin with visibility and daily habits—not decoration.
Plan one afternoon for the reset. Keep a donation box, recycling bag, damp cloth, painter’s tape, and marker nearby. Measure each shelf before buying organizers. Accurate measurements stop attractive but impractical bins from becoming another source of clutter.
Before You Buy Any Pantry Organizers
- Measure usable space: Record shelf width, depth, height, and the door opening—not just the cabinet exterior.
- Notice obstacles: Hinges, trim, pipes, and door frames can prevent a full-depth bin from sliding out.
- Choose maintenance over perfection: If decanting every grocery trip feels unrealistic, use open bins for original packages.
- Set a modest budget: Repurpose trays, sturdy boxes, jars, and baskets before purchasing replacements.
10 Brilliant Kitchen Pantry Organization Ideas
1. Empty the Pantry and Take a Real Inventory
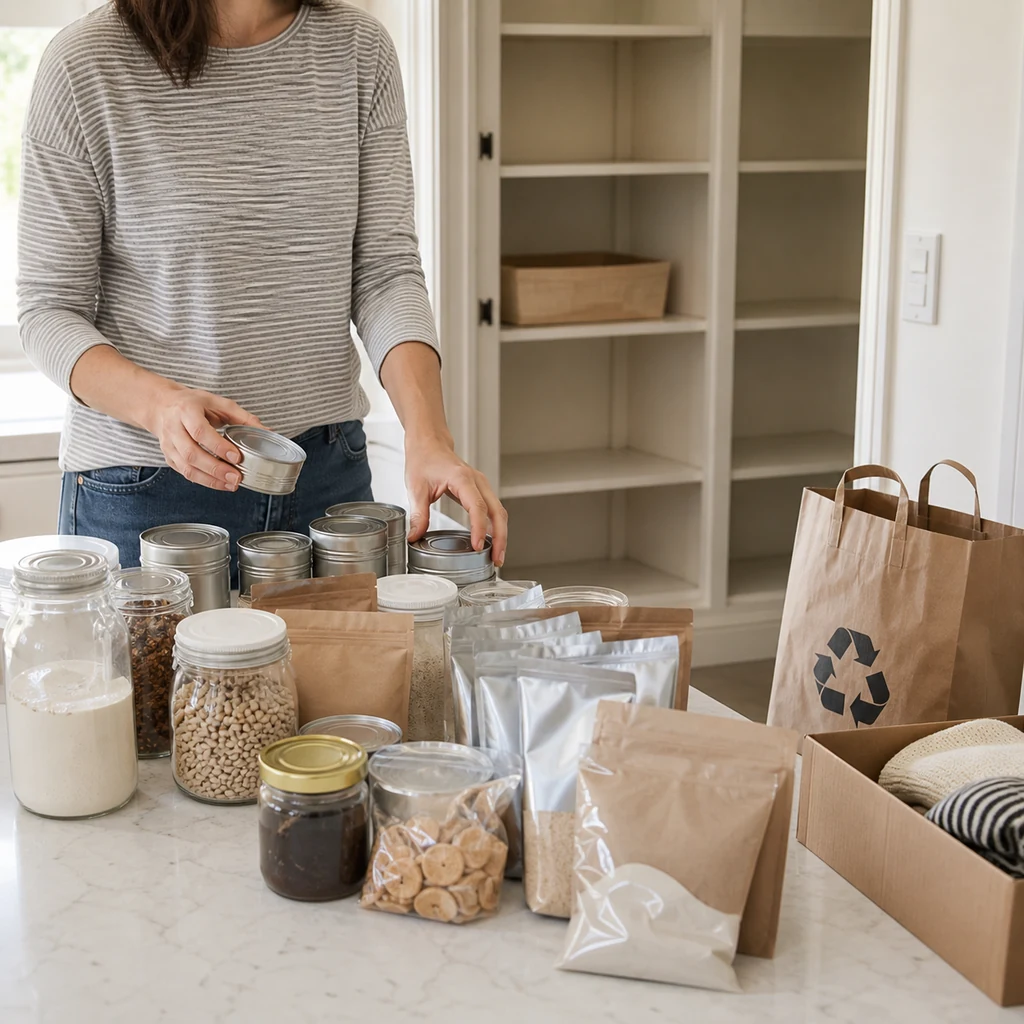
Remove everything so hidden duplicates and expired food cannot stay buried. Group items on the counter into keep, donate, relocate, recycle, and discard categories. Check best-by dates, damaged packaging, and signs of pantry pests. Wipe shelves from top to bottom and let them dry completely before returning food. Write a short inventory of staples you genuinely use; this becomes your guide for assigning space instead of copying somebody else’s pantry.
2. Build Zones Around the Way You Cook
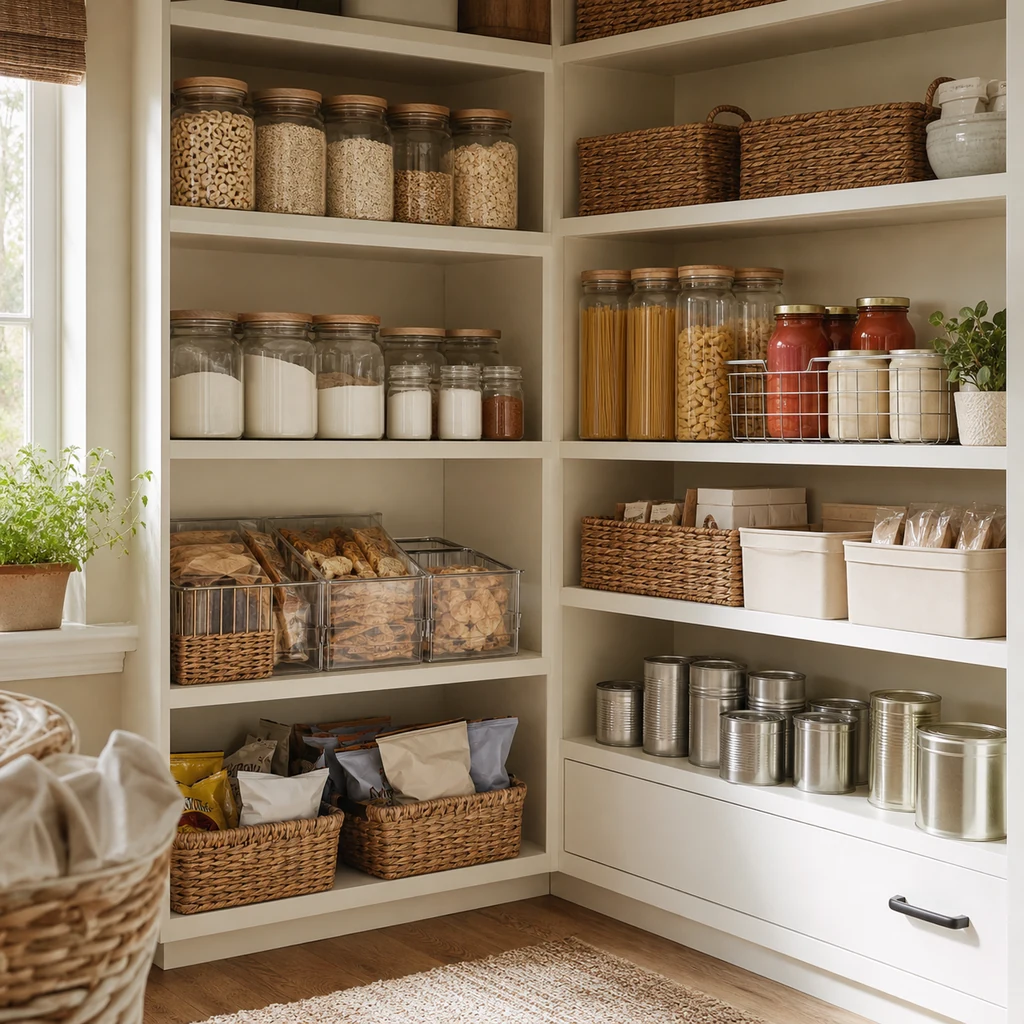
Create broad zones such as breakfast, baking, weeknight dinners, snacks, canned goods, and backstock. Keep ingredients used together close together: pasta beside sauce, oats beside toppings, and baking powder beside flour. Place daily categories between waist and eye level. Reserve high shelves for light, occasional items and low shelves for heavy bottles or appliances. Practical zones reduce searching and make it obvious where every grocery item belongs.
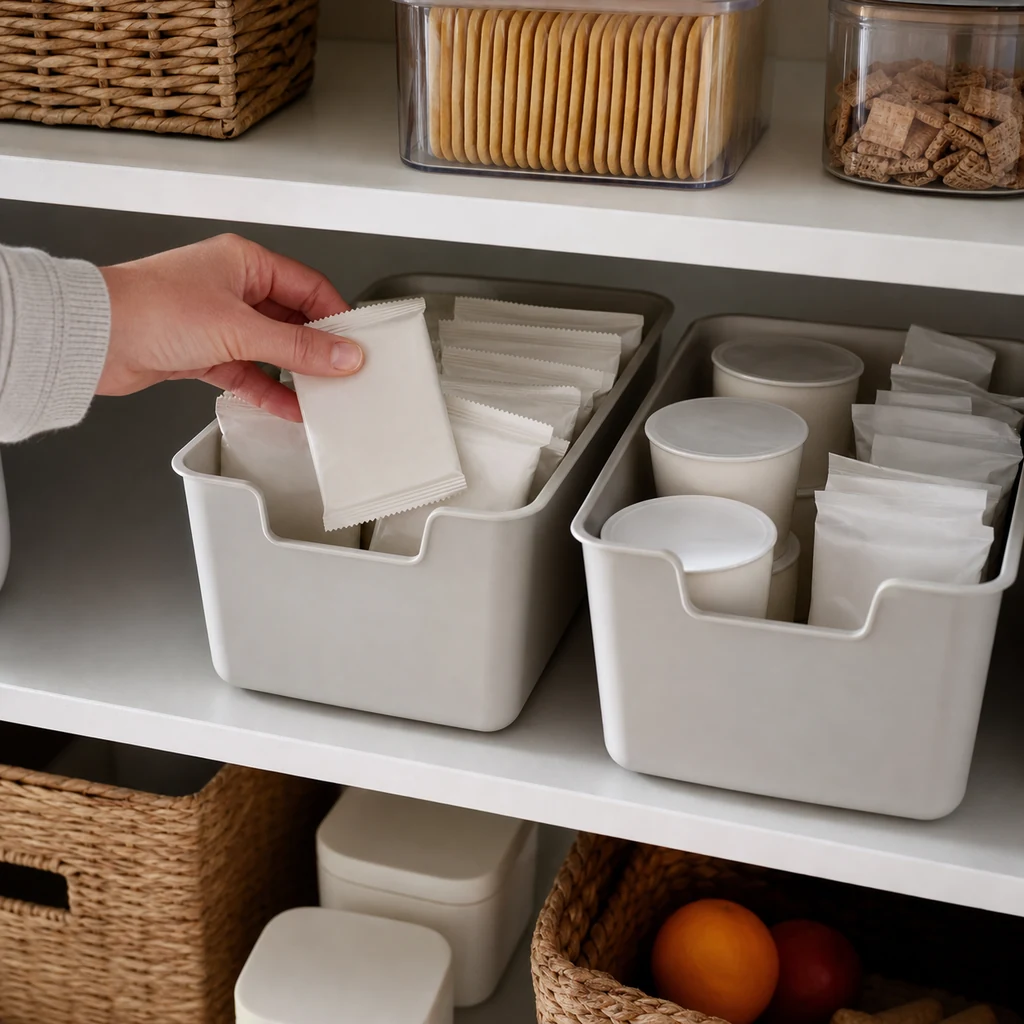
3. Turn Deep Shelves into Drawers with Handled Bins
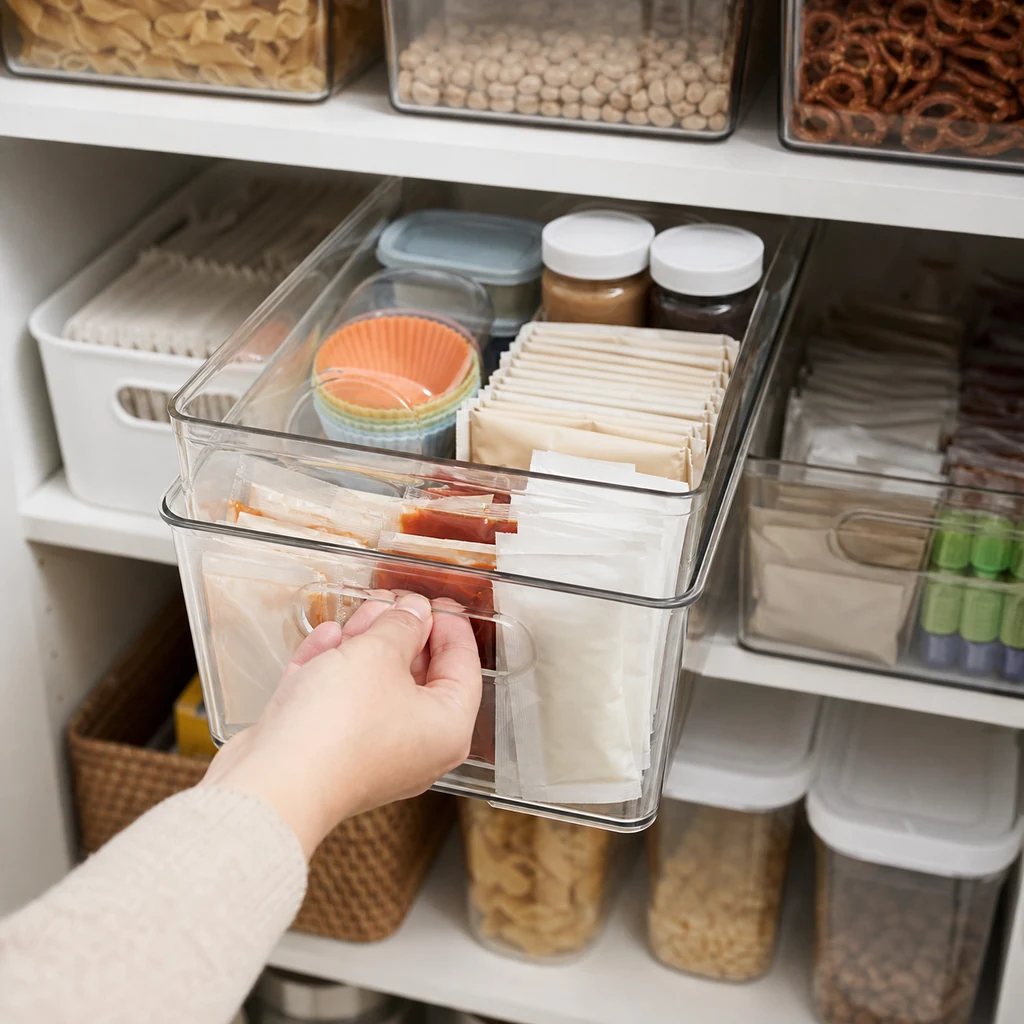
Deep shelves waste space when front packages conceal everything behind them. Use open-top bins with handles so an entire category slides forward like a drawer. Select bins nearly as deep as the shelf but narrow enough to lift comfortably. Avoid filling them so heavily that nobody pulls them out. A bin for sauces, packets, or lunch supplies keeps small items contained.
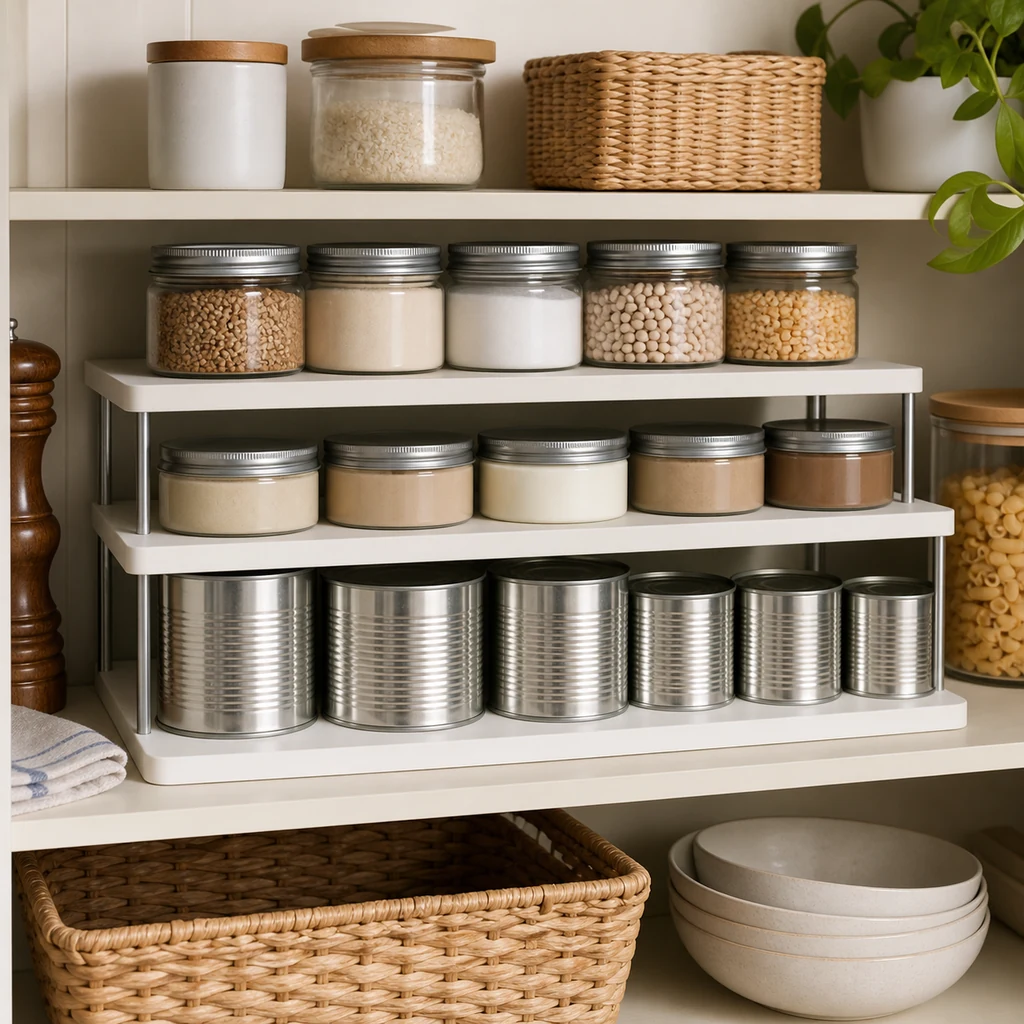
4. Add Shelf Risers for Cans and Short Jars
Stacking cans directly on one another makes labels hard to read and encourages forgotten food. A tiered shelf riser creates stadium-style rows so each label remains visible. Use it for canned vegetables, soup, spices, and short jars. Keep heavier cans on the lowest tier and avoid unstable towers. Before buying a riser, confirm that the tallest item fits beneath the shelf above with enough room to remove it easily.
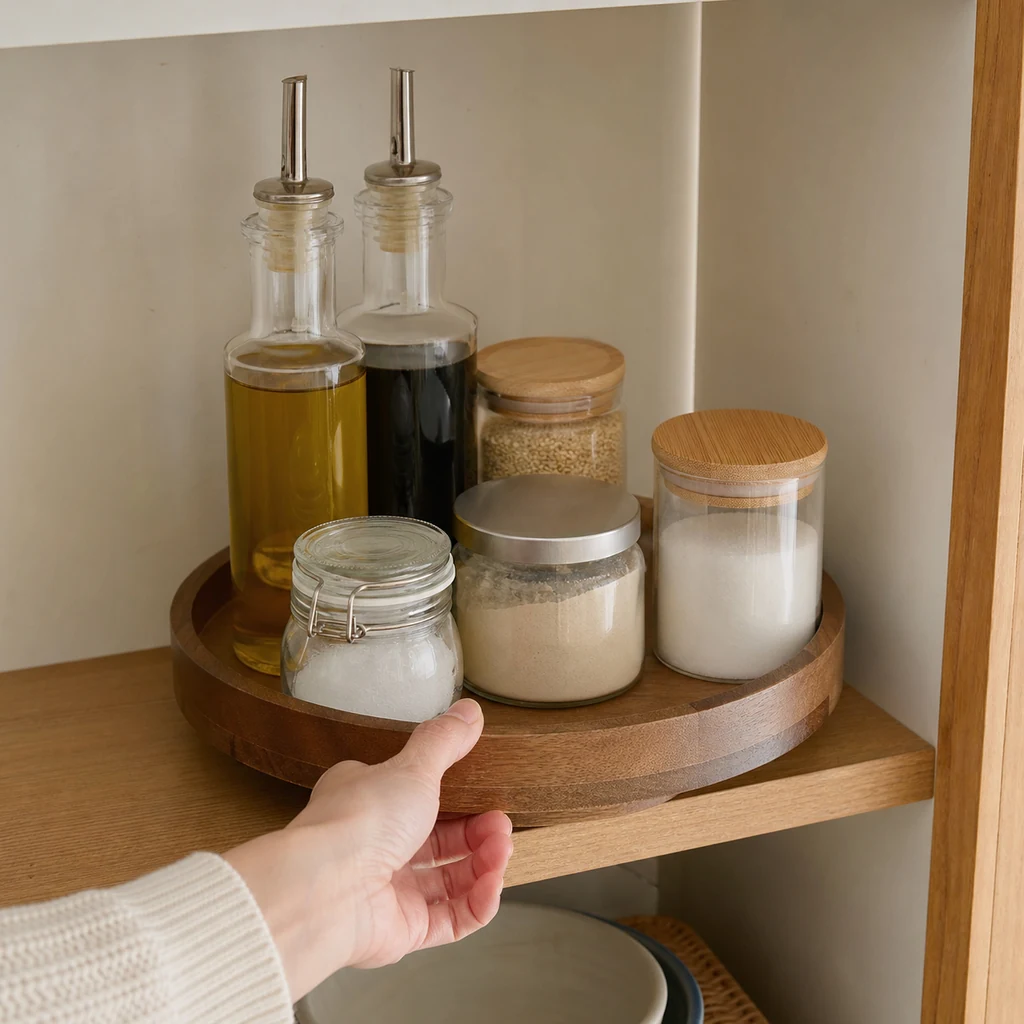
5. Use Turntables for Bottles and Awkward Corners
A turntable is especially useful for oils, vinegars, spreads, and condiments that otherwise disappear in corners. Choose a model with a raised rim so bottles stay secure while spinning. Do not overload it with unrelated products; one category per turntable keeps the system readable. Place messy bottles on a washable liner or shallow tray, and store frequently used oils away from direct heat and sunlight to protect their quality.
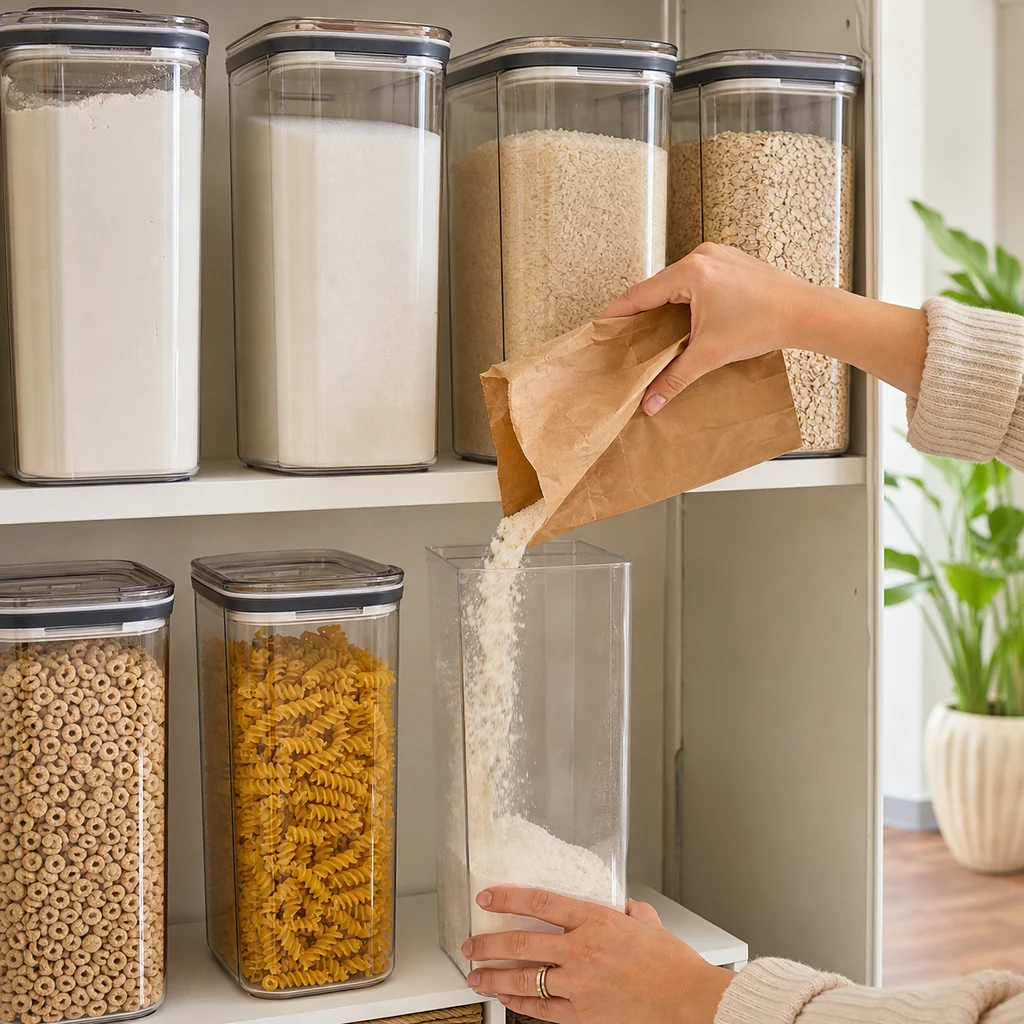
6. Store Dry Goods in Containers Only When It Helps
Clear airtight containers are useful for flour, sugar, rice, cereal, and other staples purchased repeatedly. They make quantities visible and protect food when their seals are sound. Decant only what your household will refill consistently. Record the product name, allergen information, and best-by date on a removable label, and never pour a new package over old food without washing and drying the container first.
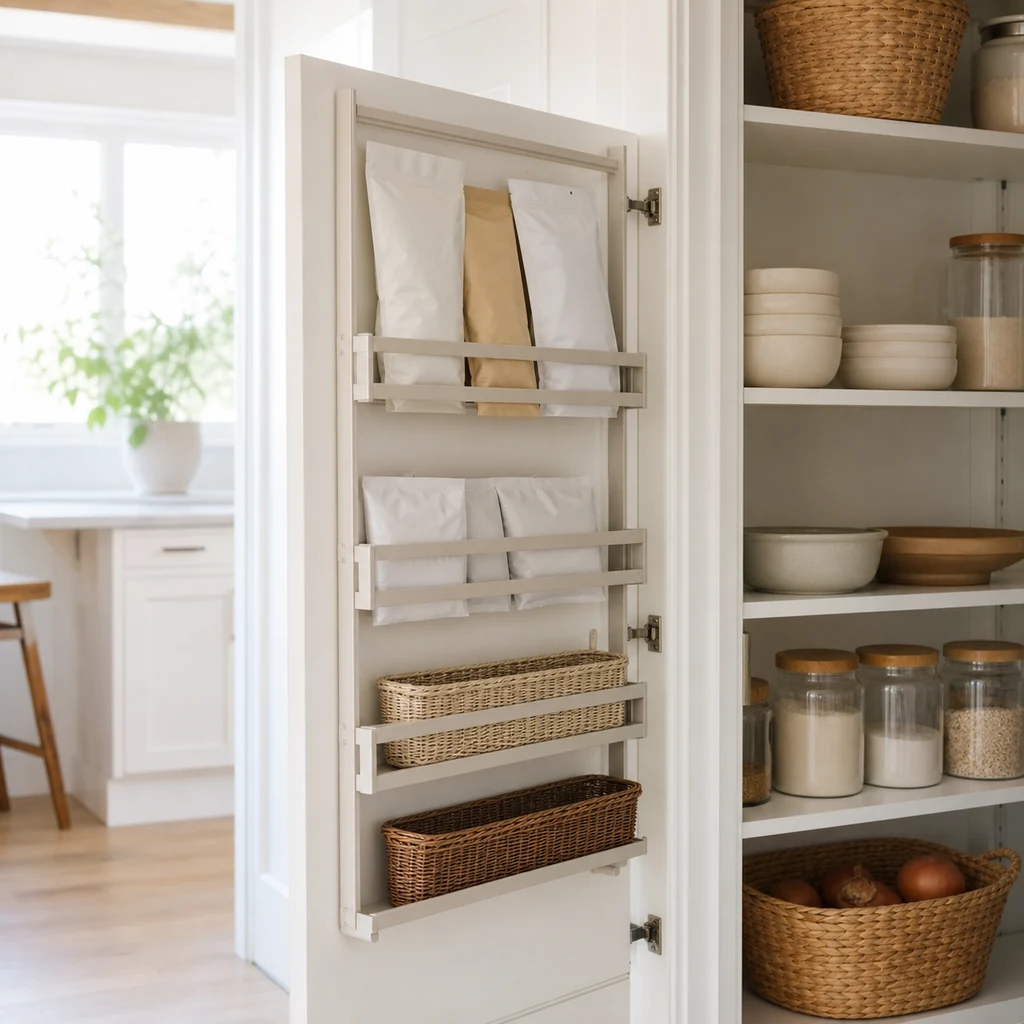
7. Put the Pantry Door and Side Walls to Work
Over-the-door racks and shallow wall shelves can hold wraps, spice packets, snack bars, or lightweight bottles. Measure the clearance between the door and interior shelves before installing anything. Confirm that hinges can support the load and that containers will not strike the frame. Keep heavy glass jars off the door. In a rental, a narrow freestanding rack or removable system may be safer than permanent hardware.
8. Create a Visible First-In, First-Out Row
Use the first-in, first-out method: place newly purchased items behind older matching products. Dedicate a small “use first” basket to opened packages, near-date foods, and produce that needs attention. Check this basket before meal planning or shopping. The goal is not to treat every best-by date as an automatic discard date, but to keep food visible enough to assess its condition and follow package guidance safely.
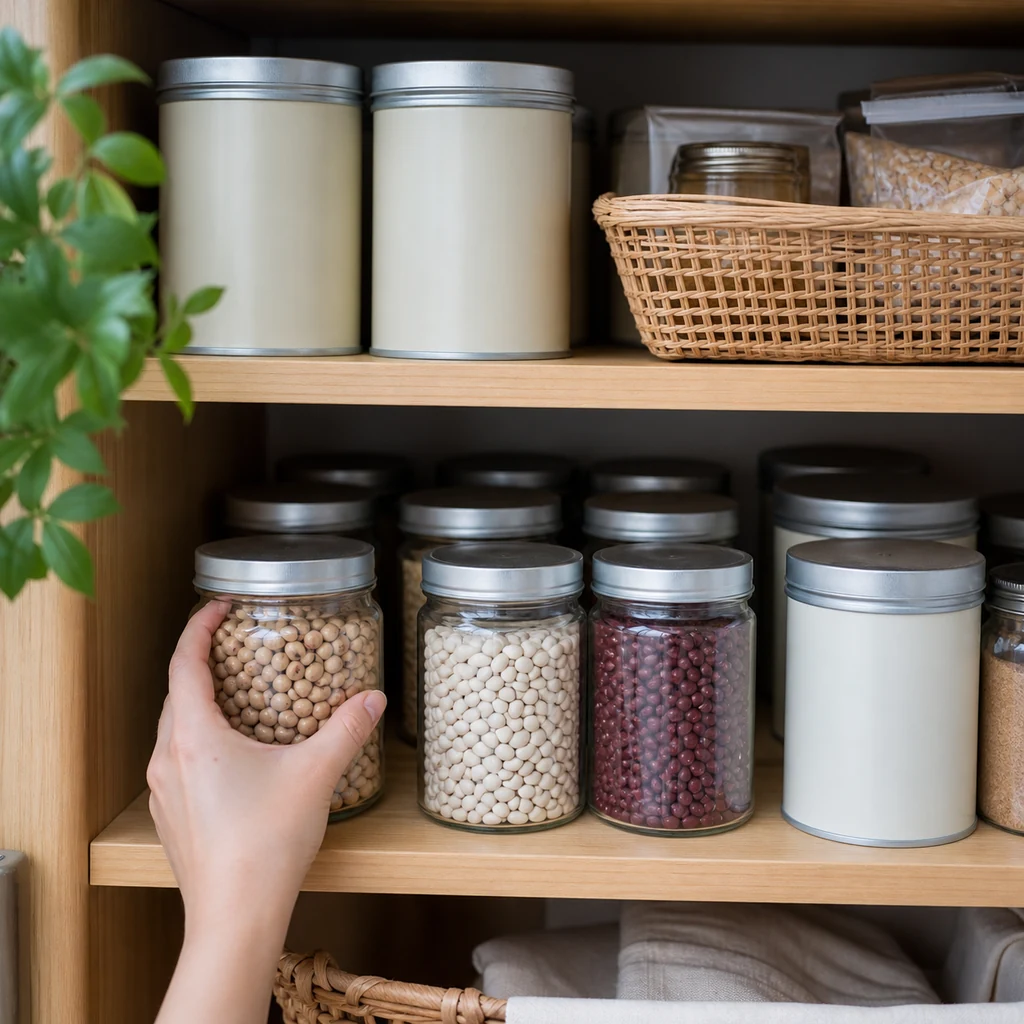
9. Give Snacks and Family Members Clear Boundaries
Assign one reachable bin to lunchbox snacks and, if helpful, one small section to each family member. Remove bulky outer boxes only when individual packages retain the information you need. A defined snack zone makes packing faster, gives children a clear choice, and prevents small packets from spreading across shelves.
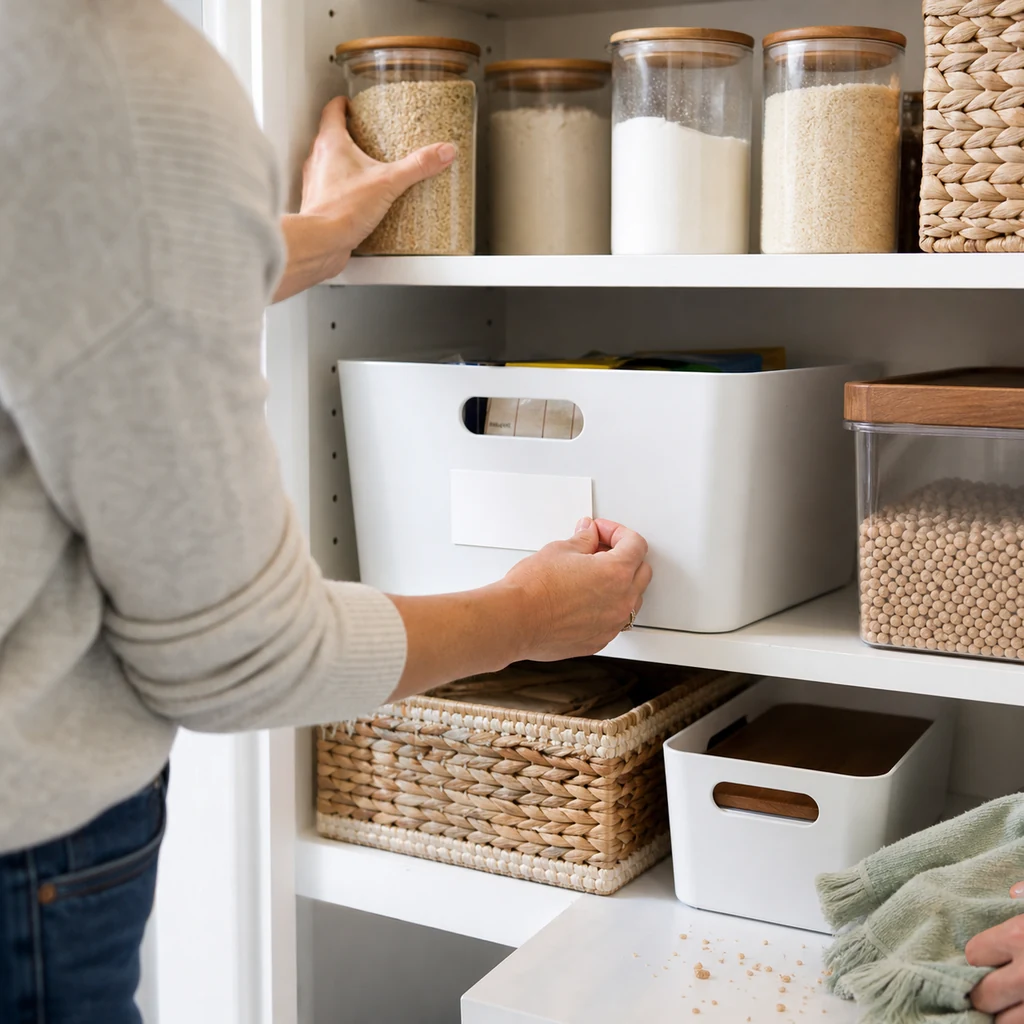
10. Label Broadly and Schedule a Five-Minute Reset
Labels should answer “where does this go?” without becoming so specific that the system breaks after one shopping trip. Use broad names such as Breakfast, Pasta, Baking, and Snacks. Once a week, return strays, wipe crumbs, move older products forward, and add needed staples to the shopping list. A five-minute reset protects the work you already did and is more effective than repeating a dramatic overhaul every few months.
Budget-Friendly Substitutions and Variations
Cardboard boxes covered with washable shelf paper can test a bin layout before you invest. Repurpose baking sheets as spill trays, use clean jars for small dry goods, and add removable labels with painter’s tape. For wire shelves, rigid shelf liners stop narrow containers from tipping. In a very small pantry, prioritize vertical risers and door storage; in a wide walk-in pantry, repeat the same zones across clearly defined sections rather than buying more categories.
Common Pantry Organization Mistakes
Avoid purchasing containers before measuring, hiding everyday food in opaque baskets, and placing heavy items above shoulder height. Do not create a decanting routine your household will not maintain. Most importantly, leave a little open space. A pantry packed to the edge has no landing zone for groceries and quickly becomes difficult to rotate.
FAQ
How often should I reorganize my pantry?
Do a five-minute reset weekly and a deeper inventory every three to four months. Also check before major holiday shopping or a large grocery order.
Are clear containers always better?
No. They are helpful for repeat staples, but handled bins may be more practical for changing categories and foods that should remain in their original packaging.
What should go on the highest pantry shelf?
Store lightweight, infrequently used items there. Avoid heavy appliances, glass bottles, or anything you must reach for every day.