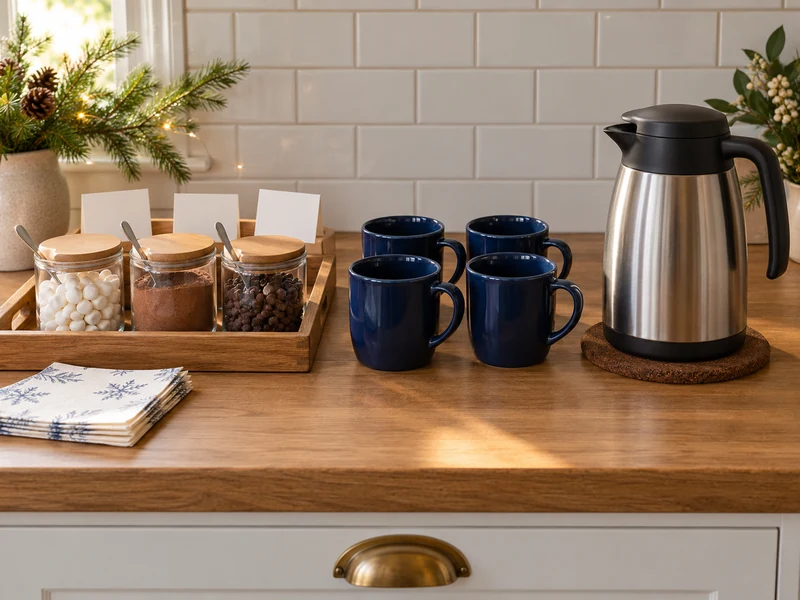
A hot cocoa bar sounds like a whole party table, but you can make one work on a short kitchen counter. The trick is to keep the hot drink, mugs and toppings in a clear order, with room to pour. This small-space plan uses one tray, four mugs and an insulated carafe, so guests can choose a topping without crowding the sink or stove.
Quick answer: Set a sturdy topping tray at one end of the counter and a heat-safe mat for the closed carafe at the other. Put mugs between them, give each topping its own spoon, write accurate ingredient cards and leave a clear space in front of the carafe for one mug at a time. Make or heat the cocoa separately, then bring it out shortly before serving.
What You Need
- A stable, wipeable counter section, about 36 inches wide if possible
- One sturdy, rimmed tray around 12 × 16 inches, or a size that fits your space
- One heat-safe mat that is wider than the base of your carafe
- One clean insulated beverage carafe suitable for hot drinks
- Four heat-safe mugs; keep any extras nearby but off the crowded counter
- Three small clean topping containers, three separate serving spoons, and their lids
- Mini marshmallows, a little cocoa powder for dusting, and chocolate chips, or three toppings your guests can eat
- Blank ingredient cards, a pen, napkins, and a food thermometer if you plan to hold cocoa hot
Use the recipe or packaged mix you trust for the drink itself. This guide covers the serving station, not a single cocoa recipe. Check labels on packaged toppings and ask guests about allergies before you set them out. Keep greenery and decorations away from food and hot surfaces.
How to Set Up a Hot Cocoa Bar on a Small Counter
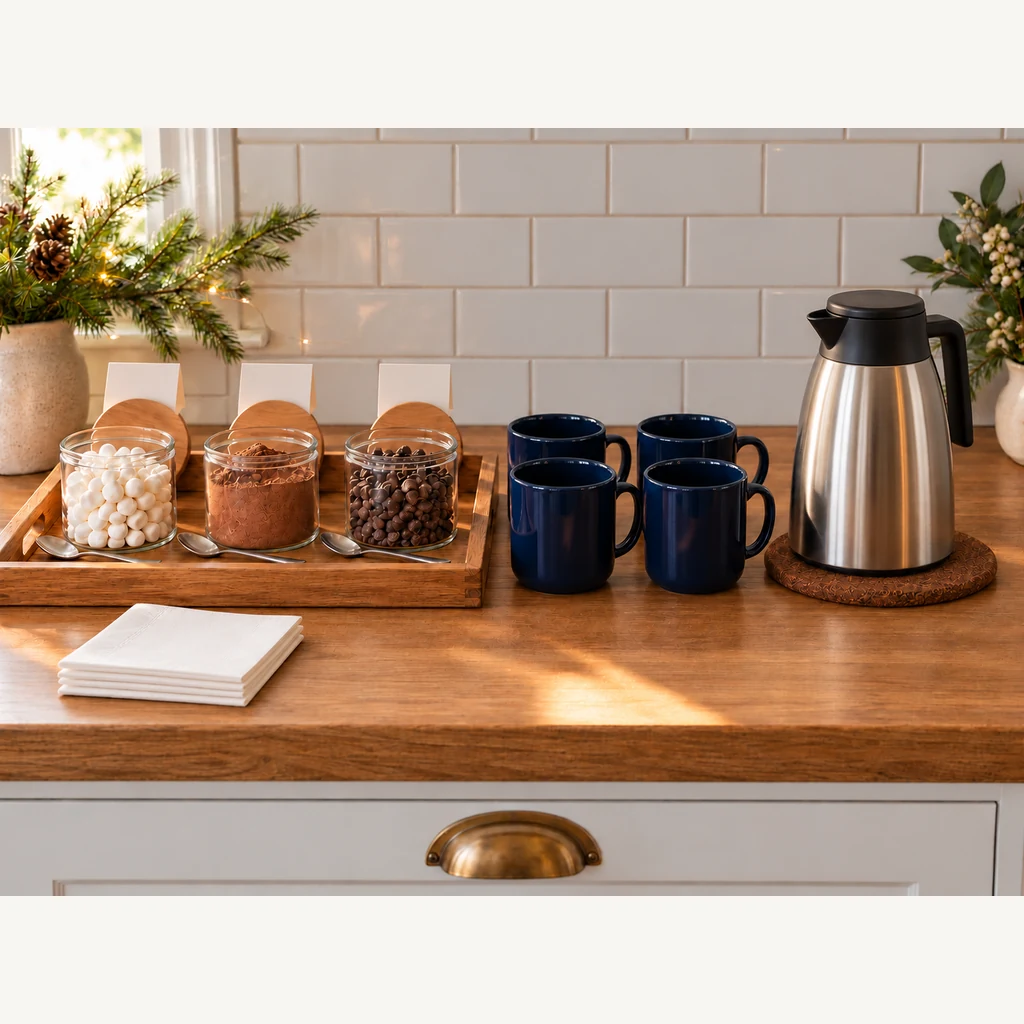
The cards shown are blank placeholders; write the actual ingredients and relevant allergens for the products you use.
Step 1: Clear the Counter and Mark Three Zones
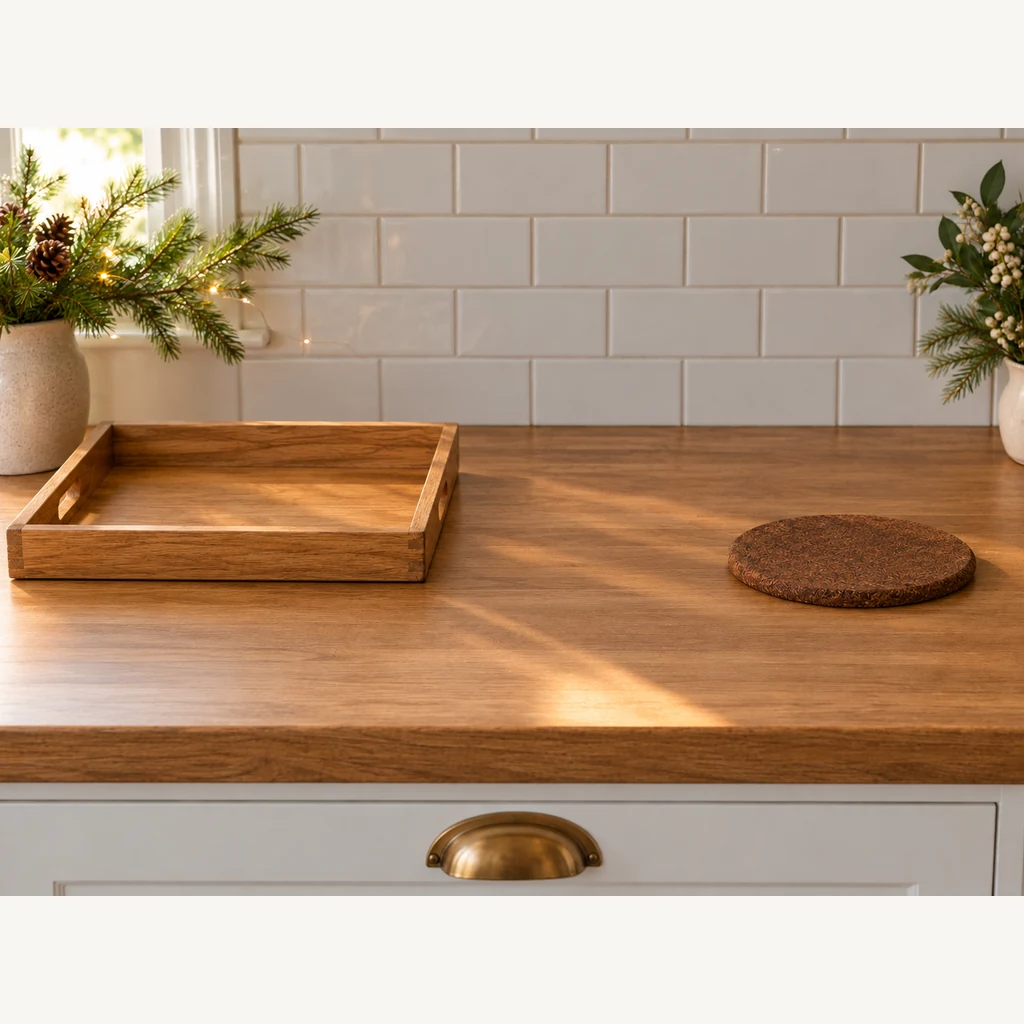
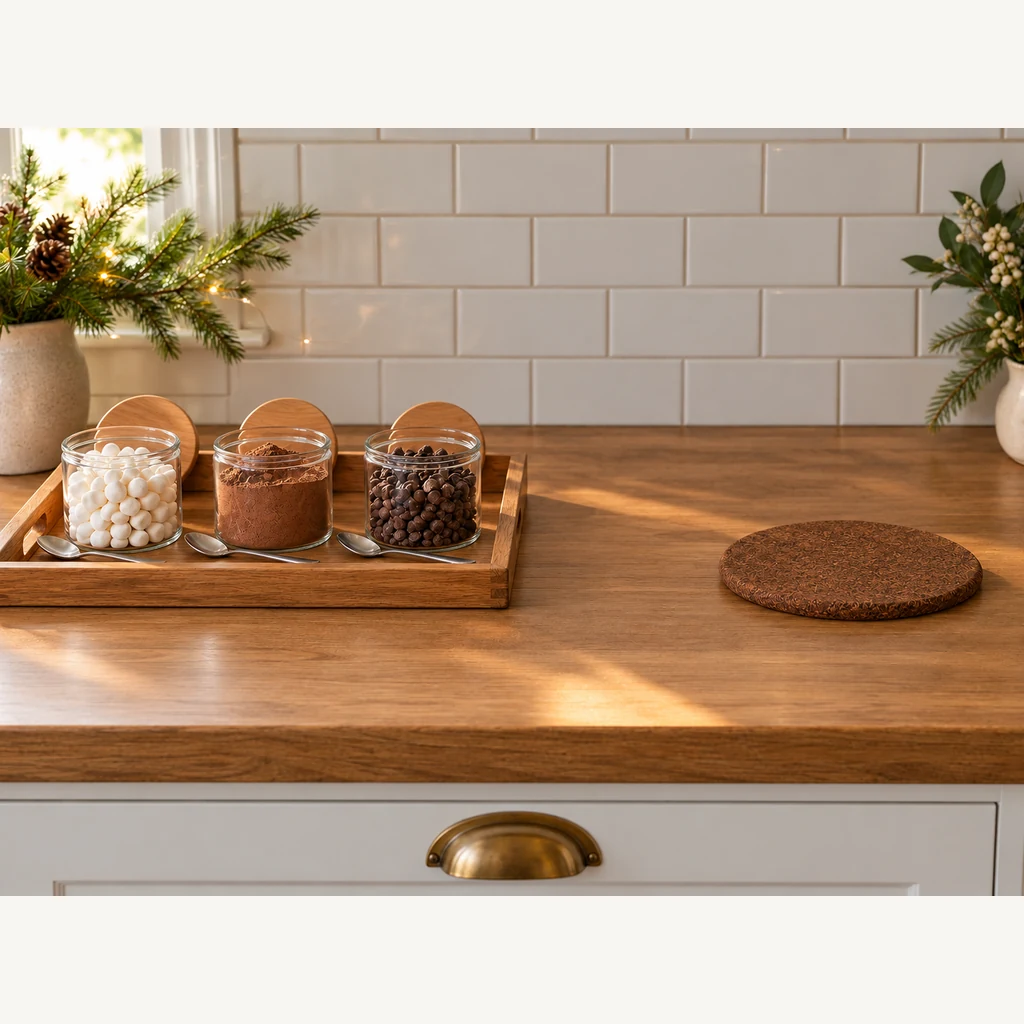
Wipe the counter and remove appliances or decorations that make pouring awkward. Put the tray on the left and the heat-safe mat on the right, both set back from the front edge. Leave the middle open for mugs. Check that the carafe will not block a cabinet door and that people will not have to reach over a hot spout to get toppings.
Step 2: Portion Three Dry Toppings
Put a modest amount of each dry topping in a separate clean container on the tray. Here the examples are mini marshmallows, cocoa powder for a light dusting, and chocolate chips. Set each lid behind its container while guests serve, and give every topping its own spoon so flavors and allergens do not mix through shared utensils. Refill small portions from covered supplies rather than piling everything out at once.
Step 3: Group the Mugs in the Middle
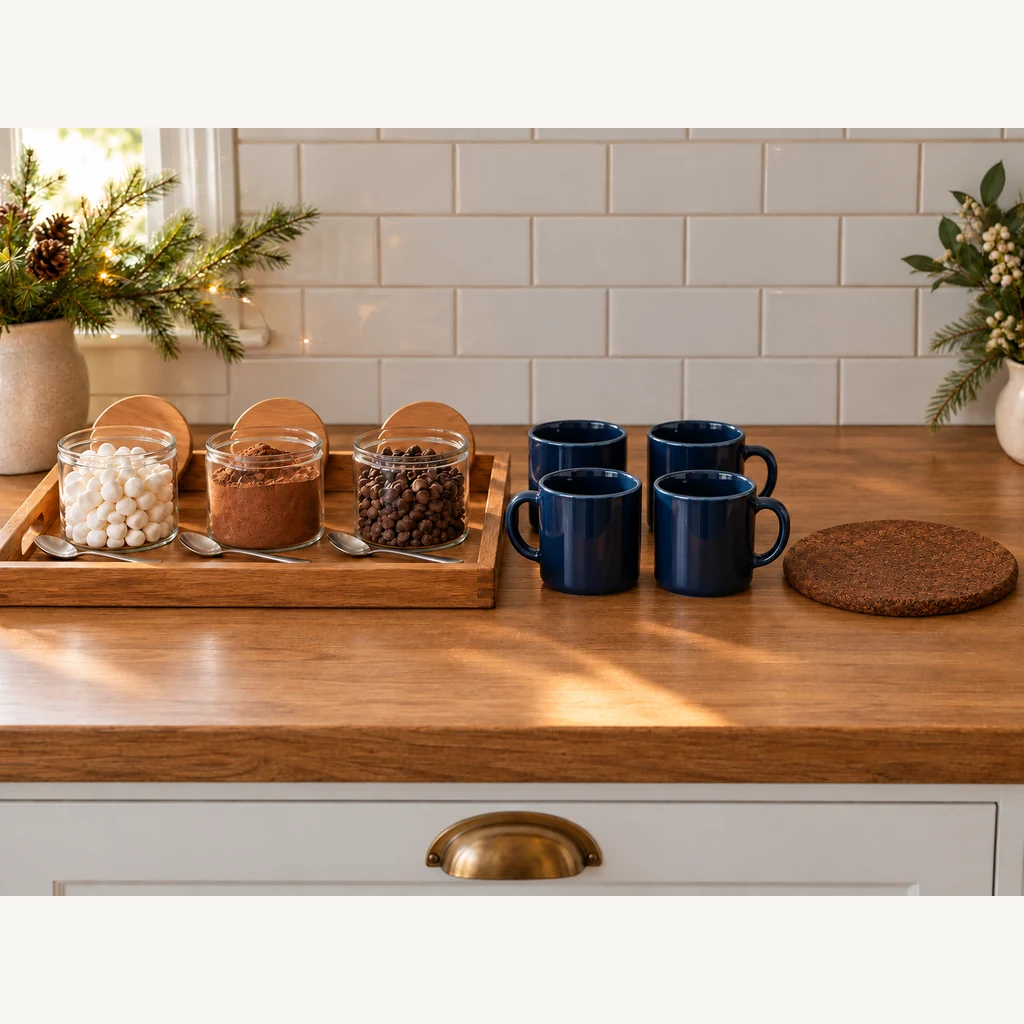
Place four clean mugs between the topping tray and the carafe mat. A two-by-two group takes less counter width than a long row. Check that every handle can be gripped without knocking another mug or jar. If more guests are coming, put spare mugs on a nearby shelf and replenish this group as needed.
Step 4: Add the Hot Cocoa Carafe Just Before Serving
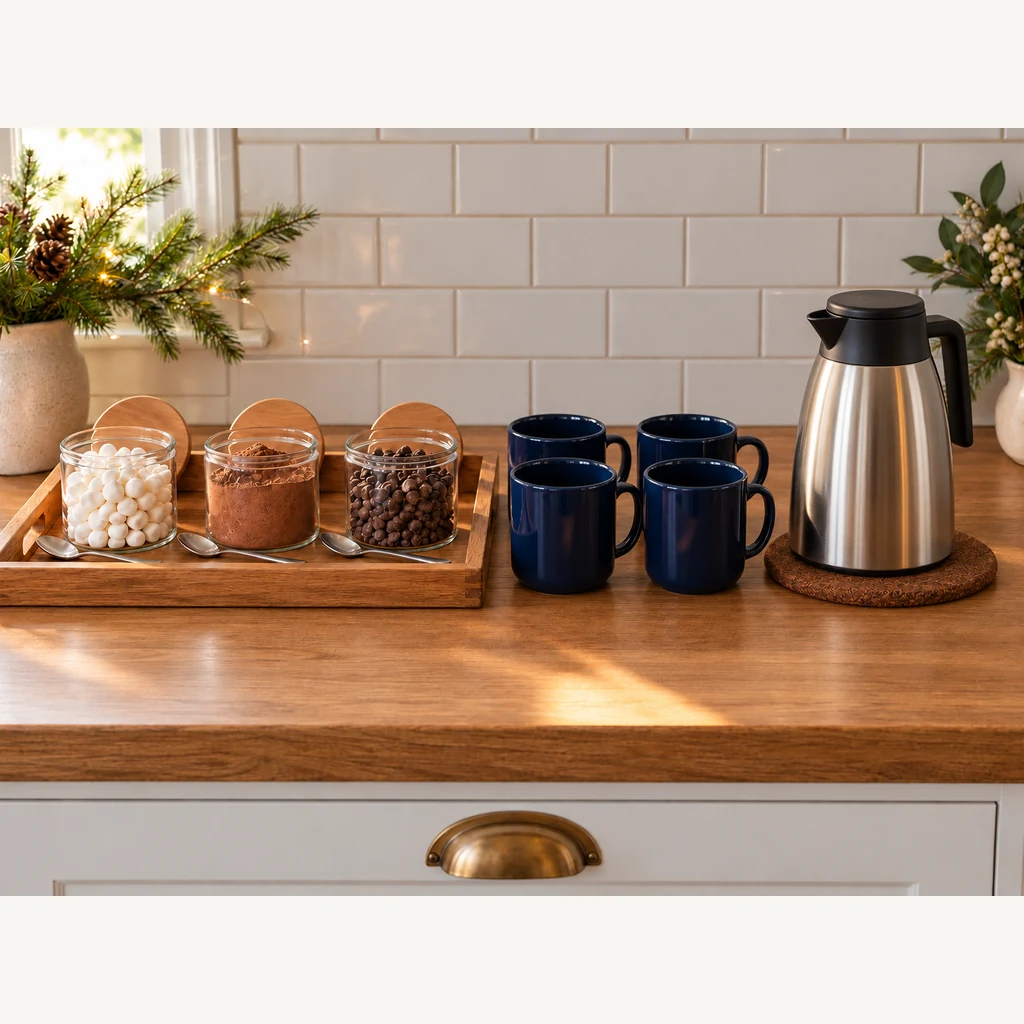
Prepare the drink in the kitchen according to your chosen recipe or mix, then fill a clean carafe that is rated for hot beverages. Close it securely and set it fully on the heat-safe mat. Aim the spout away from the counter edge and keep the handle easy for an adult to reach. Do not treat the carafe as a guaranteed hot-holding appliance: its actual temperature depends on the drink and the container.
Step 5: Write Ingredient Cards and Put Napkins Within Reach
Write the real name of each topping on a separate card, along with any allergen information that applies to your specific package. Set the cards directly behind their jars. Add a small stack of napkins where guests can take one before handling the toppings. The example photo deliberately leaves its cards blank so no invented ingredient or allergen claim appears on a label.
Step 6: Test the Pouring Path and Refresh Safely
Move one empty mug into the space in front of the carafe and check that it can be filled without reaching across jars or another guest. Keep the remaining mugs grouped. For children, have an adult handle the hot drink. If you serve milk-based cocoa over time, use a food thermometer: USDA buffet guidance says hot foods should be held at 140°F (60°C) or above; perishable food left at room temperature should not stay out longer than two hours. A closed carafe alone does not prove the contents meet that temperature. Replenish with a fresh safe batch as needed.
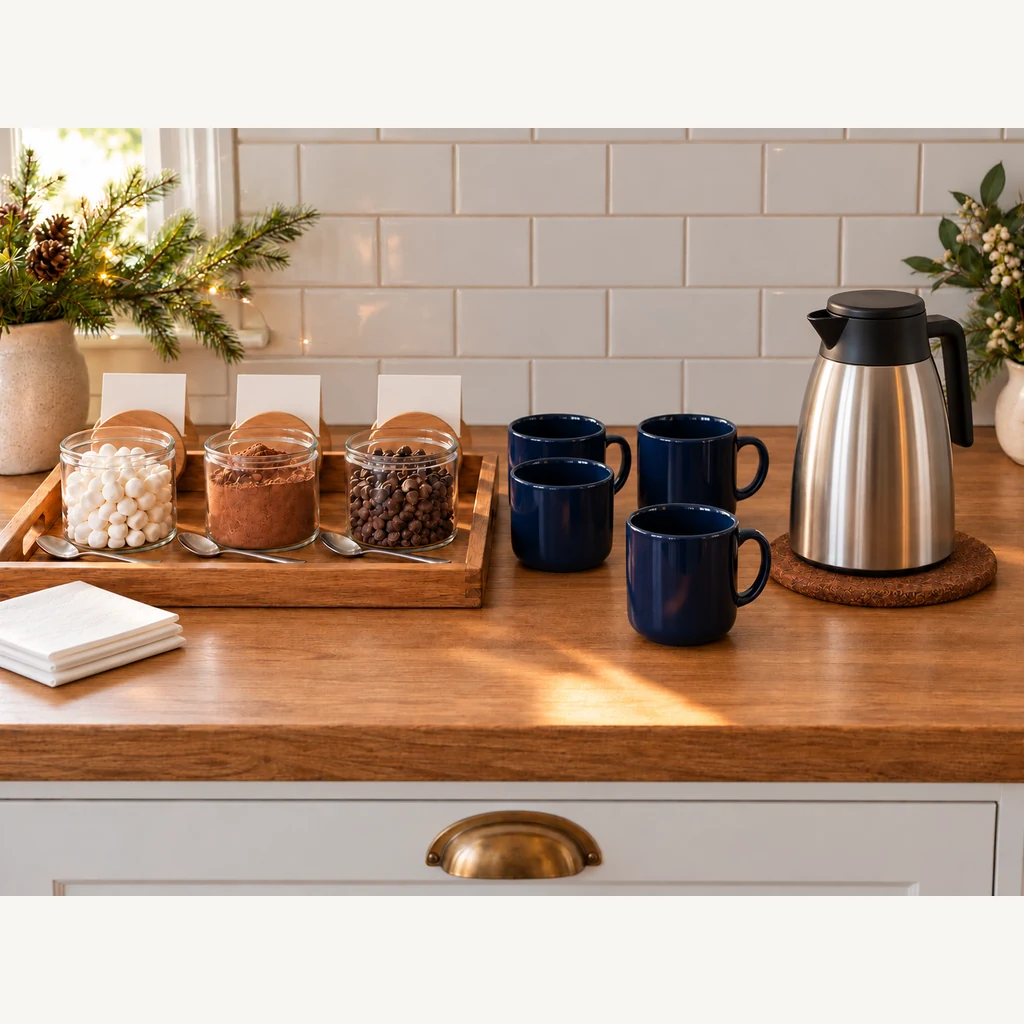
Small-Counter Layout at a Glance
- Left: one rimmed tray holds the dry toppings, individual spoons and ingredient cards.
- Center: four mugs stay together; a single mug can move forward when it is time to pour.
- Right: the hot carafe sits entirely on its own mat, away from the front edge.
- Nearby: reserve covered refills and any extra mugs off the serving counter.
Common Setup Mistakes
Too many toppings: A row of oversized bowls consumes the pouring space. Choose three favorites and refill small containers. One spoon for everything: Separate spoons make the station cleaner and help prevent accidental mixing of ingredients. Unknown labels: Blank cards are not useful to guests; write the actual product information before serving. A carafe at the edge: Move it back onto a stable mat and let an adult pour if children are present.
Frequently Asked Questions
Can I set this up the night before?
You can wash and arrange the dry equipment and write cards ahead of time. Keep food covered according to its package, and make or heat the drink close to serving time.
What if my counter is shorter than 36 inches?
Keep the same left-to-right order but put spare mugs and napkins on a nearby shelf. Use a smaller tray and fewer topping jars. Never crowd the carafe against the counter edge just to fit decoration.
Can I offer a dairy-free version?
Yes, but use a separate clearly identified container and utensil set. Check each ingredient label; the word “dairy-free” on a sign should reflect the actual products and preparation.
Make It a Cozy Gathering
Pair the station with a small-space cookie swap, browse other alcohol-free Christmas drink ideas, or use the same counter-planning approach for a home coffee bar. Keep the station simple enough that guests can see the drink, mugs and toppings at a glance.