
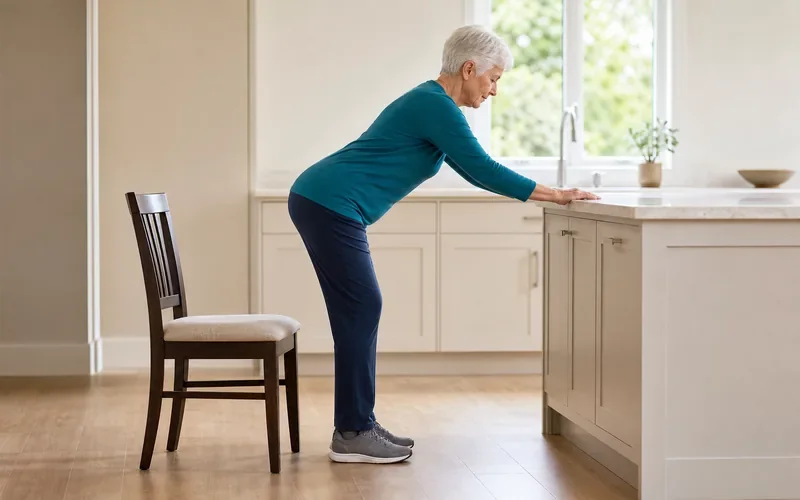
This supported hip hinge practice for seniors teaches a controlled hips-back movement used when reaching and bending. A fixed counter provides hand support throughout the five-minute session.
5-Minute Hip Hinge Practice for Seniors
- Total time: 5 minutes
- Equipment: Fixed counter and sturdy chair
- Footwear: Supportive, non-slip shoes
- Effort: Gentle form practice
- Support: Both hands remain available
This drill cannot guarantee fall prevention. Falls have many causes, so use it only as one part of an appropriate strength, balance, medical, and home-safety plan.
Set Up the Practice Area
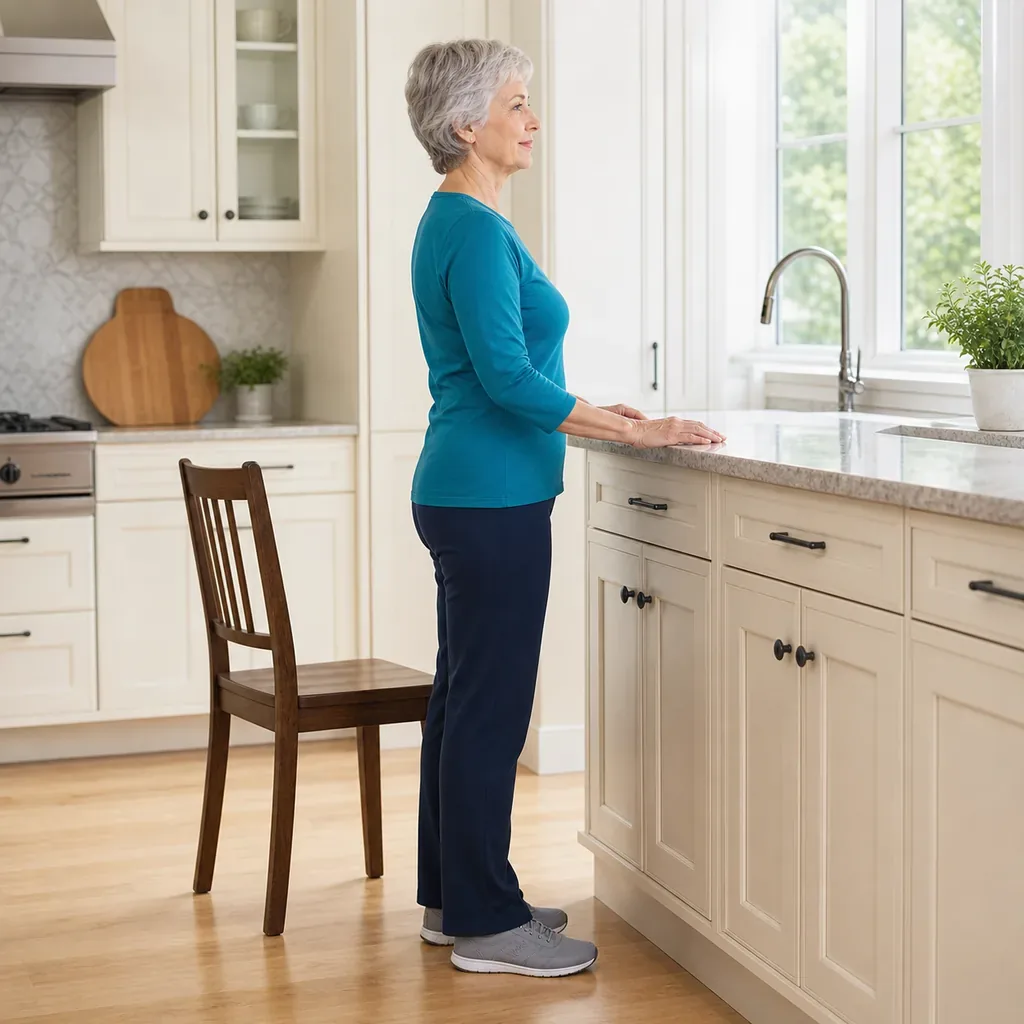
- Use a fixed counter that can support both hands.
- Clear rugs, cords, pets, and loose objects.
- Place a sturdy chair behind you as a distance marker.
- Keep the chair close enough to sit if needed.
- Have another adult nearby if balance feels uncertain.
The Five-Minute Standing Hip Hinge Routine
- Posture check, 1 minute: Stand facing the counter with feet hip-width apart. Hold with both hands, soften the knees, and make six relaxed breaths.
- Hips-back rehearsal, 1 minute: Push the hips backward a few inches while keeping the chest long. Return tall. Complete six slow repetitions.
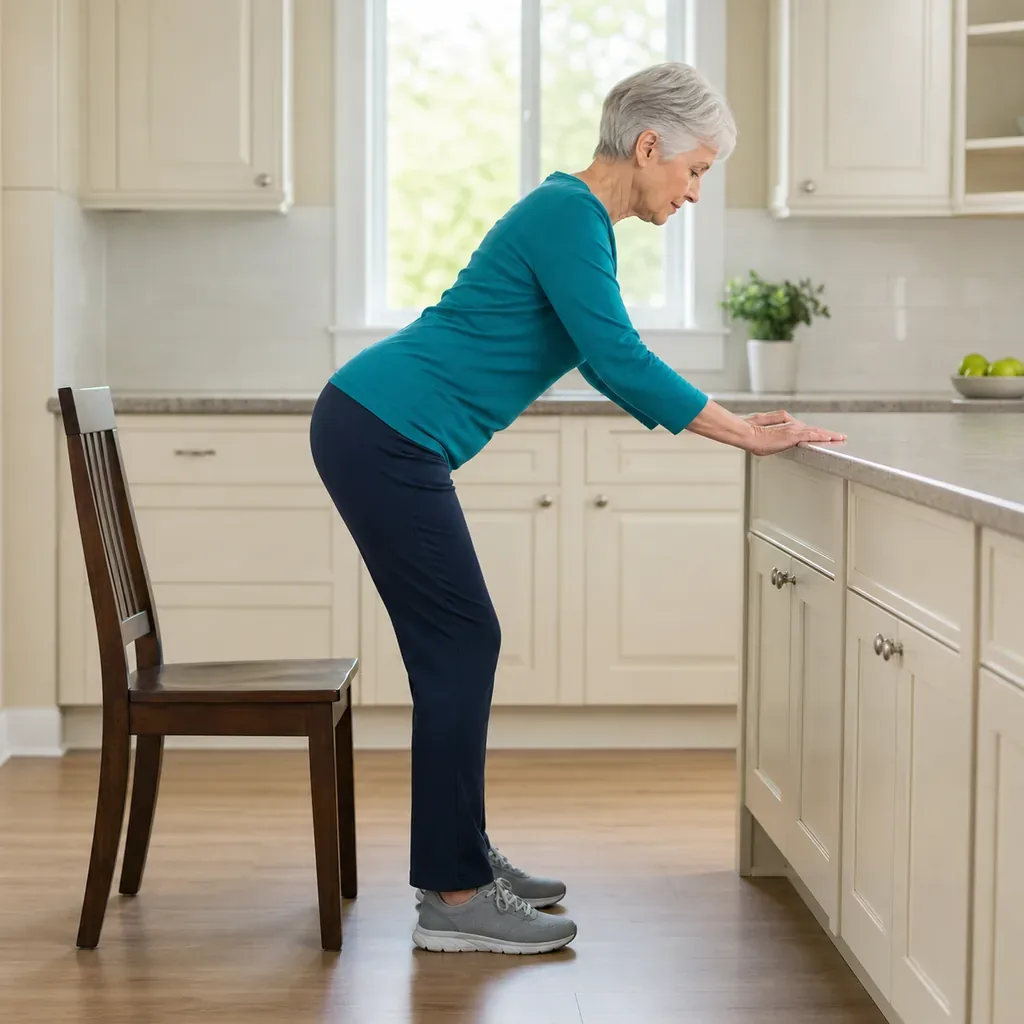
Hips-back hinge. - Chair reach, 1 minute: Send the hips toward the chair without sitting. Keep weight through the whole foot and complete five controlled repetitions.
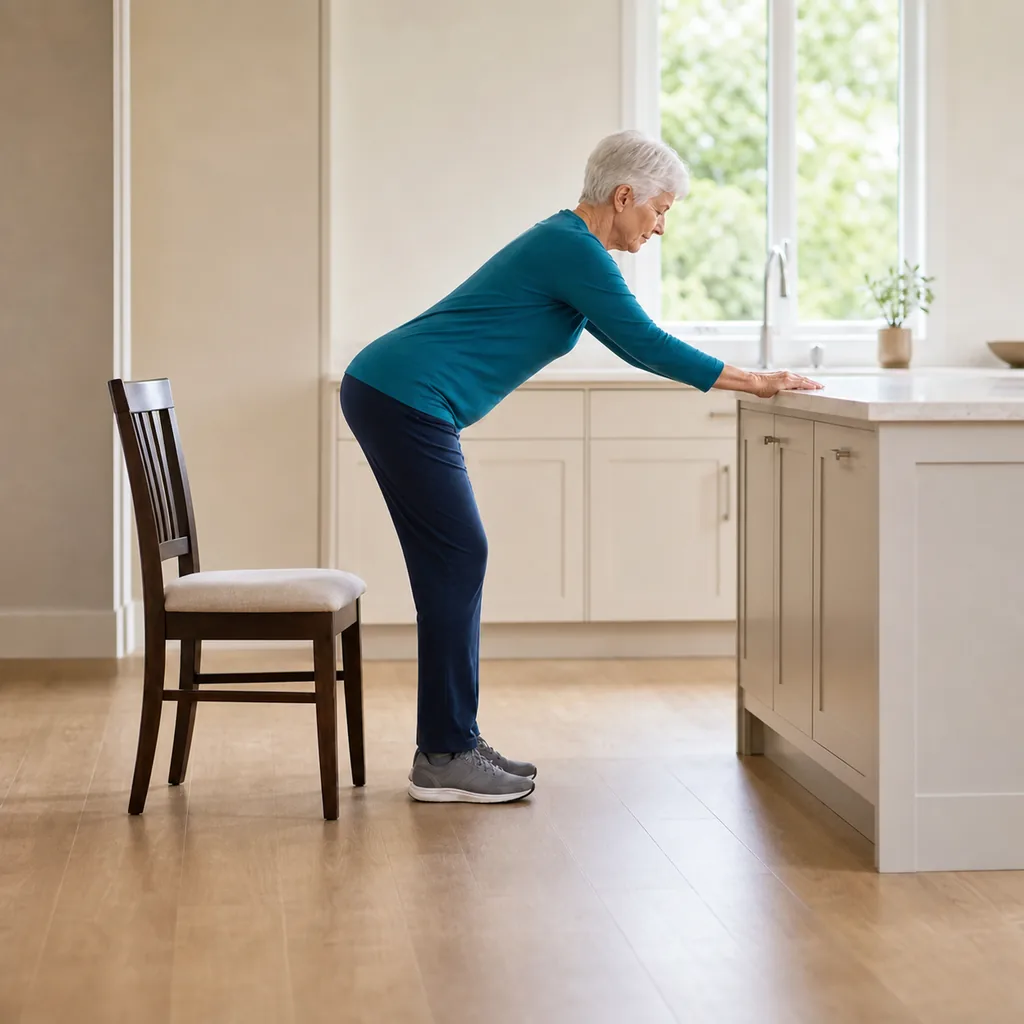
Chair reach hinge. - Three-second hinge, 1 minute: Move backward for 3 seconds and stand for 3 seconds. Complete four repetitions without holding your breath.
- Functional reach, 1 minute: Hinge slightly while sliding one hand along the counter. Return upright, switch hands, and complete four repetitions per side.
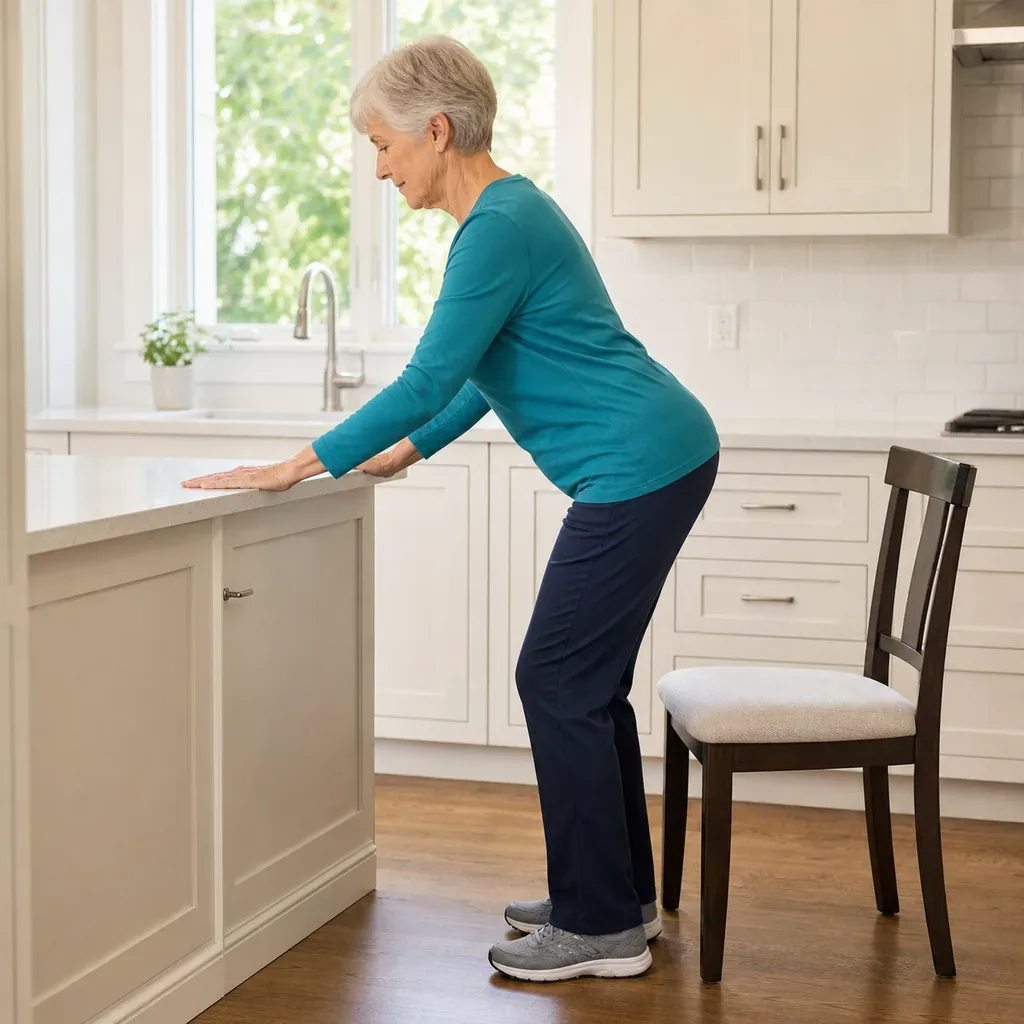
Functional reach hinge.
Form Cues and Modifications
- Move the hips back instead of squatting straight down.
- Keep the spine comfortably long.
- Shorten the range if hamstrings feel tight.
- Keep both hands down if one-hand support feels uncertain.
- Rest seated whenever fatigue affects control.
Build a broader routine with our standing balance exercises, daily posture exercises, and seated chair exercises.
What the Hip Hinge Practices
- Sending the hips backward while the feet stay planted.
- Controlling speed during a small forward lean.
- Keeping an external support within easy reach.
- Returning to standing without rushing.
- Recognizing when fatigue changes movement quality.
This pattern can support everyday reaching practice, but it is not a balance test. Keep the movement small and use the counter throughout.
Progress should come from smoother control, not deeper range or fewer points of support. A physical therapist can provide individualized form changes when needed.
Fall-Safety Checklist
- Floor is dry and uncluttered.
- Counter is fixed and reachable.
- Chair does not roll or slide.
- No dizziness, pain, or unusual shortness of breath occurs.
- Repetitions remain slow and controlled.
The CDC fall-prevention guidance recommends discussing personal fall risk with a clinician and including appropriate strength and balance exercise.
Stop immediately for dizziness, chest pain, new weakness, or loss of balance. Ask a clinician before starting if you recently fell, use a mobility aid, or have been advised to limit standing exercise.
Frequently Asked Questions
How far should I hinge?
Use a small range that stays controlled. The goal is a clear hips-back pattern, not reaching toward the floor.
Should I let go of the counter?
No. Keep the support you need. Releasing the counter is not required for this form-practice routine.