
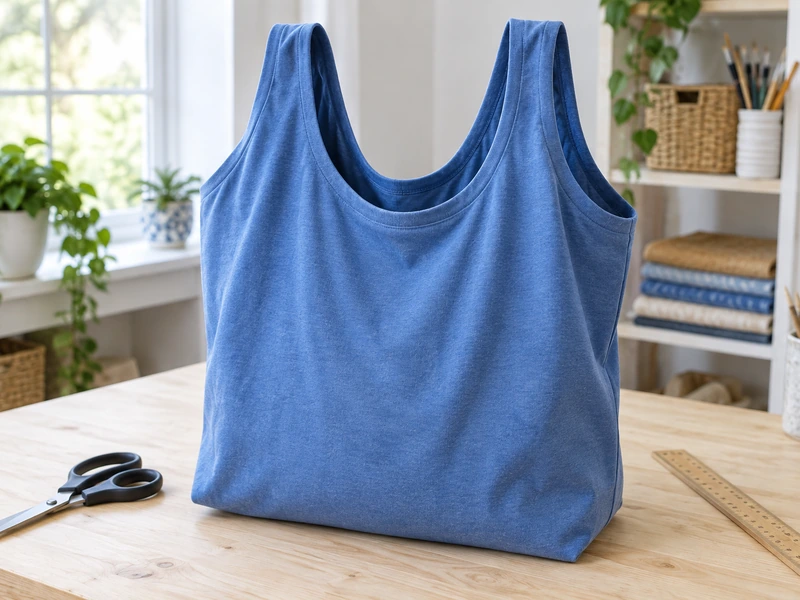
An old cotton T-shirt can become a useful tote bag with nothing more than careful measuring, sharp scissors, and a row of secure knots. This no-sew project keeps a wearable textile out of the waste stream while producing a soft, washable bag for library books, gym clothes, beach essentials, or light groceries. The technique is approachable for beginners because every change is visible and reversible until the first cut.
The finished size depends on the shirt. A medium adult shirt makes a compact tote; a large or extra-large shirt creates more capacity. Dense cotton jersey holds its shape better than thin fabric. Keep both layers aligned and test the bag with light items before carrying anything heavy or fragile.
Why You’ll Love It
- No special equipment: The project needs no sewing machine, needle, thread, glue, or hardware.
- Practical upcycling: A clean shirt you no longer wear becomes a reusable item instead of household waste.
- Easy to personalize: Shirt color, print, handle shape, fringe length, and finished capacity can all be adjusted.
Materials and Tools
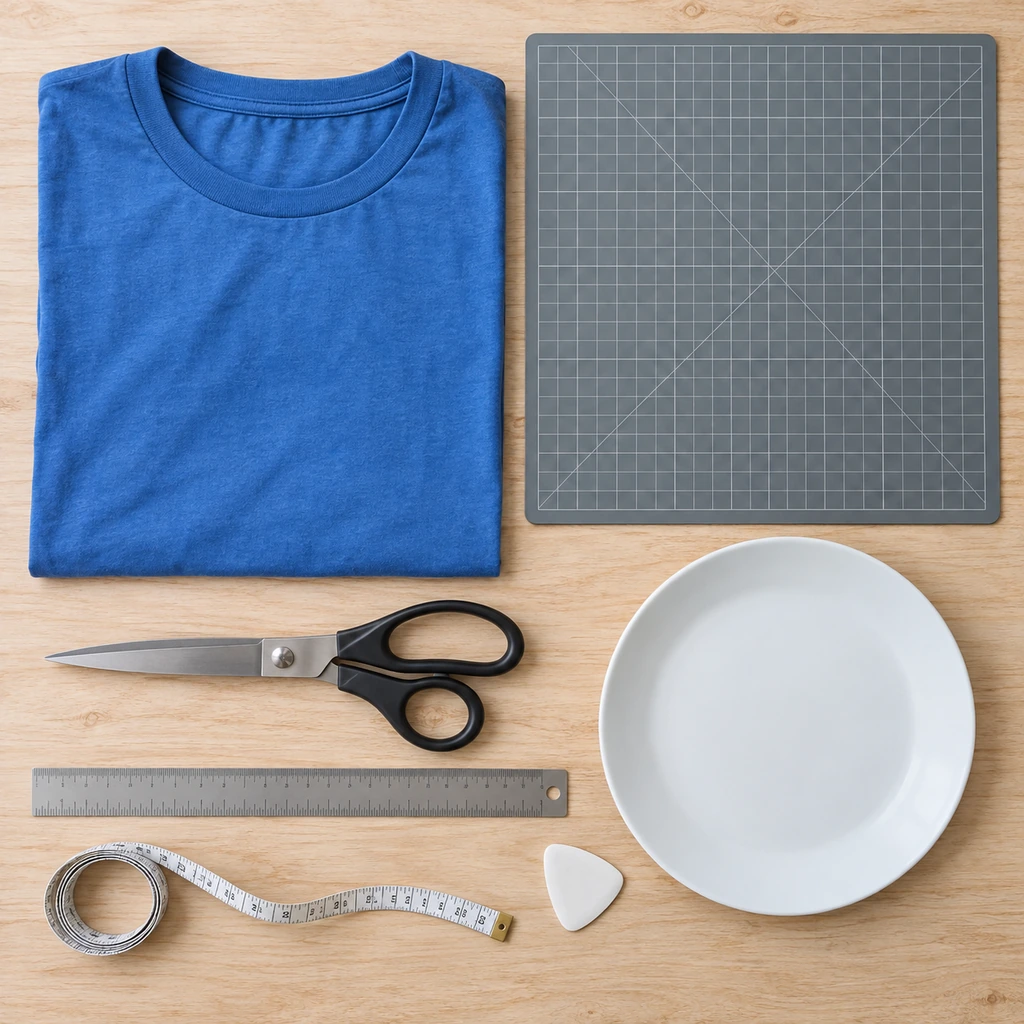
- 1 clean adult cotton T-shirt without holes in the main body
- 1 pair of sharp fabric scissors
- 1 ruler or measuring tape
- Washable tailor’s chalk or fabric marker
- 1 dinner plate, about 10–11 inches wide, for tracing the opening
- Flat cutting surface or self-healing cutting mat
Wash and dry the shirt first so it will not shrink later. Avoid worn seams, brittle prints, or fabric that becomes transparent when stretched. An adult should supervise children during cutting.
Step-by-Step Instructions
1. Choose and Smooth the T-Shirt
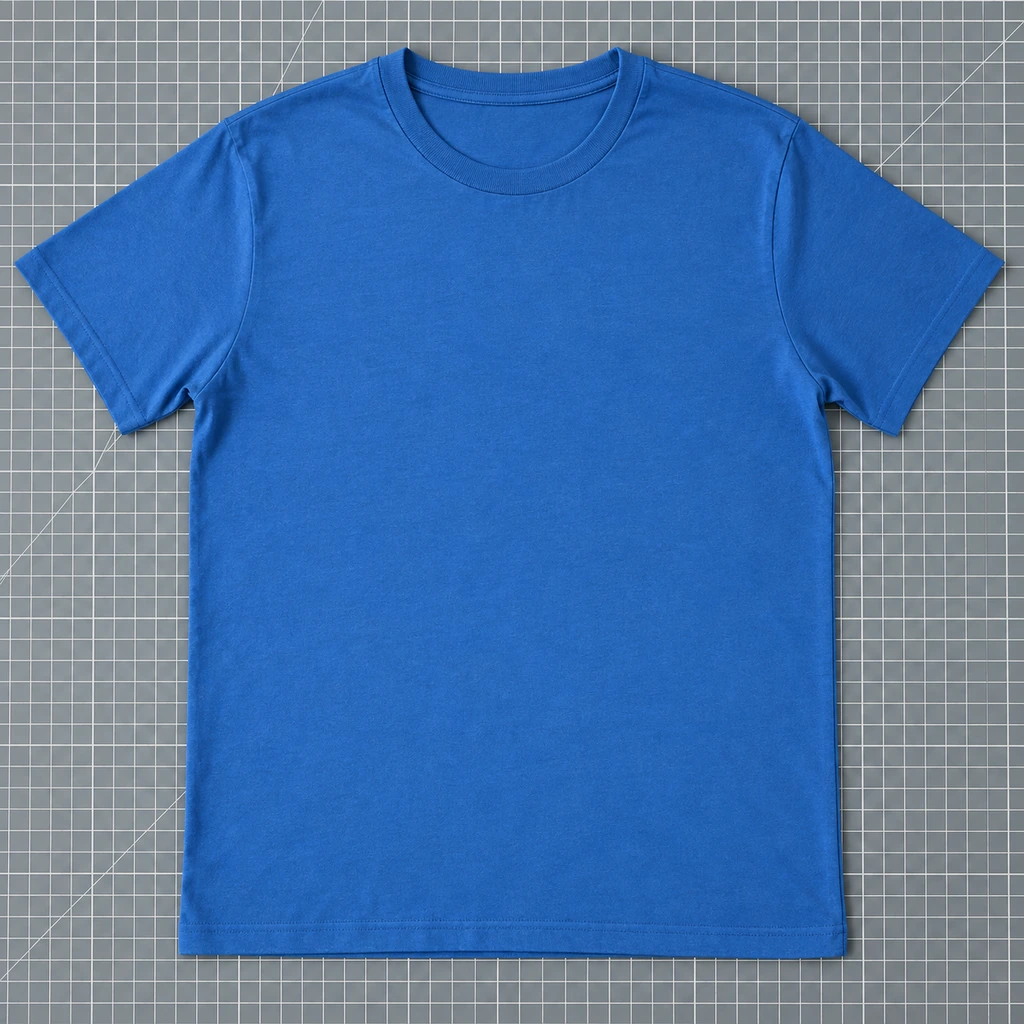
Turn the shirt right side out and place it on the cutting surface. Smooth wrinkles without stretching. Align the shoulder seams, side seams, and bottom hem so the layers sit directly over each other. Check that any printed design is where you want it on the bag. Careful alignment makes the handles and lower fringe symmetrical.
2. Remove Both Sleeves
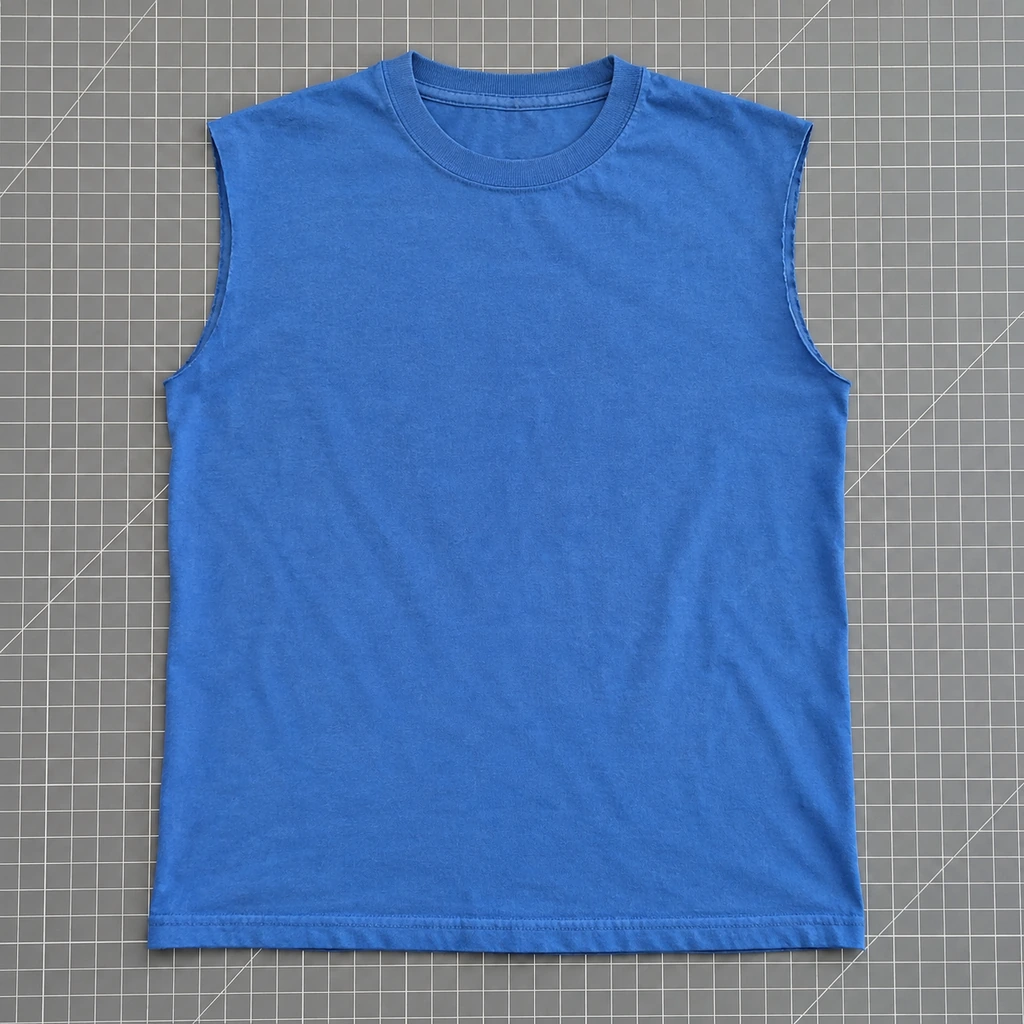
Cut through both fabric layers just inside the stitched armhole seam, following its natural curve from the underarm to the shoulder. Removing the bulky seam gives the tote a cleaner edge. Finish the first side, then fold the shirt lengthwise and use that opening as a guide for the second side. Do not cut deeply into the body; the remaining shoulder fabric becomes the handles.
3. Shape the Neckline Opening
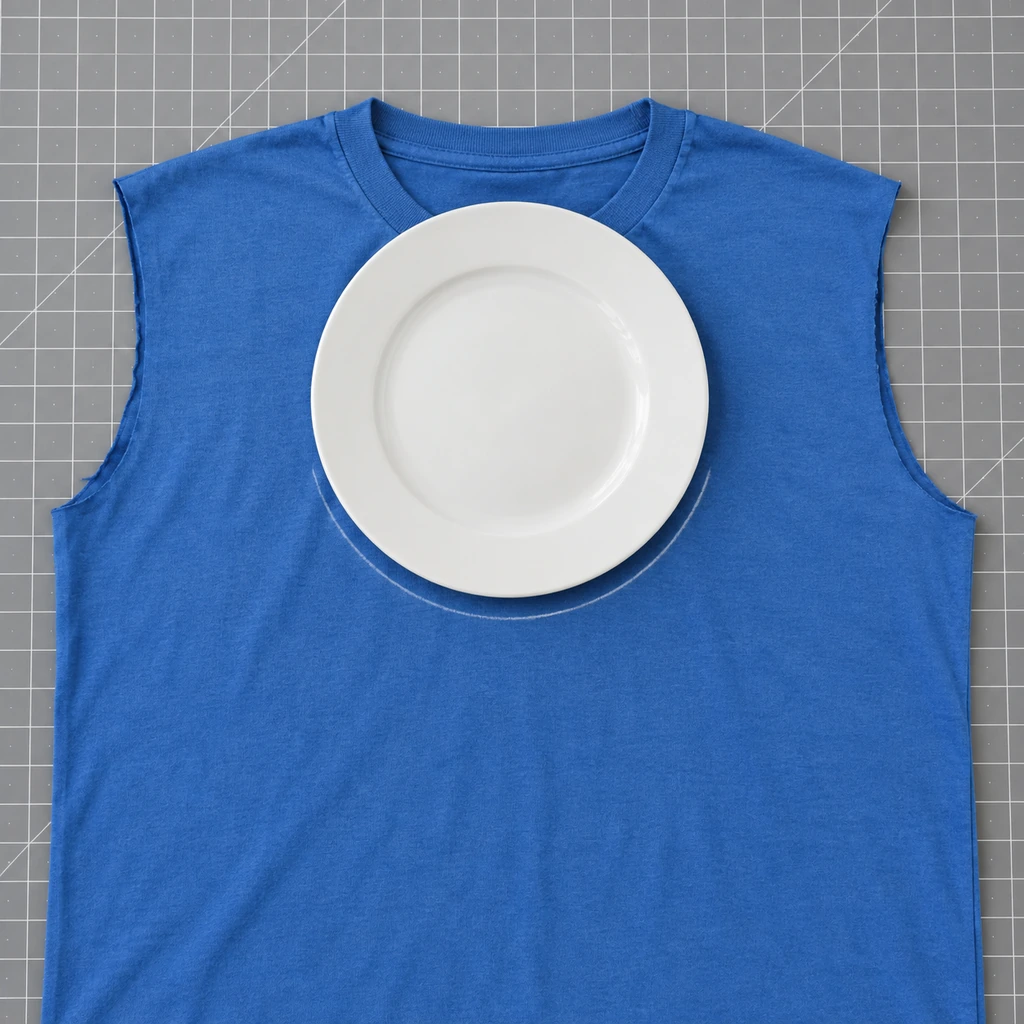
Center the dinner plate over the collar so its lower edge creates a smooth, shallow scoop. Trace the curve with washable chalk, then remove the plate and check that the mark is centered between the armholes. Cut along the line through both layers. Keep at least 3 inches of fabric between the new opening and each armhole so the handles remain strong and comfortable.
4. Remove the Bottom Hem
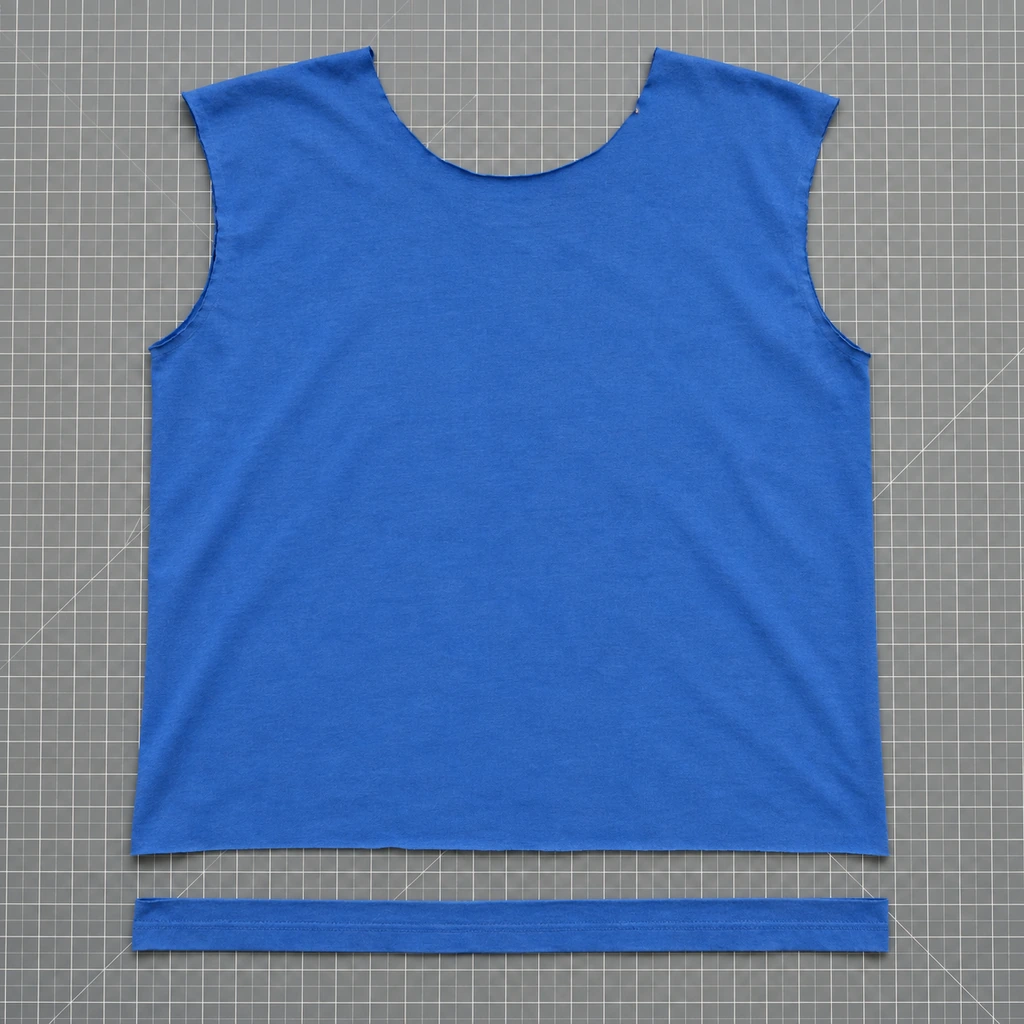
Realign the bottom edges and cut a straight line immediately above the stitched hem, removing as little fabric as possible. A ruler placed across the shirt helps keep this cut level. Save the hem strip for another craft or discard it. If the shirt has no bulky stitched hem, you may leave the edge intact, but an even raw edge is easier to divide into consistent fringe.
5. Mark and Cut Even Fringe
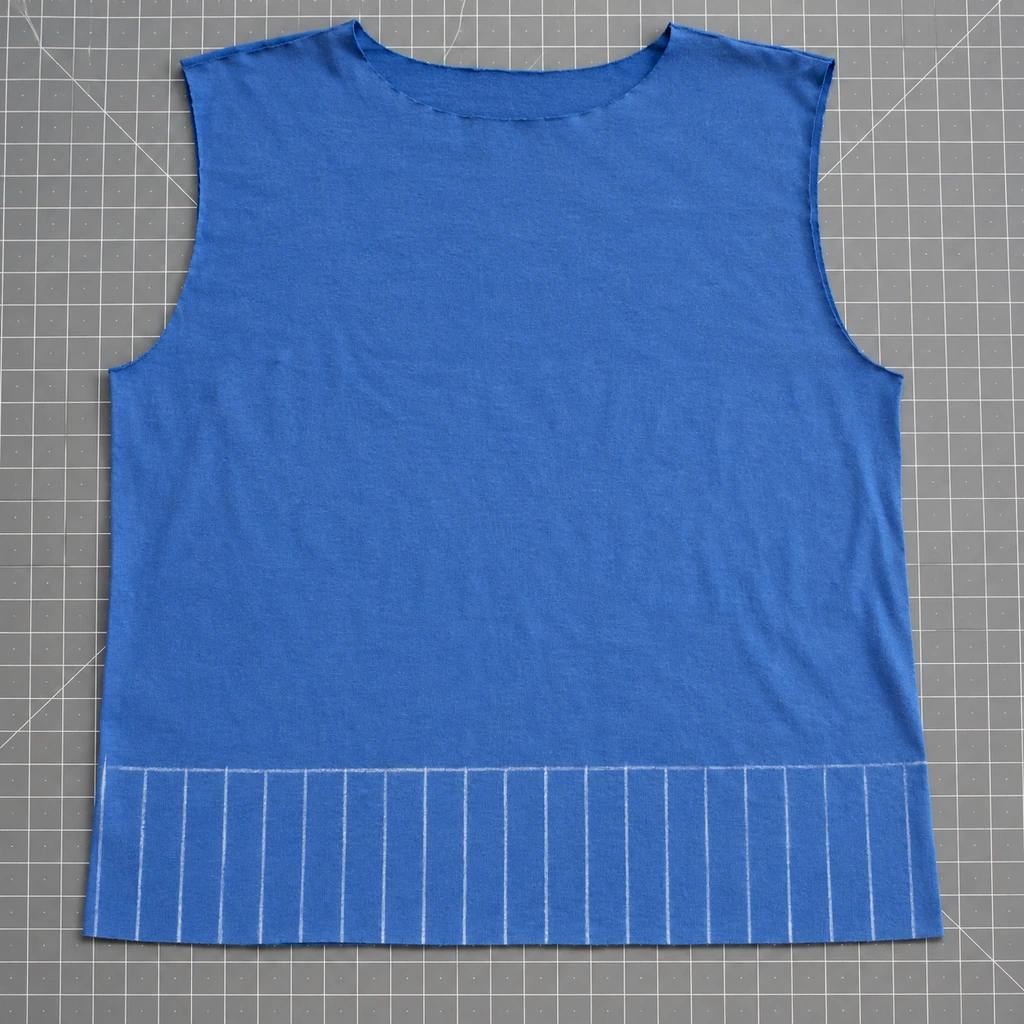
Turn the shirt inside out while keeping the layers aligned. Measure 3 inches upward from the bottom edge and draw a horizontal stopping line. Along the lower edge, mark 1-inch intervals across the full width. Cut vertically through both layers at every mark, stopping exactly at the horizontal line. At the side seams, treat the joined front-and-back strip as one wider pair rather than cutting through the seam.
6. Tie and Close the Bottom
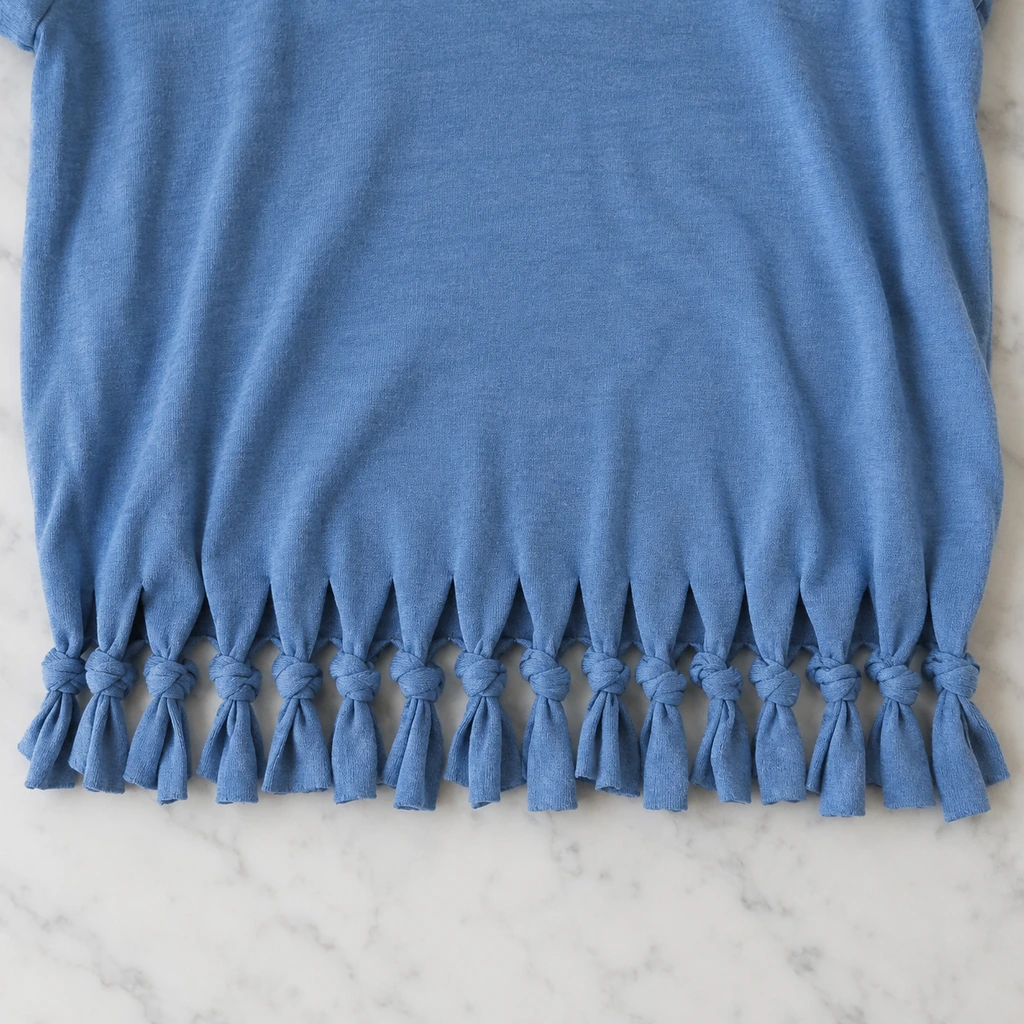
Match the first front strip with the first back strip and tie a snug double knot. Continue across the bottom without skipping a pair. Small gaps may remain between the first row of knots. Close them by tying one strand from a neighboring knot to one strand from the next knot, again using a double knot. Keep the tension consistent: firm enough to close the base, but not so tight that the fabric tears.
7. Turn, Inspect, and Test the Tote
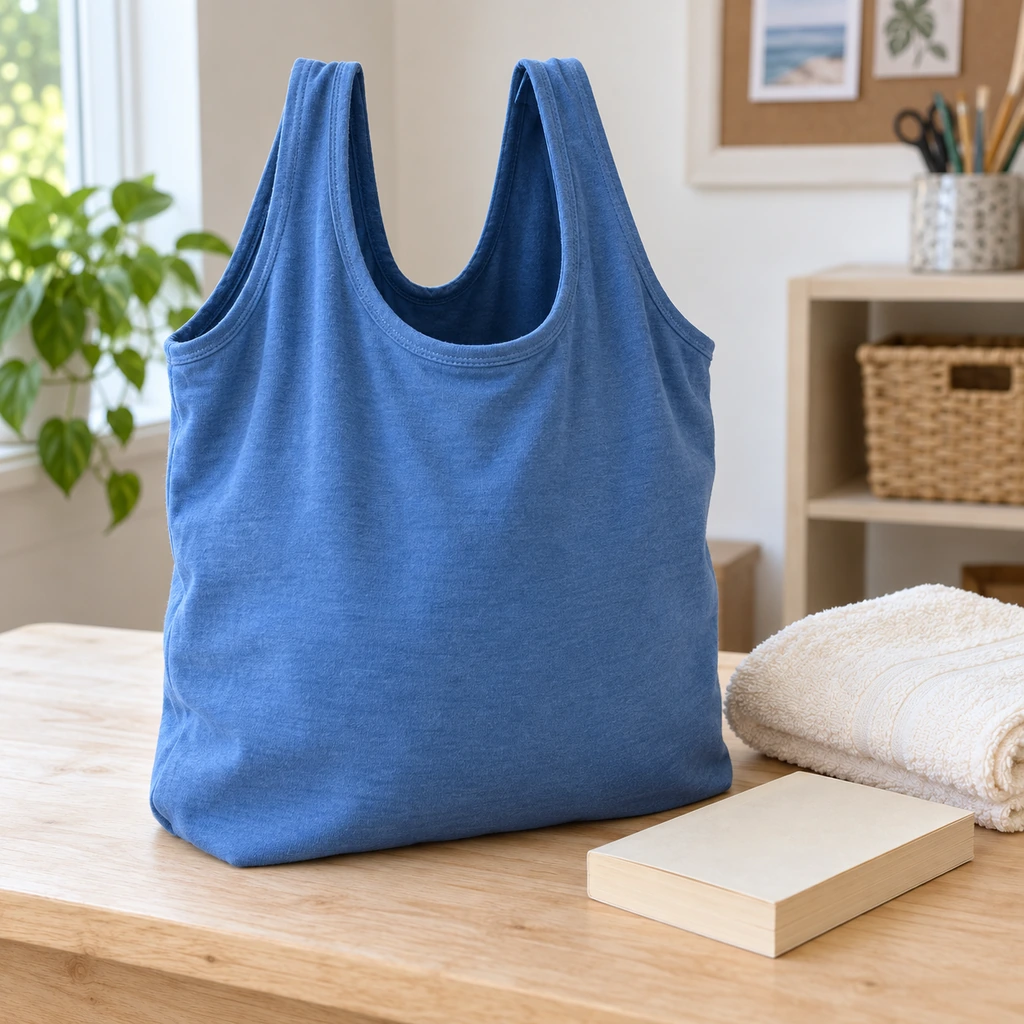
Turn the bag right side out and gently push the lower corners into shape. Run your fingers along the interior base to find loose knots or visible openings, then retie them before use. Place a folded towel inside for the first test and lift the tote by both handles. If the bottom stays closed and the handles do not curl excessively, progress to other lightweight contents. Wash the finished tote on a gentle cycle and air-dry it.
Substitutions & Variations
A long-sleeve shirt works if you remove the sleeves at the armholes. For a shallower tote, deepen the neckline and shorten the body before marking fringe. For more capacity, choose a wide shirt but keep 3-inch fringe. Crop tops are usually too short. Fabric paint, iron-on patches, or stamps can personalize a plain shirt; decorate it before cutting and follow the product’s curing instructions. Avoid hard decorations near the handles.
What to Pair With Your Tote
Add a small washable zip pouch to organize keys and other loose items, or place a flat fabric organizer inside if the soft jersey sides collapse more than you prefer. A reusable water bottle, folded picnic cloth, paperback books, yarn, or gym clothes suit the flexible construction. Do not use this tote for sharp tools, unwrapped food, very heavy cans, or breakable glass. The unreinforced handles and knotted base are designed for casual carrying rather than high loads.
Care and Storage
Spot-clean marks or machine-wash the tote in cool water on a gentle cycle. Use a mesh laundry bag so the knots do not catch. Reshape while damp and air-dry flat; high heat may shrink cotton or stress graphics. Store it folded. Inspect the base and handles after washing, and retire the bag if the fabric develops thin spots.
Frequently Asked Questions
Why are there gaps between my knots?
Gaps appear when only matching front and back strips are tied. After the first row, cross-tie one strand from each knot to a strand from its neighbor. This second row overlaps the openings and creates a more continuous base.
Can I make the handles longer?
You can deepen the armholes slightly, but leave at least 3 inches between each armhole and the neckline opening. Cutting beyond that point weakens the shoulder area. For a true crossbody length, choose a different construction that adds reinforced straps.
How much weight can the tote hold?
There is no universal rating because shirt fabric, age, seams, and knot quality differ. Begin with a folded towel and add lightweight items gradually. Stop if the knit becomes transparent, the knots separate, or the handles stretch permanently.