
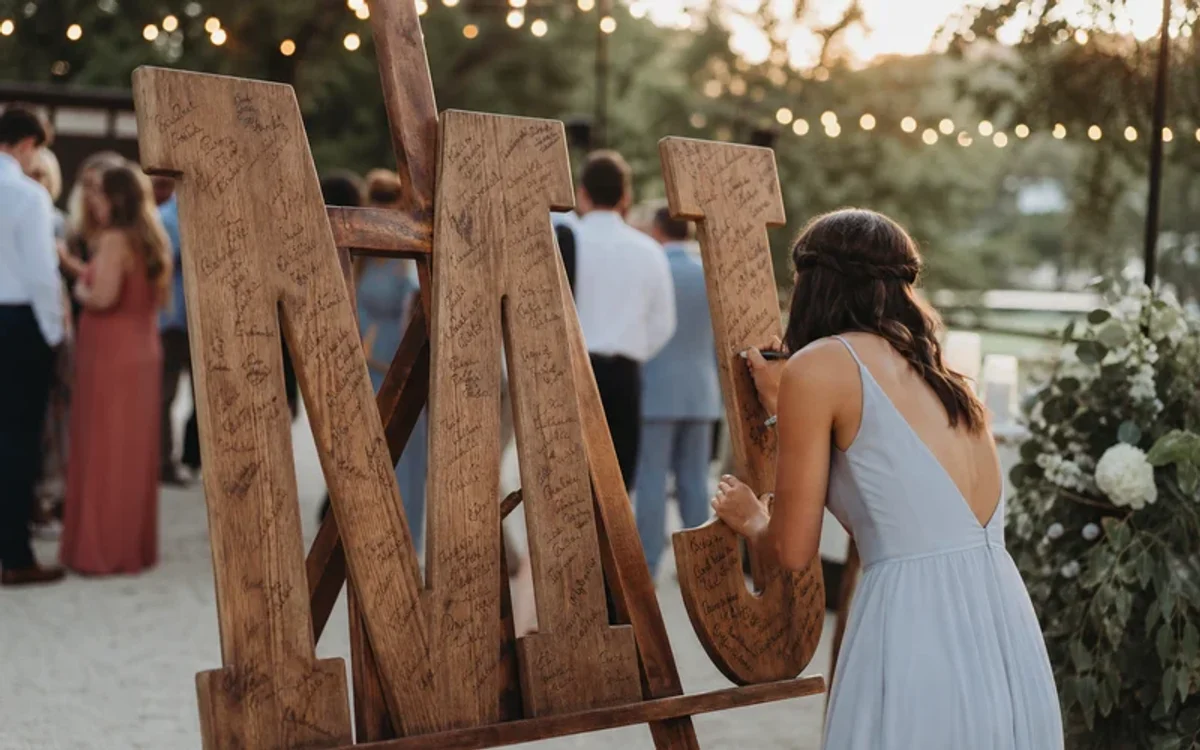
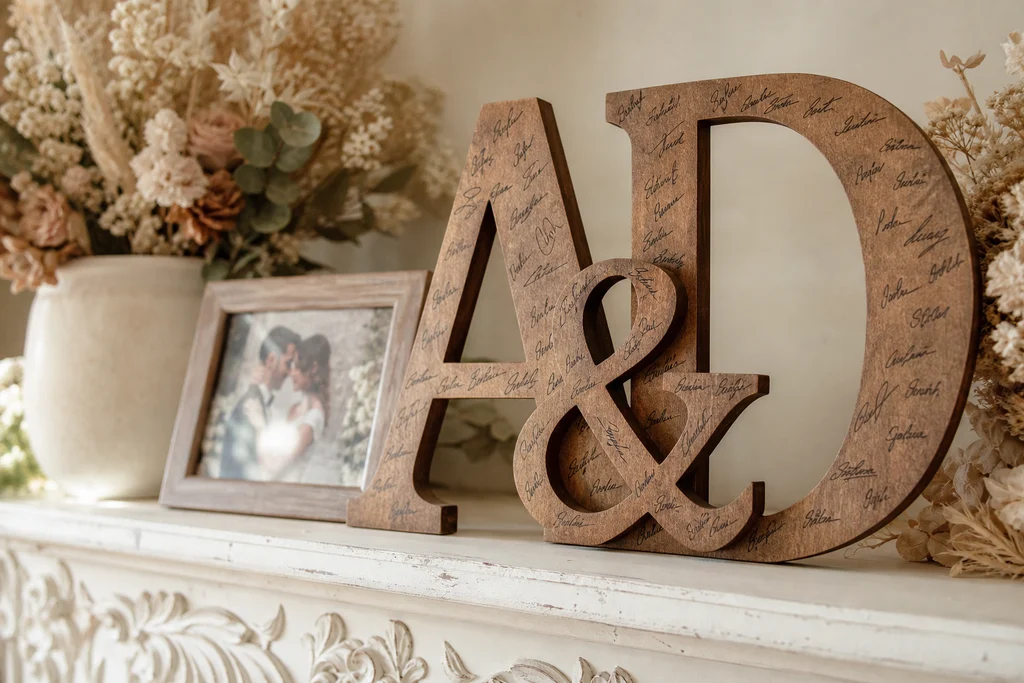
At my cousin’s barn wedding, the line for the traditional guest book moved slower than the dessert table—and half the pages stayed blank. The next year I helped a friend set up oversized wooden initials instead. Guests grabbed a marker, wrote a quick wish, and kept dancing. That single swap turned into one of my favorite wedding guest book ideas: a display you actually want on your wall afterward.
Pair this DIY with our weddings hub, wedding centerpiece ideas, eco-friendly wedding ideas, and mason jar lantern ideas for a cohesive reception plan.
At a glance: 2–3 wooden initials · 1–2 hours prep · Budget-friendly · Works indoor or outdoor · Keepsake wall art after the wedding
Why Wooden Initials Beat a Paper Guest Book
Paper books get lost, stay in a drawer, or fill with awkward blank pages when guests rush through the line. Large wooden letters solve three problems at once: they look like intentional décor, they invite quick messages instead of long paragraphs, and they become permanent art for your home.
Pinterest saves for wooden initials and alternative guest books spike every spring wedding season—couples want something photogenic that still feels personal. This project hits that sweet spot without hiring a calligrapher or renting a fancy signing table.
What You Need
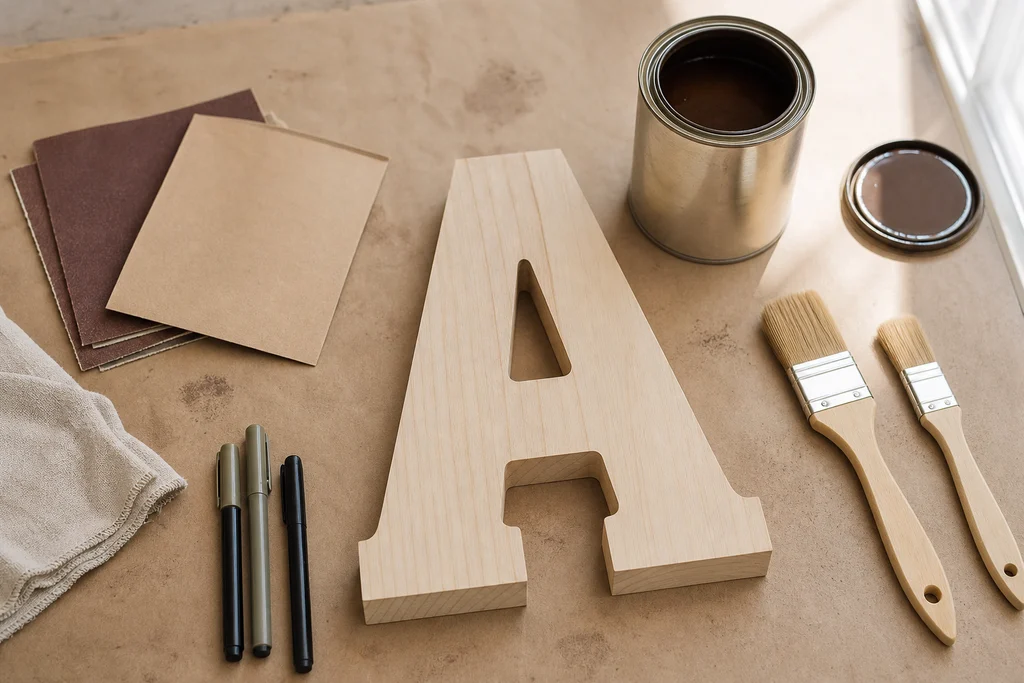
- 2–3 large wooden letters: Typically bride and groom first initials plus “&” or shared last initial—12–24 inches tall works well
- Sandpaper: Medium and fine grit to smooth edges
- Wood stain or paint: Match your palette—weathered gray, white wash, or natural oak
- Clear sealer (optional): Matte polyurethane protects the wood before signing
- Fine-tip permanent markers: Gold, silver, white, and black for contrast on stained wood
- Sturdy easel or display stand: Weighted base so letters do not tip when guests lean in
- Small sign (optional): “Write your well wishes” instruction card
- Basket or jar: Holds markers at the signing station
Step-by-Step: Build Your Wooden Initials Guest Book
Step 1: Choose and Prep the Letters
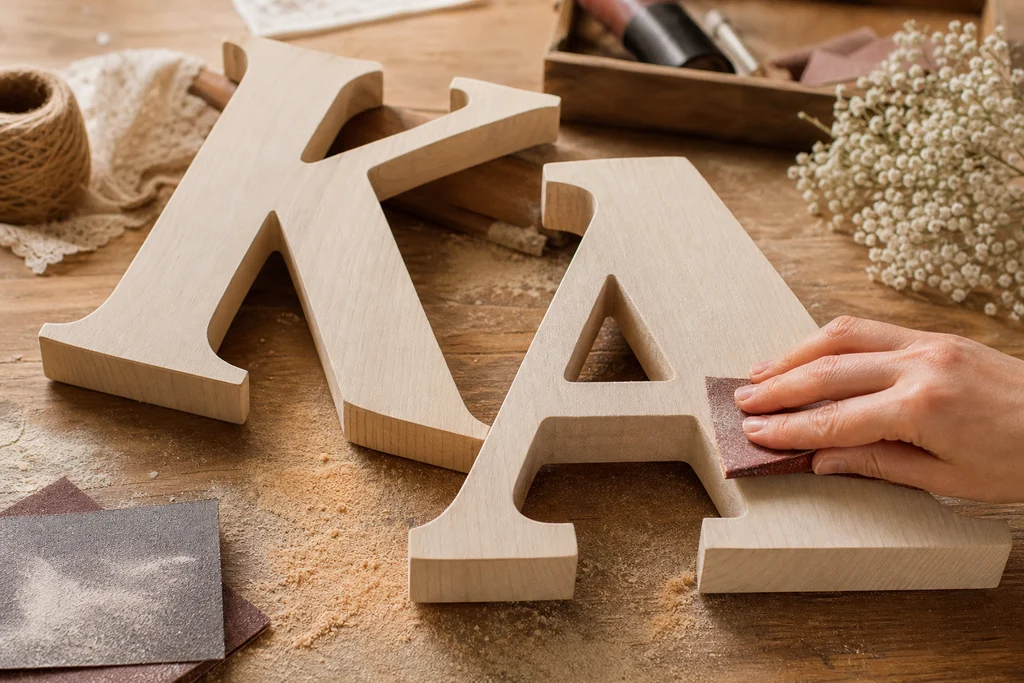
Order unfinished letters from a craft store or cut them from plywood if you are handy with a jigsaw. Sand every face and edge until smooth—rough grain catches markers and looks unfinished in photos. Wipe away dust with a tack cloth.
Step 2: Stain or Paint
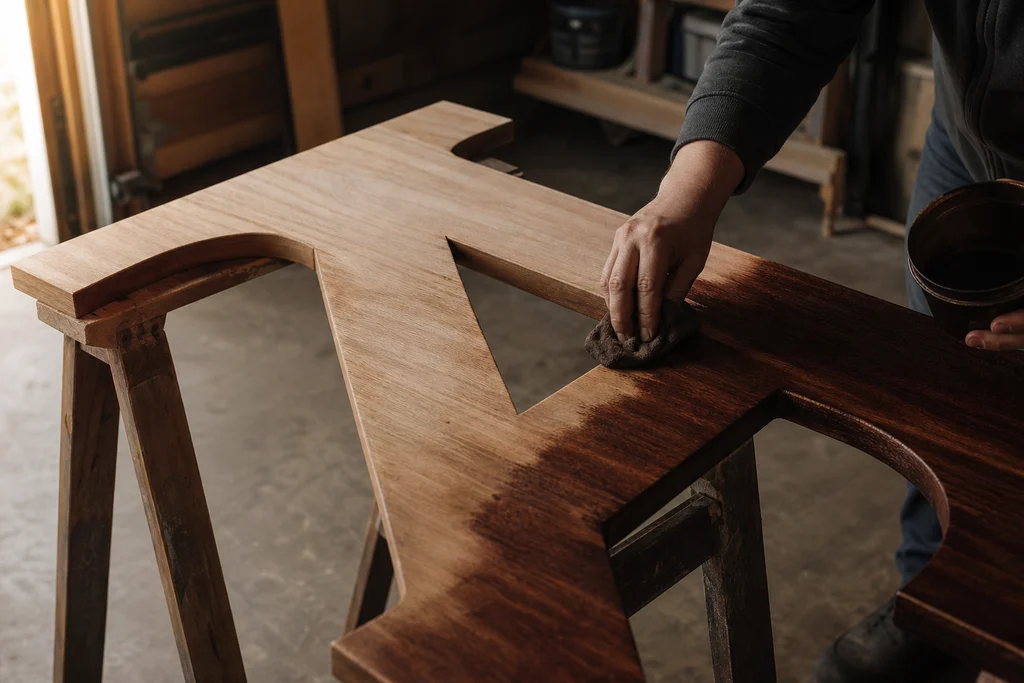
Apply stain in thin coats with a foam brush, wiping excess for an even finish. For outdoor weddings, exterior-grade stain helps resist humidity. Let dry 24 hours before the first guest touches them.
Prefer color? Chalk paint in sage, blush, or navy photographs beautifully and accepts metallic markers well.
Step 3: Seal (Optional but Smart)
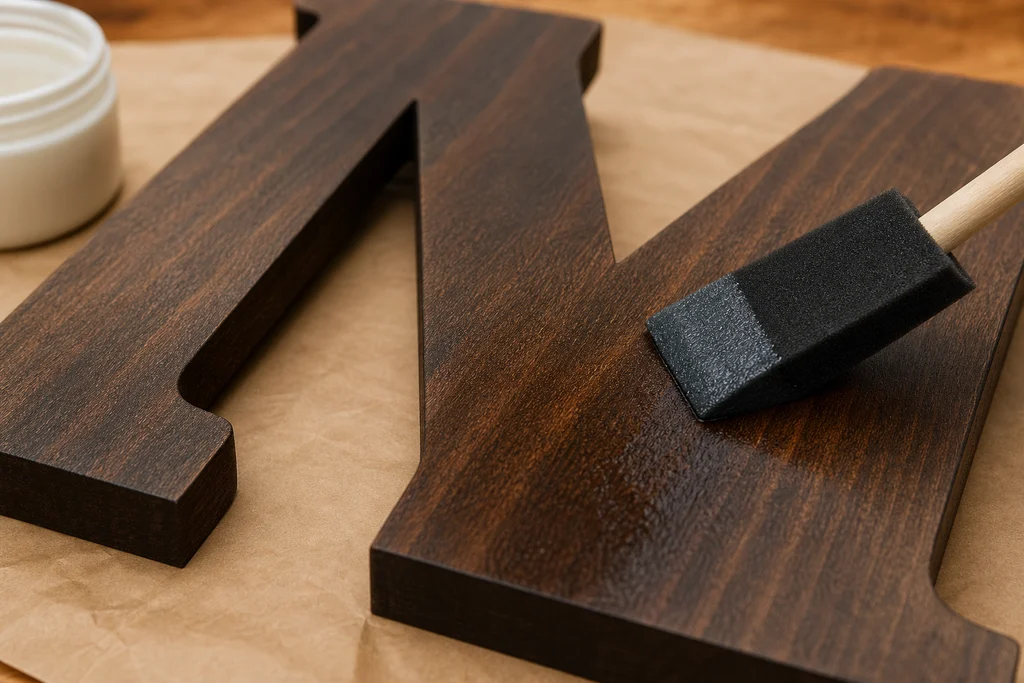
A light matte sealer on the background—before guests arrive—protects bare wood from drink rings if someone sets a glass nearby. Do not seal over guest signatures later; seal only the pre-signing surface.
Step 4: Set Up the Signing Station
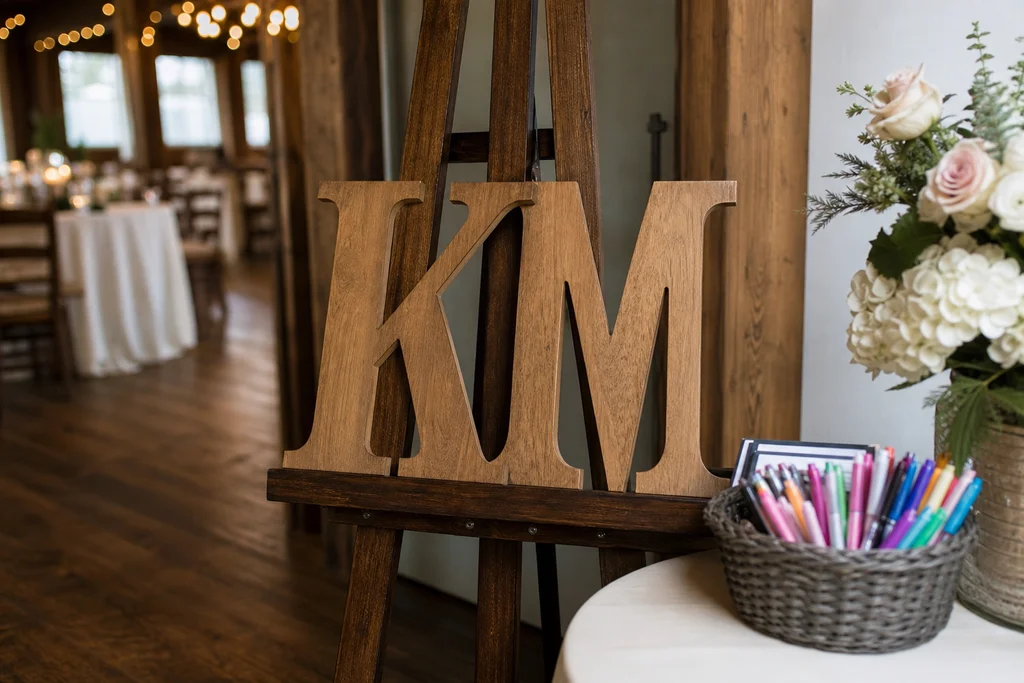
Position letters where traffic naturally pauses: cocktail hour entrance, near the bar, or beside the guest book table you are replacing. Good lighting matters—add a small lamp for evening receptions so markers show up in photos.
Place 6–8 markers in a basket. Test each on scrap wood first; some metallics skip on oily stain.
Step 5: Guide Guests Without Slowing the Party
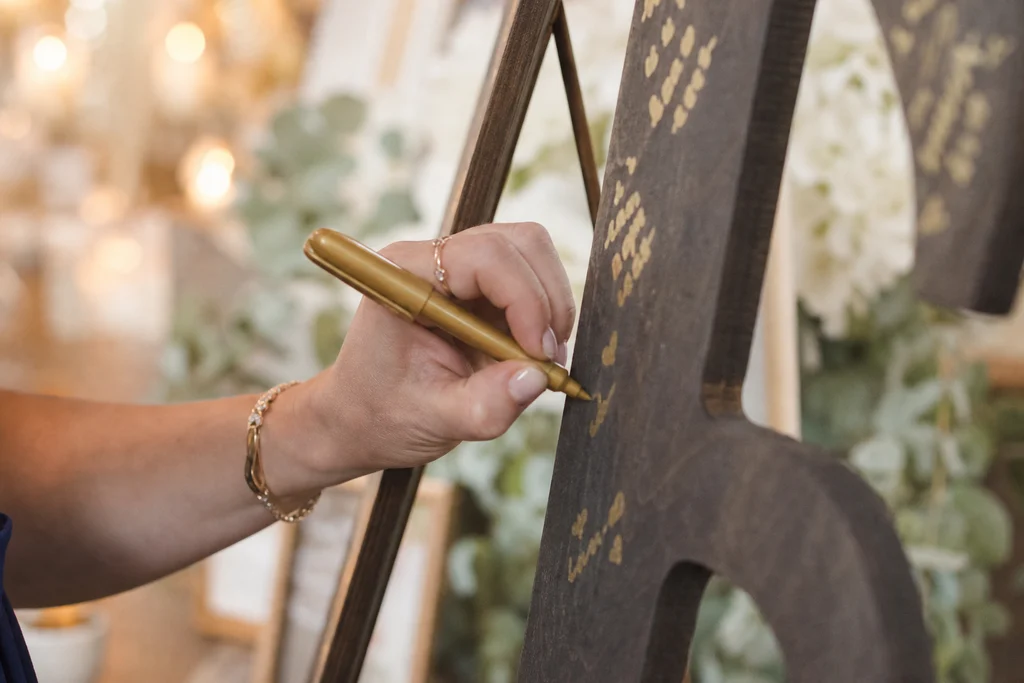
Keep instructions short: “Grab a marker and leave a wish!” A wedding attendant can reset caps and nudge shy guests. Encourage first names only if you worry about overcrowding—full signatures fill large letters fast.
Step 6: Display After the Wedding
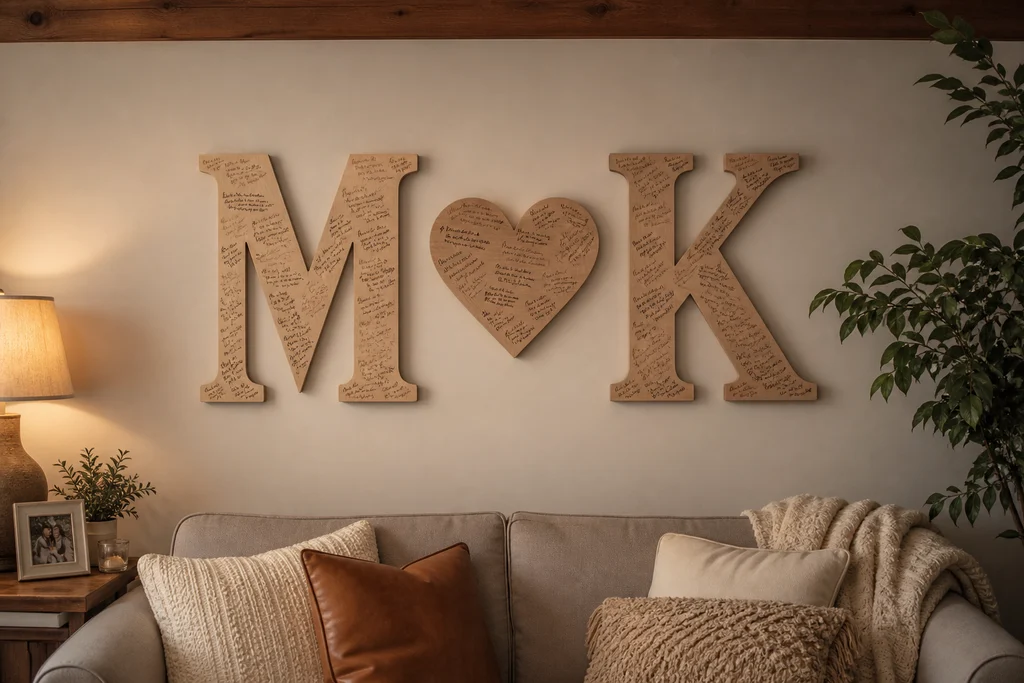
Mount letters above a console table, flanking your wedding photo, or in the bedroom. Command strips work for lighter letters; use wall anchors for heavy plywood.
Styling Tips for Photos and Pinterest
- Flank letters with greenery garland or pillar candles that match your table centerpieces.
- Use a neutral backdrop—white draping or shiplap—so marker colors pop.
- Capture a wide shot during cocktail hour when the letters are half-filled; progress photos perform well on Pinterest.
- Coordinate marker colors with bridesmaid dresses—see our bridesmaid color guide for palette ideas.
- Add a small stool for children so everyone can reach the signing height.
Budget and Timeline
Expect $40–$120 depending on letter size and finish. DIY stain and craft-store letters land on the low end; custom-cut plywood or professional painting costs more. Build one week before the wedding; final setup takes 15 minutes on the day.
Variations Worth Trying
- Single large ampersand: One symbol instead of two initials—less surface to fill, still photogenic.
- Heart cutout between letters: Router or pre-made heart plaque between initials.
- Guest photo polaroids: Tape small prints beside signatures for a hybrid guest book—pairs well with reception décor from our balloon garland ideas.
- Chalkboard backing: Mount letters on chalkboard for mixed-media messages.
Wedding Day Checklist
- Letters fully dry and odor-free from stain or paint.
- Markers tested on scrap wood—no skipping or smearing.
- Easel stable on grass or uneven floors (sandbag base if outdoors).
- Instruction sign printed and framed.
- Backup markers in the basket (guests lose caps).
- Someone assigned to reset station during cocktail hour.
- Plan transport home—wrap in bubble wrap, letters ride upright in the car.
- Photo of empty letters before guests arrive for before-and-after content.
Frequently Asked Questions
What are good wedding guest book ideas besides paper?
Wooden initials, fingerprint trees, polaroid walls, quilt squares, and wine cork drop boxes are popular alternatives. Wooden letters rank high because they double as home décor and need no assembly from guests during a busy reception.
What size should wedding wooden initials be?
12–18 inches suits tabletop easels; 20–24 inches makes a bold entrance statement. Match scale to your venue—intimate dinners need smaller letters than barn receptions.
Will marker signatures smudge on stained wood?
Use oil-based paint markers or fine-tip permanent pens after stain is fully cured. Avoid glossy sealer on the signing surface before guests write. Test on scrap wood the week before.
Can we use wooden initials for an outdoor wedding?
Yes. Choose exterior stain, weight the easel, and place letters under a tent edge if rain is possible. Bring letters inside after cocktail hour to protect them.
How do we preserve signatures long term?
Once ink is dry for 48 hours, spray a clear matte archival sealer lightly over signatures only if the manufacturer says it is safe over your marker type. Hang indoors away from direct sun to prevent fading.
Is this cheaper than a custom guest book?
Often yes. A printed guest book plus calligraphy pen set can cost $75–$150; DIY wooden initials frequently come in under $100 and remain display-worthy for years.
Final Thoughts
If you want wedding guest book ideas that guests actually enjoy—and that you will not stash in a closet—wooden initials earn their place in your plan. Build them once, let everyone leave a mark in five seconds, and wake up the next morning with art that tells your story. For more reception inspiration, browse our weddings collection and start pinning your favorites early.