
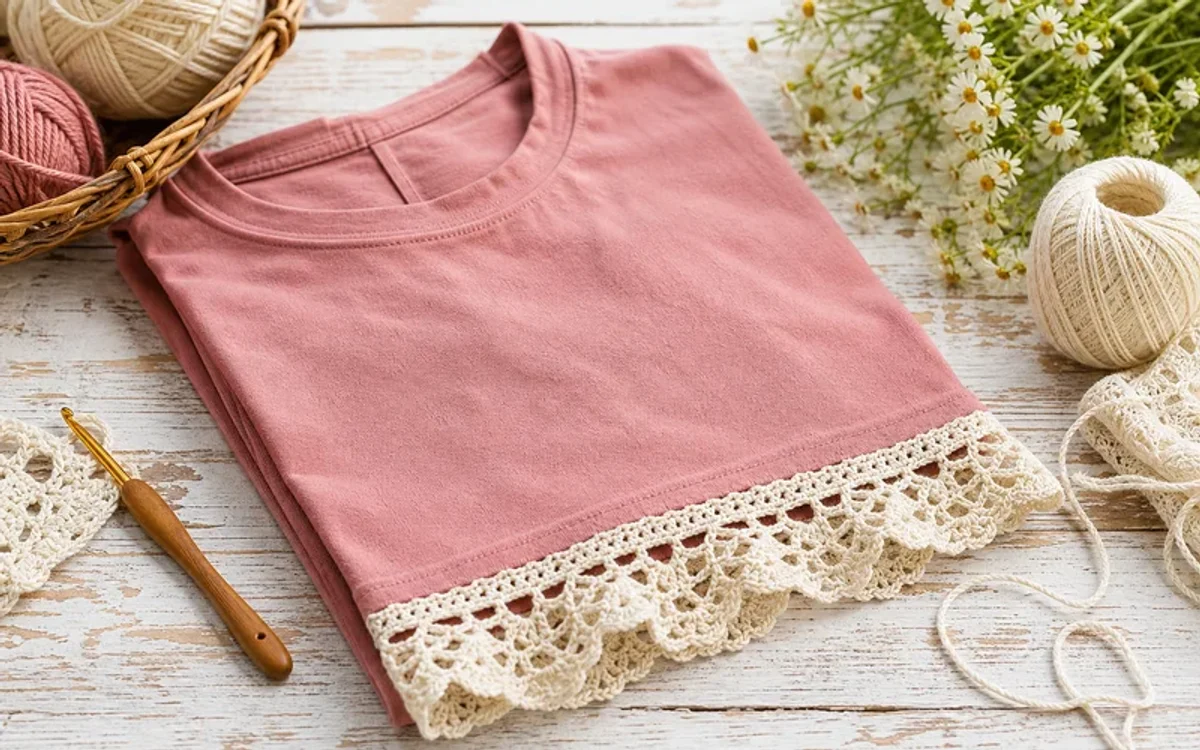
I almost donated a stack of soft cotton tees last spring until I noticed how plain the hems looked compared to the boho blouses in my saved Pinterest boards. One afternoon I crocheted a short lace band, stitched it along the bottom edge of my favorite faded gray shirt, and suddenly a basic tee felt like something I would actually pay boutique prices for. That is the magic of a crochet trim shirt upcycle: minimal yarn, one free afternoon, and a wardrobe piece nobody else will have.
Refashion searches spike when warm weather hits because lightweight cotton and open lace read instantly summery. If you love clothing DIYs, pair this project with our mason jar cottagecore lantern ideas, wine bottle vase DIY, and other closet-friendly refashions like turning an old tee into a no-sew tote bag so nothing in the donate pile goes to waste.
Why Add a Crochet Trim Seam?
A crochet trim seam turns a tired shirt into a custom piece without cutting the whole garment apart. The weight of cotton yarn gives the hem a gentle flare—similar to store-bought peasant tops—while the handmade texture catches light in photos. Upcycling also stretches your wardrobe budget: one skein of yarn often costs less than a coffee and finishes two or three hems.
Pinterest users save refashion tutorials that combine sewing basics with crochet because the skill mix feels approachable. You do not need a serger or dress form. If you can chain, double crochet, and sew a straight line by hand or machine, you can finish this project on a porch swing or at the kitchen table.
Supplies You Need
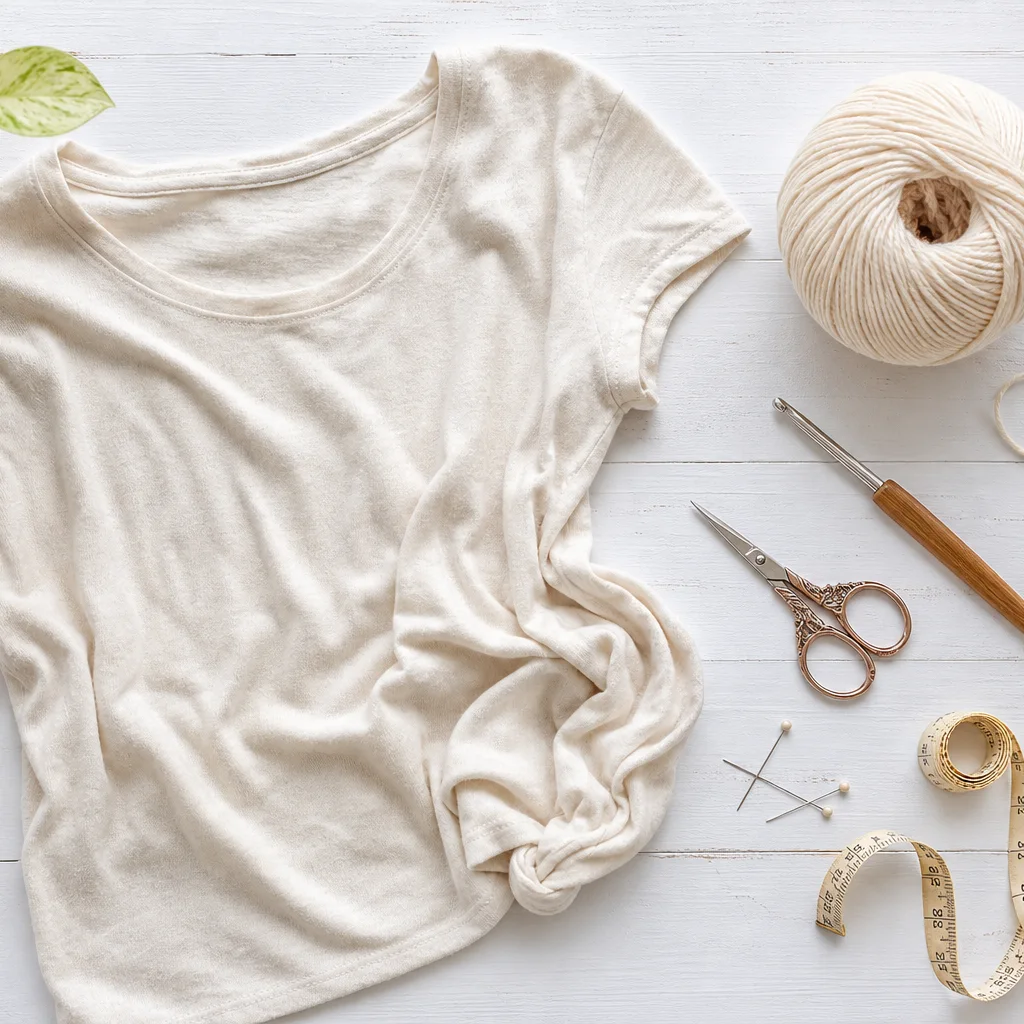
- Soft cotton or cotton-blend shirt with a plain hem (avoid heavy sweatshirt fleece for your first try)
- Size 4 worsted cotton yarn—cream, ecru, or a color that contrasts the shirt
- Crochet hook size G/6 (4.0 mm) or H/8 (5.0 mm) for a relaxed lace
- Scissors, tapestry needle, and straight pins
- Flexible measuring tape
- Matching all-purpose thread and sharp hand-sewing or sewing-machine needle
- Optional: fabric chalk and thin fusible interfacing for delicate knits
Pro tip: Pre-wash the shirt and yarn so nothing shrinks after you attach the trim. Cotton yarn softens beautifully after one gentle cycle.
Step 1: Prep the Old Shirt
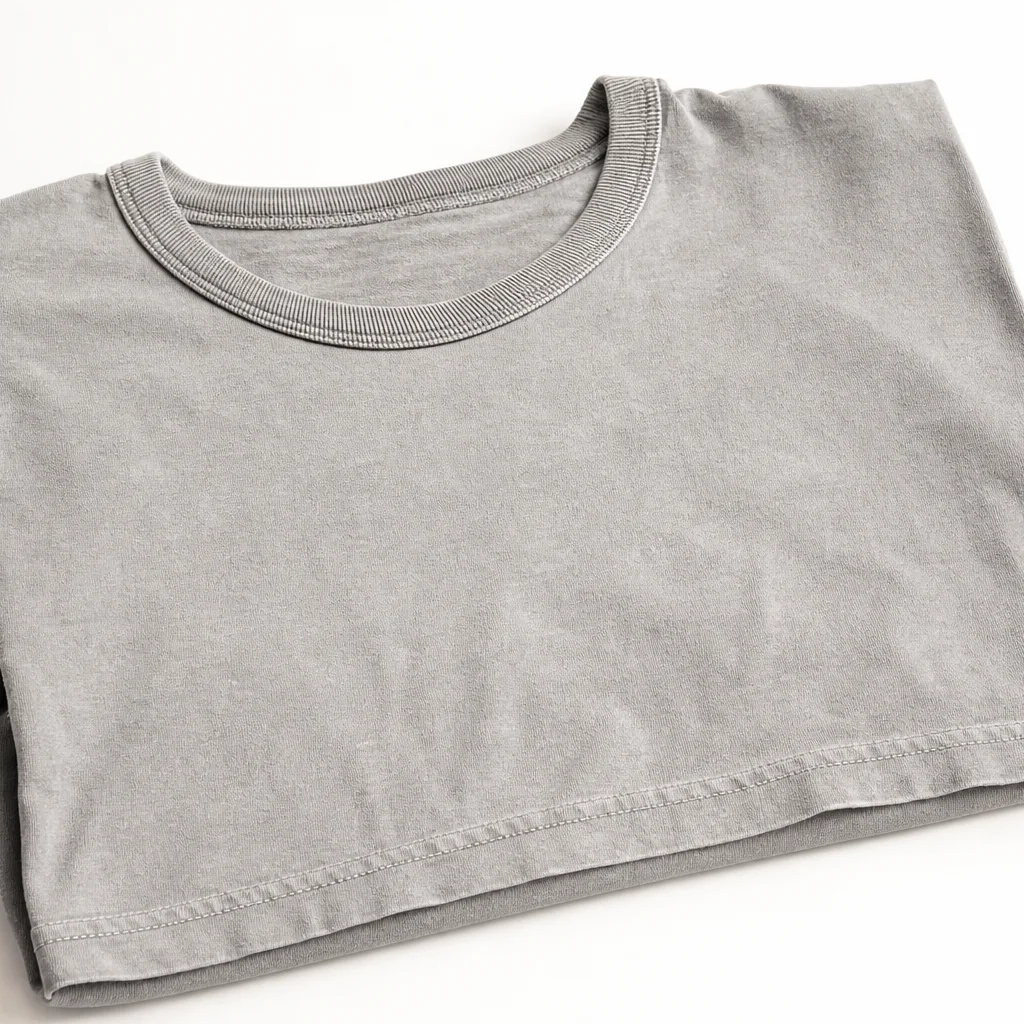
Start with a shirt that fits through the shoulders and chest—you are only changing the hem line. Press the bottom edge flat and measure the circumference at the hem. Write that number down; your crochet band needs to match that length minus about half an inch for a clean overlap seam.
If the original hem is bulky, remove it carefully with a seam ripper and press the edge flat. For stretched-out tee hems, a row of straight machine stitching half an inch above the cut line prevents future curling before you add lace.
Step 2: Crochet the Trim Band
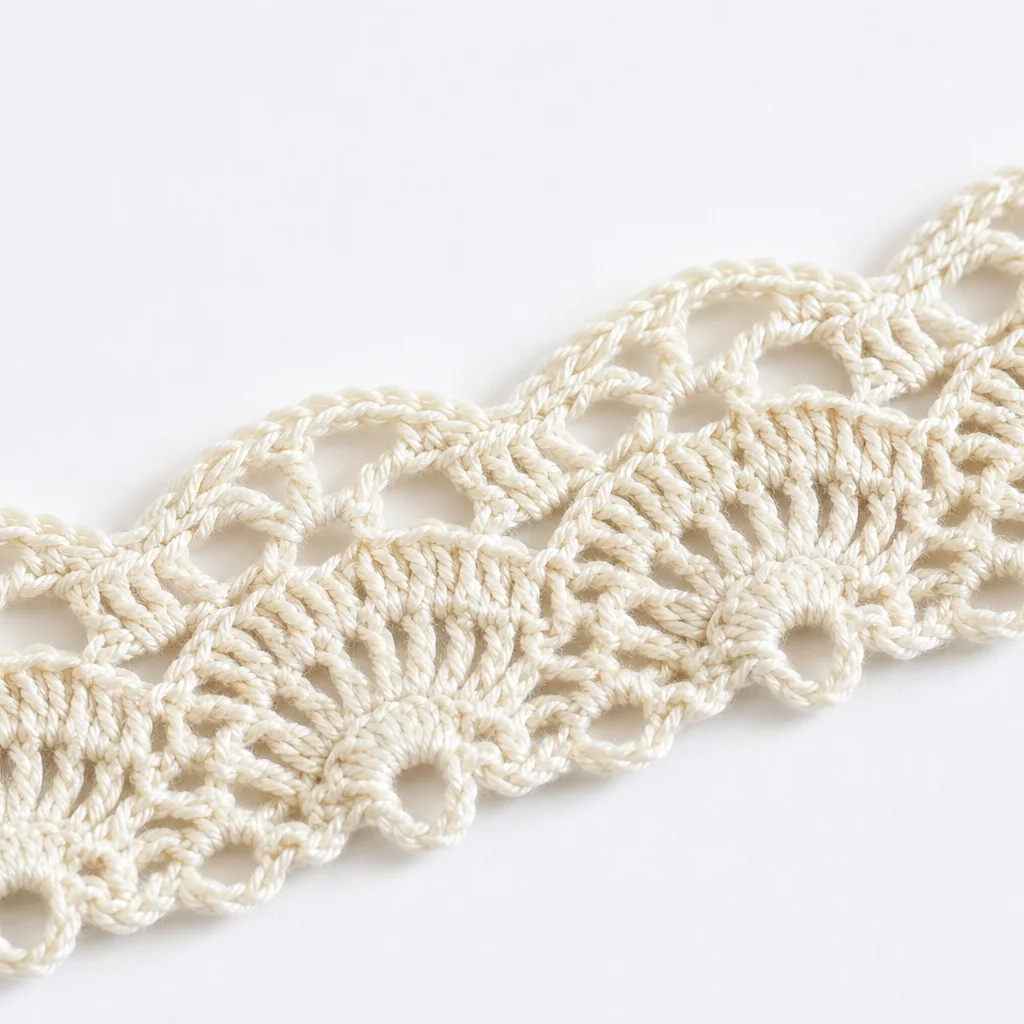
Chain a length that spans your hem measurement using a simple shell or scallop pattern. This beginner-friendly repeat works for most shirt widths:
- Row 1: Chain multiples of 6 plus 1 to match hem length. Double crochet in the 4th chain from hook, skip 2, (2 dc, ch 1, 2 dc) in next chain, skip 2 repeat across.
- Row 2: Chain 3, turn. Work (2 dc, ch 1, 2 dc) in each ch-1 space across.
- Row 3 (optional): Single crochet across top of shells for a clean sewing edge.
Hold the band against the shirt before fastening off. Add or remove a repeat at the end so the trim meets snugly without pulling the fabric. Block lightly by pinning flat and misting with water if edges curl.
Step 3: Pin and Sew the Trim Seam
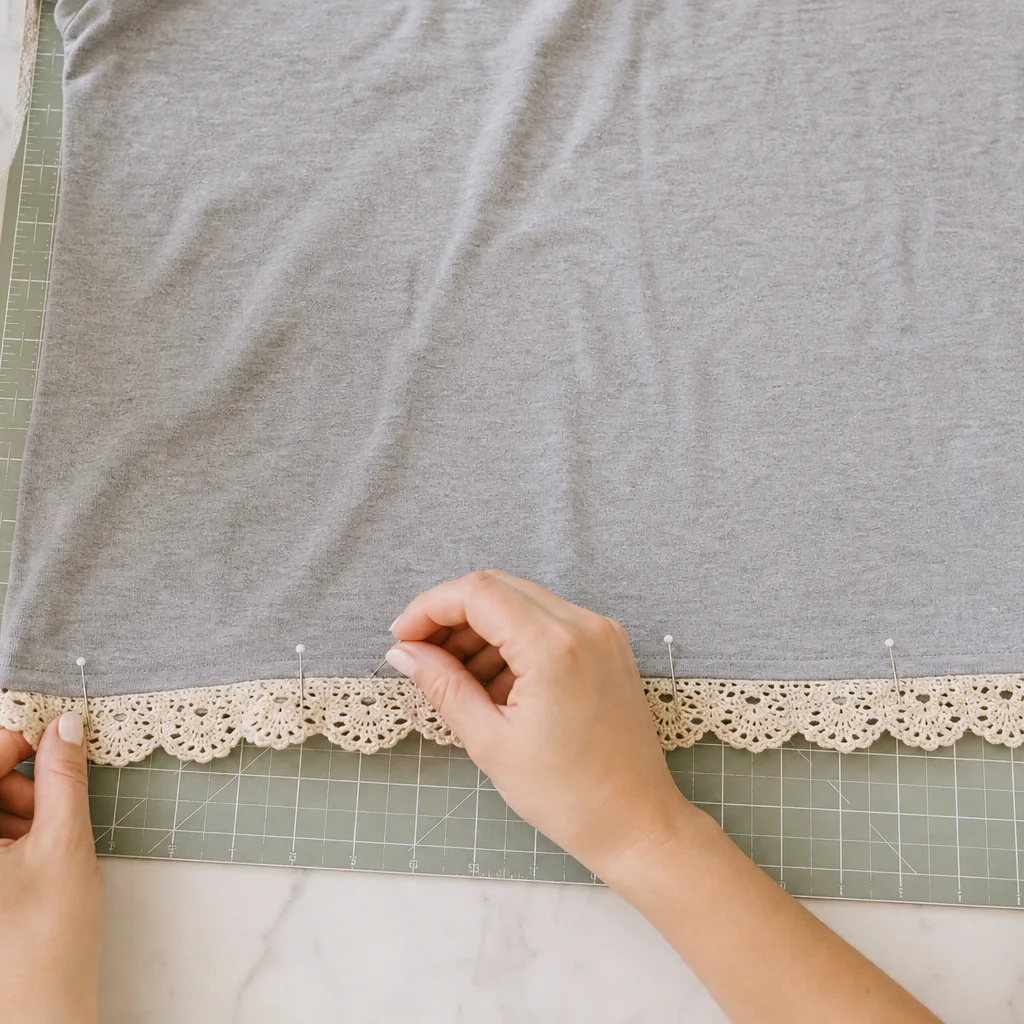
Place the crochet band on the outside of the shirt so the decorative edge hangs below the fabric hem. Pin from the side seams toward the center, keeping spacing even. Hand whipstitch through the top row of crochet and the shirt hem, or machine-zigzag slowly through both layers with a ballpoint needle.
Overlap the trim ends by one shell, sew them together with the tapestry needle, then attach that section to the shirt last so the join hides near a side seam. Go slowly—cotton tee knits stretch, and easing the trim prevents puckering.
Step 4: Finish and Care for Your Refashion
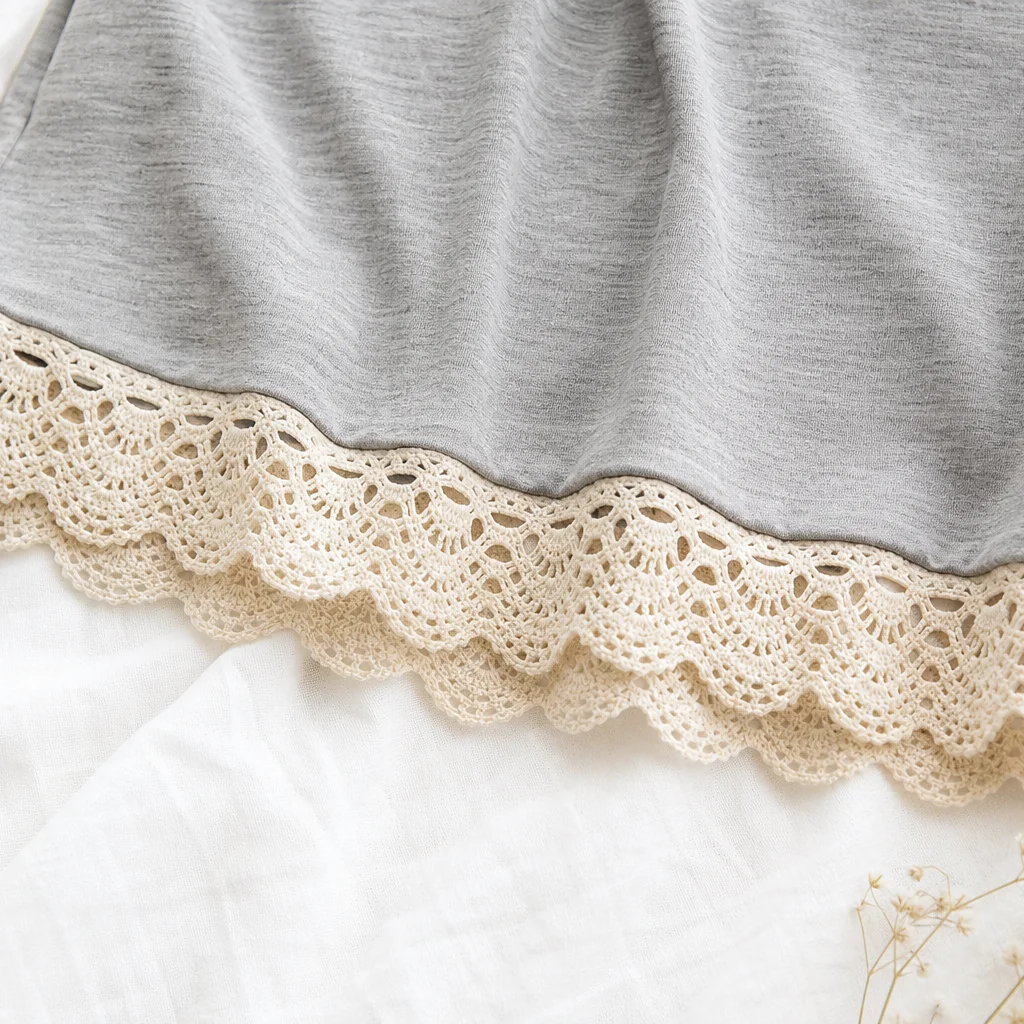
Trim loose yarn tails, press the shirt hem from the wrong side with a pressing cloth, and try it on. The lace should hang evenly front and back. If one side droops, reinforce that section with a few extra stitches through the shell tops.
Wash cold inside a mesh bag and lay flat to dry so the crochet keeps its shape. Avoid high heat in the dryer; cotton lace can felt slightly if it rubs against rough fabrics.
Style Your Crochet Trim Shirt
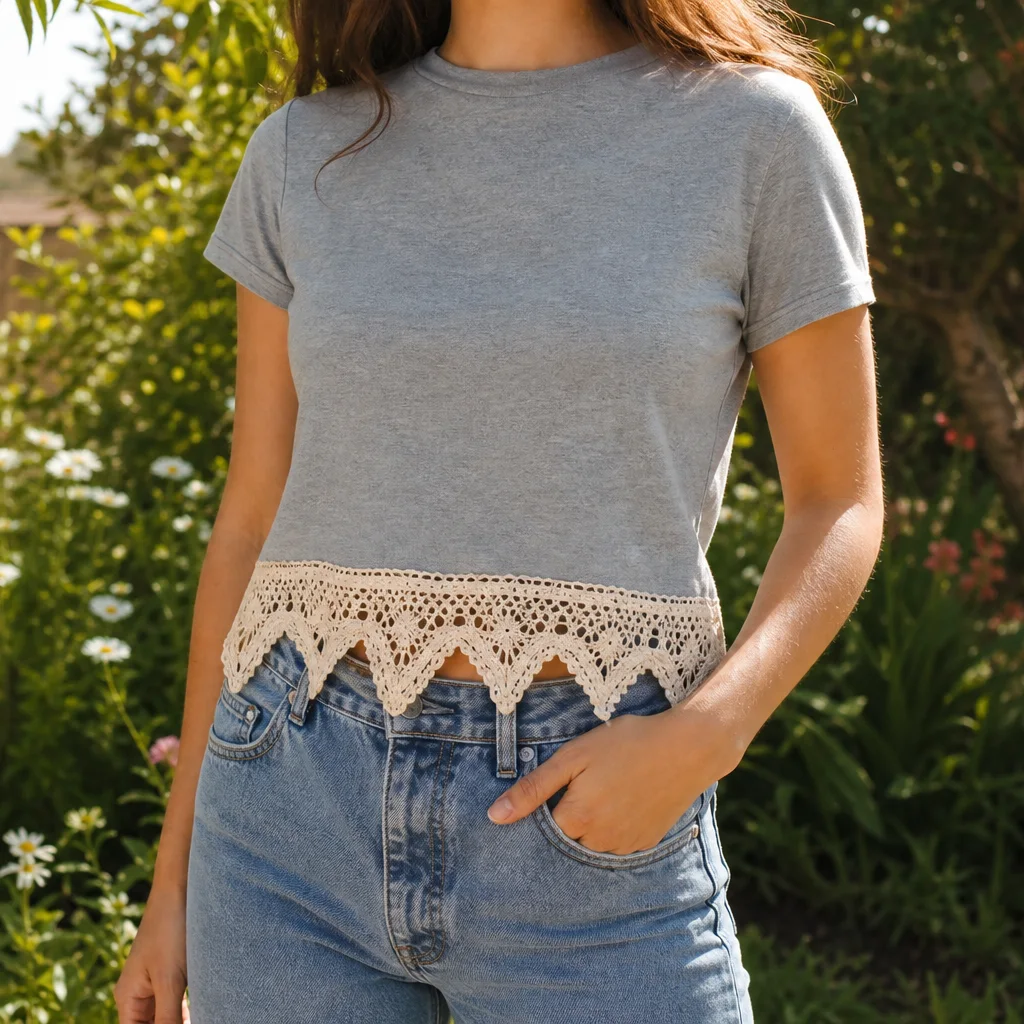
Tuck a trimmed tee into high-waisted jeans or a linen skirt for instant cottagecore balance. Layer open over a tank for festival season, or knot the front loosely above high-rise shorts. Cream or ivory trim on gray, chambray, or faded black reads vintage without looking costume-y.
For photos, natural side light shows the stitch texture best—exactly why refashion boards on Pinterest favor this hack over plain store tees.
Easy Variations to Try Next
- Neckline trim: Add a narrower band along a crew neck after removing the ribbed collar.
- Sleeve caps: Crochet a short scallop row around cut-off sleeve edges for a flutter look.
- Color block: Use sage or terracotta yarn on white shirts for 2026 earthy boho palettes.
- Two-row fringe: Add a second longer row of chain loops for festival-ready movement.
Project Checklist
- Pre-wash shirt and yarn to prevent shrink surprises.
- Measure hem circumference before chaining.
- Test trim length flat against the shirt.
- Pin evenly from side seams to center.
- Use a ballpoint needle on machine-sewn knits.
- Hide trim join near a side seam when possible.
- Press gently from the wrong side only.
- Wash cold and air-dry to protect lace shape.
Frequently Asked Questions
Can beginners crochet trim onto a shirt?
Yes. A simple shell or scallop row repeats quickly, and you only need basic chain and double crochet skills. Sewing can be done by hand if you do not own a machine.
What yarn works best for shirt trim?
100% cotton or cotton-blend worsted weight yarn drapes nicely and washes well. Avoid fuzzy novelty yarns on your first project—they are harder to sew through evenly.
Will crochet trim stretch out on a tee?
Some stretch is normal on knit shirts. Sew through both the crochet top row and the shirt hem, and avoid pulling the yarn too tight while stitching. A dense final single-crochet row stabilizes the band.
Can I add trim without sewing?
Fabric glue is not recommended for washable garments. A few minutes of hand stitching lasts far longer and flexes with the shirt.
How much yarn do I need per shirt?
Most adult hems use 30–50 yards depending on width and pattern height. One standard skein usually covers two shirts with trim left over for swatching.
Does this work on long-sleeve blouses?
Absolutely. Woven cotton blouses with straight hems are even easier because the fabric does not curl. Match yarn weight to the shirt weight so the trim does not overpower lightweight voile.
Final Thoughts
A crochet trim seam on an old shirt is one of the fastest refashion wins you can make: low cost, high impact, and completely customizable. Start with a practice band, pick a tee you already love, and treat the hem like a blank canvas. Once you see how boutique the finished edge looks, you may walk past the donate bag and wonder what else deserves a lace upgrade.